


Hi everyone! *waving* Can you believe it’s almost the end of October!? I think I say this every time a month’s end is close! It’s Jenn (jk703) here to share a fun and I think unique way for adding texture on our pages. I often try to change up the textures on papers, elements, frames, and even fonts. Adding a style, using a blend mode and trying out new Filters in Photoshop are my favorite ways to do this. Often times, I use watercolors to add a little “see-through” color to my pages…but there are times when I wish they could be a little more substantial, and act as another element. Today, I’m going to give you a few tips about Adding Texture and I’m focusing on Chelle’s Painted Overlays.
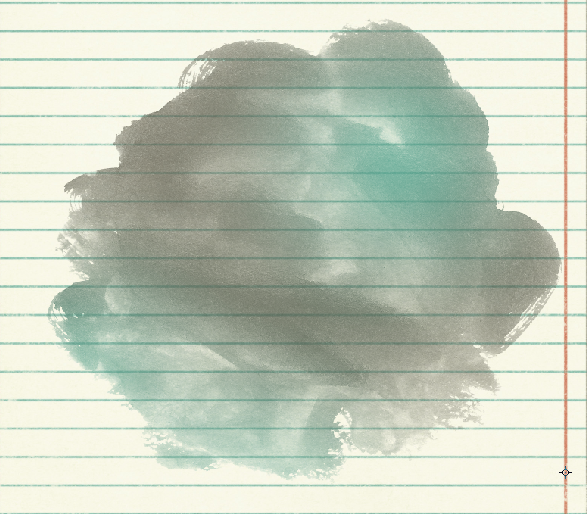
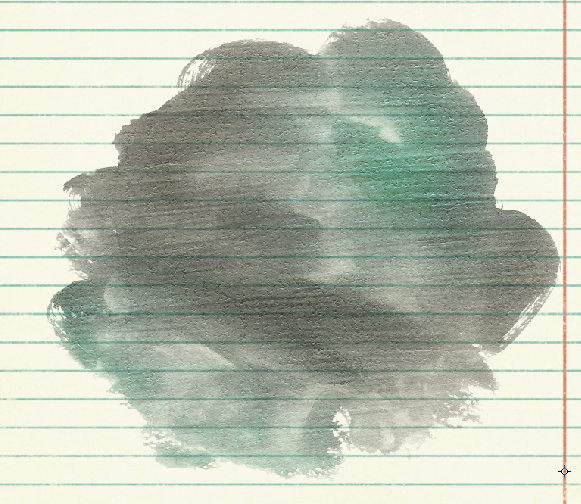
For my example images and layout, I used Chelle’s Aviator Kit, the Painted Overlays and a template from Scrapping with Liz. I’ve taken a light colored paper, and one of the few watercolor paints and opened them in Photoshop. My watercolor is above my paper, like so:
Next, I decide on which of the fun painted overlays I want to use, and I bring it in my layout. I place it above the watercolor paint. I also right click on the painted overlay, and choose Make Clipping Mack. This way, the overlay is clipped to the paint. Your paint will look funny right now, but we will fix it!
Next, adding texture is as easy as changing the blend mode. Here are a few that I liked.
Overlay:
Vivid Light: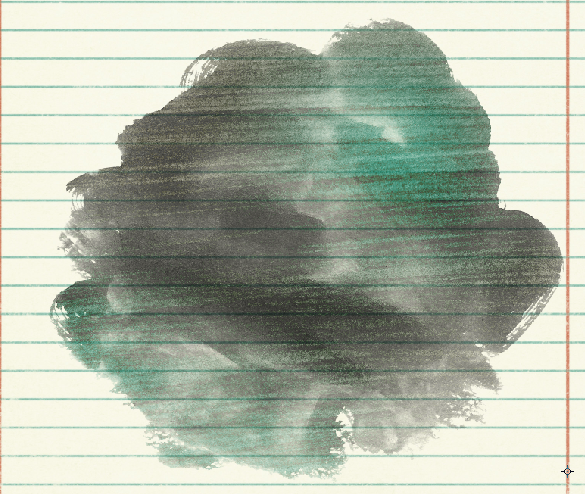
Luminosity
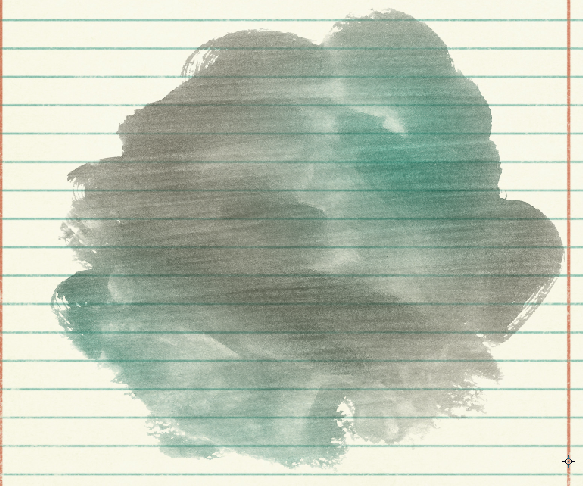
I have decided to leave the Painted Overlay on the Overlay blend mode, lol!  Now… let’s make that texture stand out just a little bit.
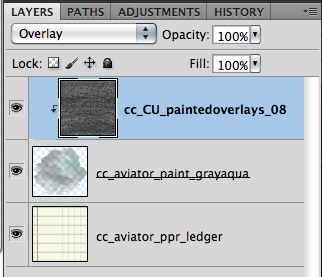 Click on Filter > Texture > Craquelure:
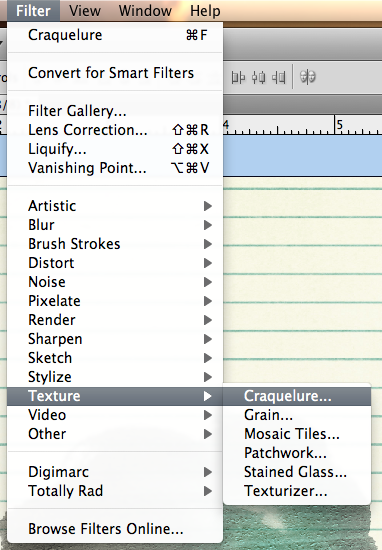
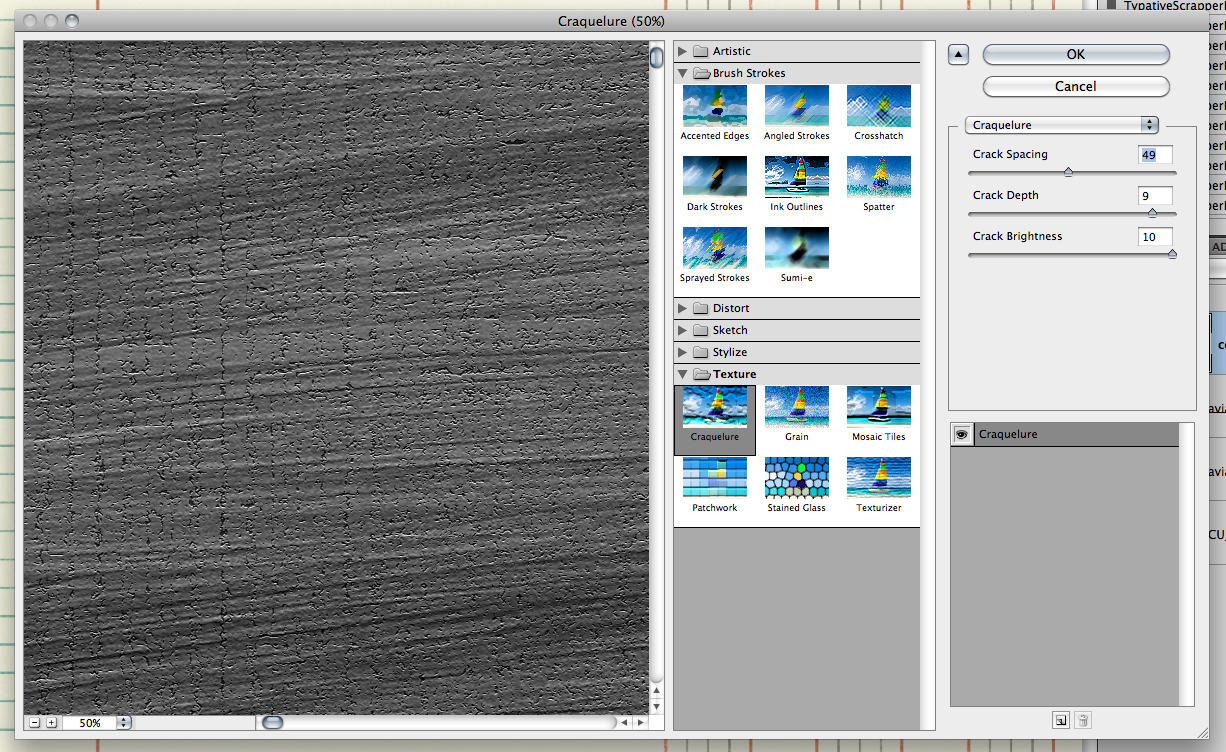
A big menu screen with lots of options will pop up, and the side with the preview will look black. (At least mine did!). Play around with the settings on the right – Crack Spacing, Crack Depth, and Crack Brightness to see what happens to the painted overlay. It will all change and look different. I decided on 49 for Crack Spacing, 9 for Crack Depth, and 10 for Crack Brightness.
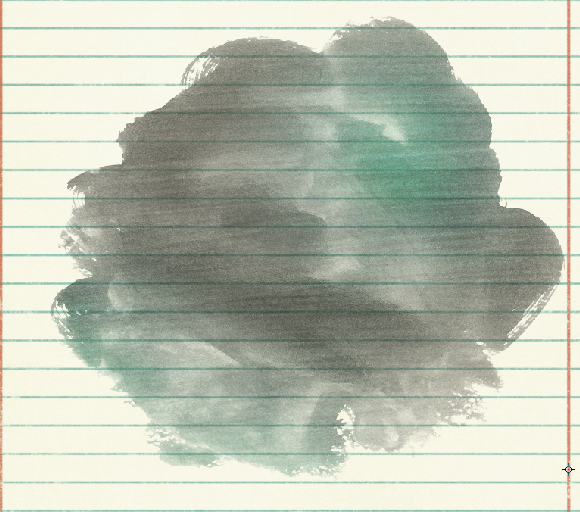
Click OK when you decide what you like. Here is what my paint looks like – it adds just a little texture:
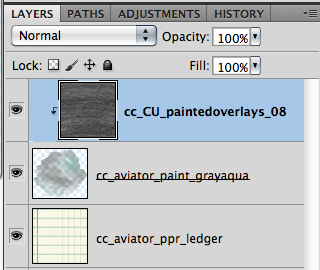
Here is my Layers Palette and what settings I have my layer on just in case your version looks different! I have the Overlay Blend mode at 100%, then I applied the Craquelure Filter and ta-daa!
Here is the final page that I created – and yes, I changed out the graph/lined paper to a plain paper because my layout just called for a clean look.
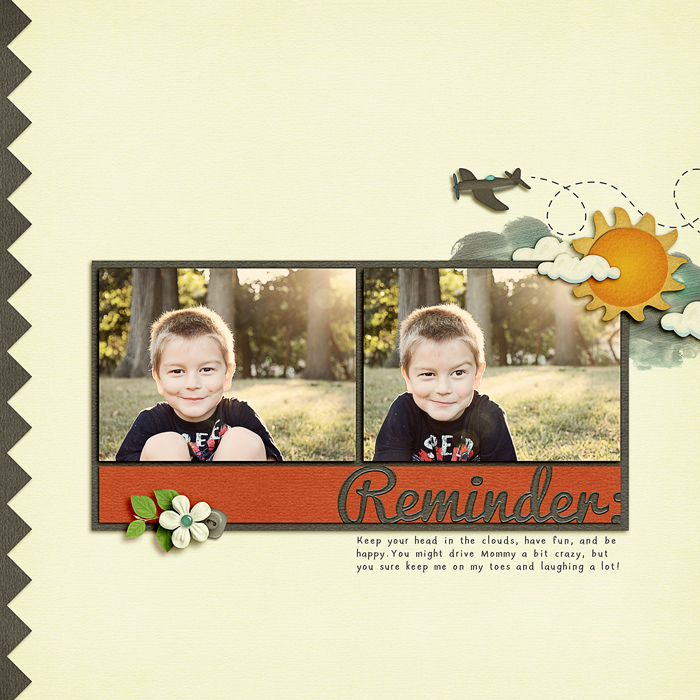
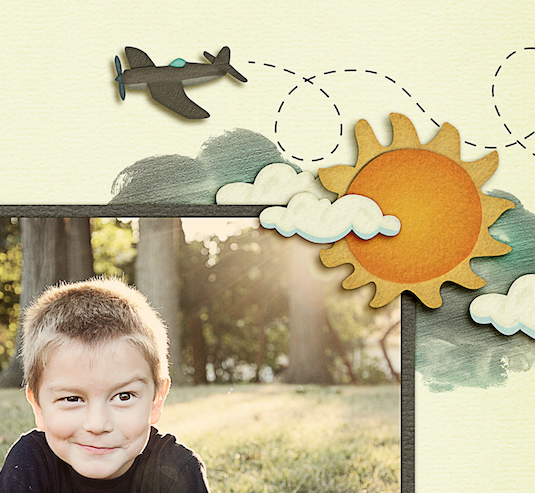
Here is a detail of the clouds that I made using the textured watercolor paint. I just couldn’t chop my son out… that devilish look just makes me shake my head and laugh at the same time! But, take a look at the clouds below, a little texture can change the way you look at some elements! Cool, right!
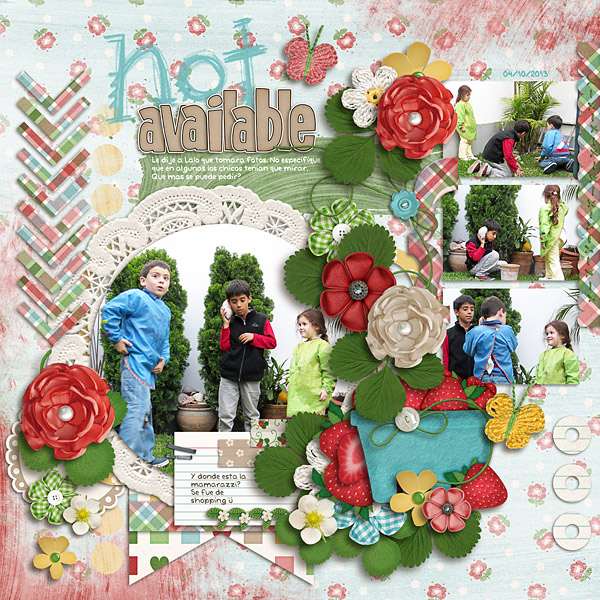
Roxana (Roxanamdm) created this fun page using the Painted Overlays, Berry Berry Sweet Kit, and the Marker Alpha. She said to add texture to the paints, she used mostly Divide, Soft light and Overlay blending modes plus played with the % opacity. She also did the same for the background, so the colors werent too strong.
Helen (winipeg1) made this adorable page. She used Summer Lovin’ and Chelle’s Painted Overlays. For her paint, she used the transparency tool and then duplicated the layer, and flipped it to put it along the bottom also. You can also see she added a paint effect to the paper with her journaling.

There you go! Now, go try adding texture to your watercolors or paint spots, even your backgrounds and frames! We’d love to see what you create, so let us know if you tried a tutorial, and link us up in the comments! Have fun, and thanks for visiting. Have a great week!


 Hi! I'm Chelle: a 40 something mom of 7. My husband & I live in a rural community in the rocky mountains with our 4 children still at home. In the winters we enjoy sledding & snuggling by the fire. I the cool fall evenings we love relaxing around the campfire & meeting friends at the county fair. Admiring the stars


Thank you for the tutorial. I love reading all of your tutorials as they are so helpful.