


Hi! Hi! Hi! I’m so excited to share today’s Tutorial: Unmasked Mask! It’s so much fun! This is Jenn, jk703, here to share this cool technique with you! I’ve seen it around occasionally, and had this on my list of things to do, so now we can start a new trend, right!? Ok everyone… lets get going and Unmask that Mask! 😛
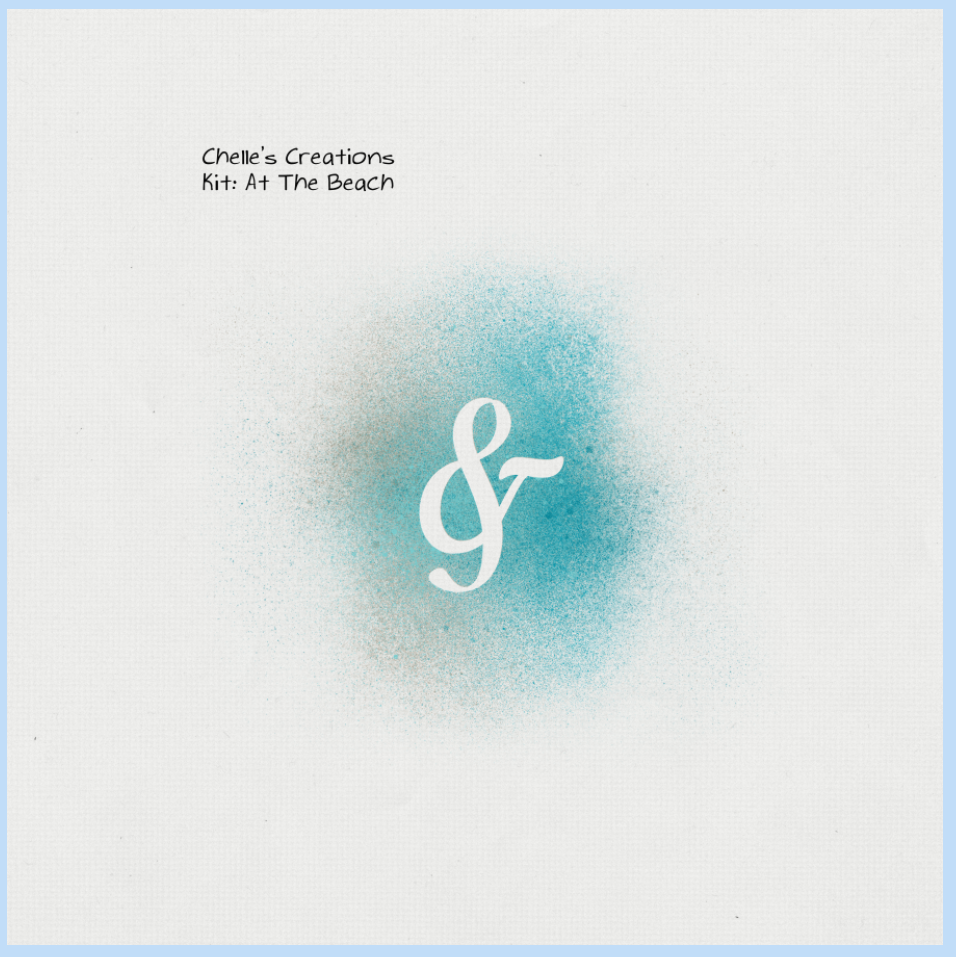
For my example images, I’m using Chelle’s At The Beach kit.
On the background paper, open up some paint splatters and cover a nice big area. Here, I’ve got two layers of paint from the At The Beach kit. 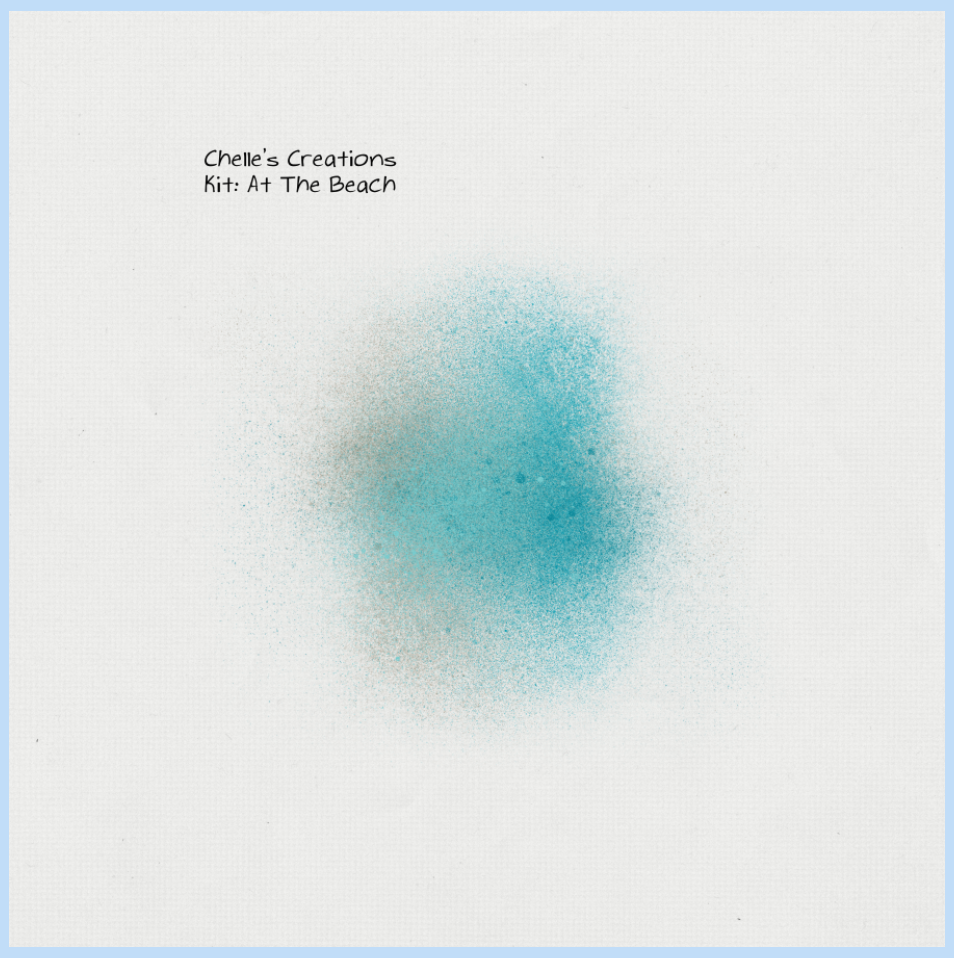
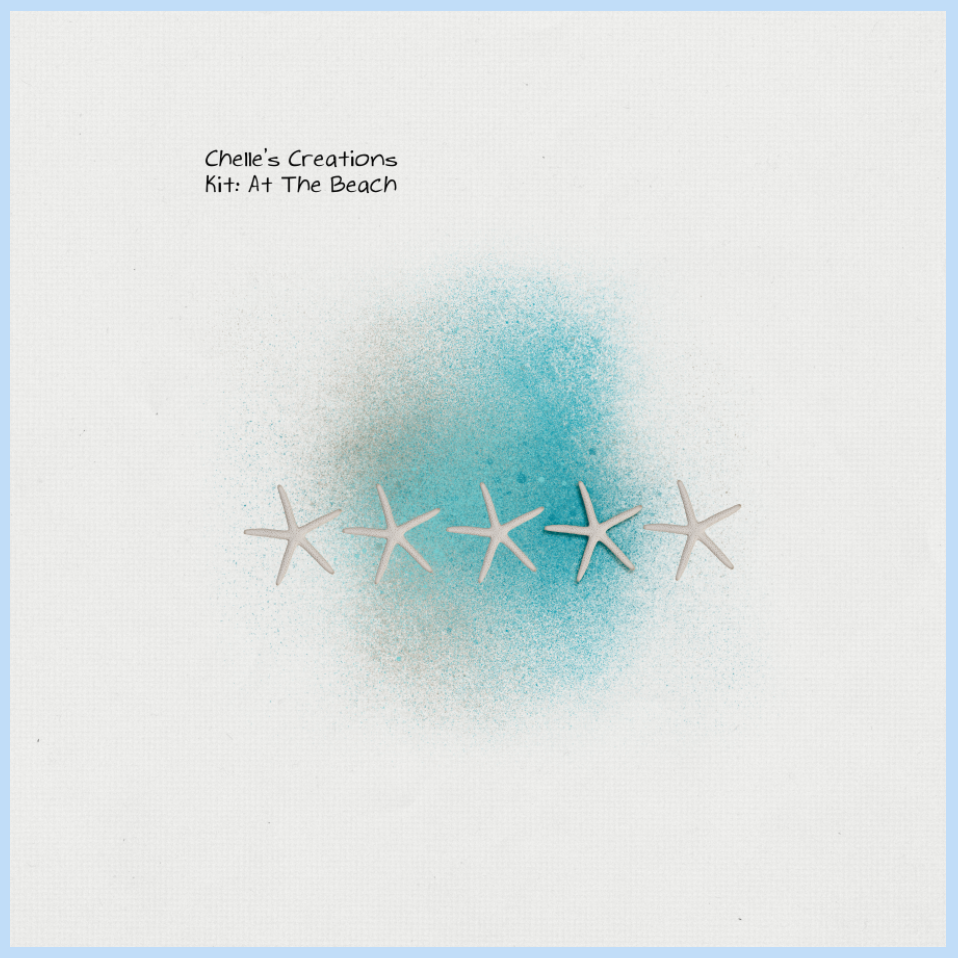
Next, I’ve brought in an element on to my page, the starfish. I’ve left 4 flat and shadowed one:
Before I completed the next step, I combined the 4 flat starfish onto one layer. All you have to do is highlight a star, press the shift key, and click on the other layers. Right click and choose merge layers. You don’t have to do this, it’s just an option that makes it a little easier later.
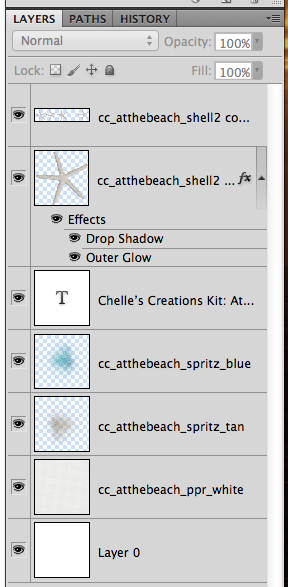
Double click on the element thumbnail in the Layers Palette. You should get marching ants around the shapes of the layer.

Here is my Layer Palette.
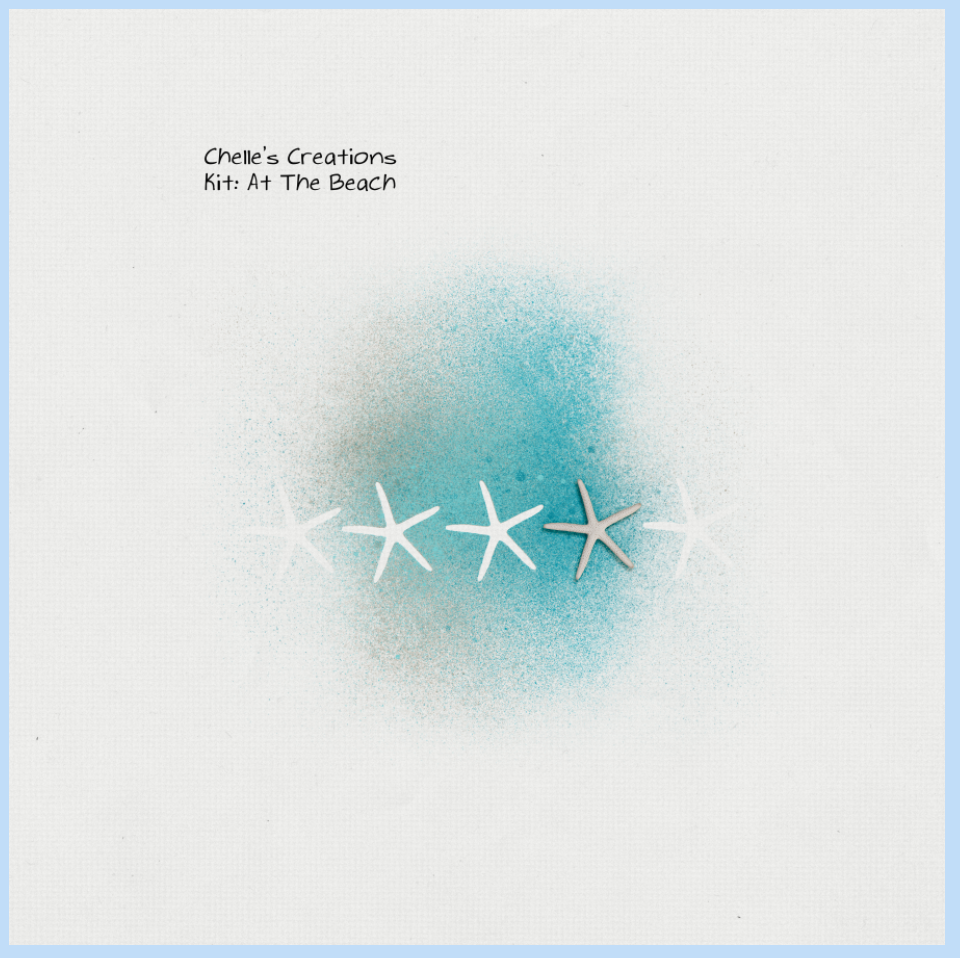
Here’s the tricky part. Choose your paint layer in the Layers Palette. Now, press the delete button. Do this for all paint layers. This will remove the paint from inside the marching ants. Here is what mine looks like. So simple, and so easy! Press Command + D to deselect and stop the marching ants.
Unmasked Mask! 😛
There are other options to this, but using shapes and text. Here’s how:
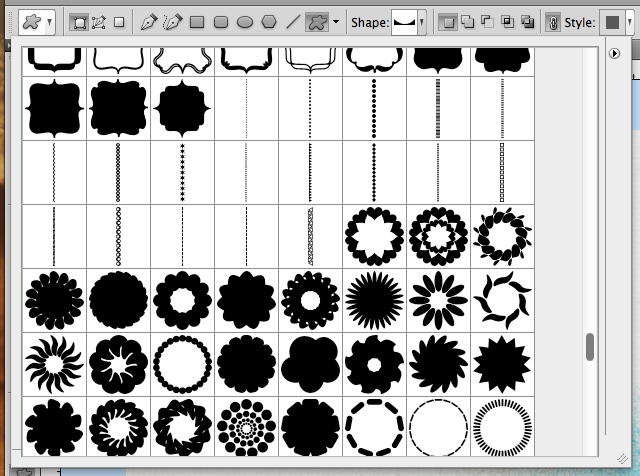
Choose the Custom Shape Tool, and find a fun shape.

Here are my shapes. I’ve chosen a border shape. Add one to your layout.
See the shape layer in the Layers Palette. You are going to double click on the actual shape mask (the right side) to get the marching ants.
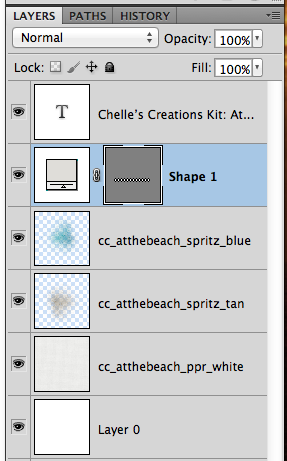
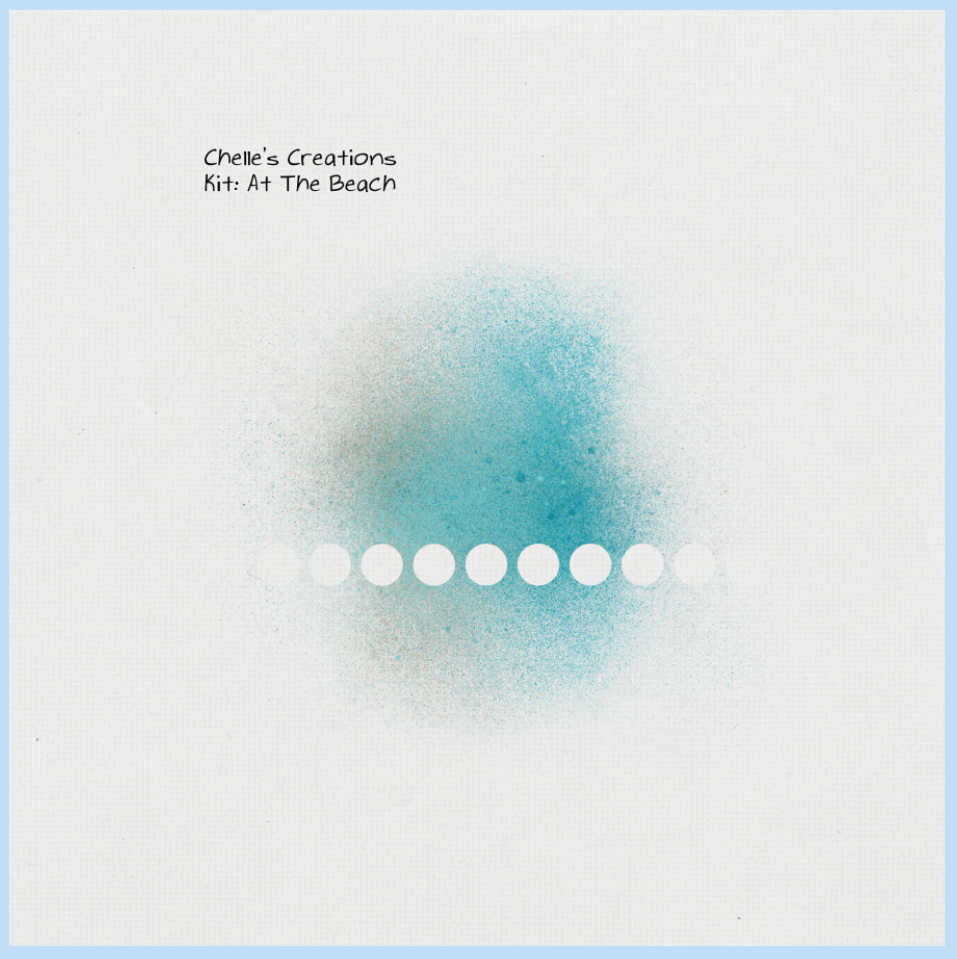
My marching ants and shape. Next, turn off the visibility of the shape by clicking on the “eye” that sits on the left side of that particular layer.

Next, go to each of your paint layers and press delete. No paint where the shape was! Cool, right!?!
Next option!
Using your type tool, type a large letter or symbol. Double click on the Type Layer thumbnail to get your marching ants.
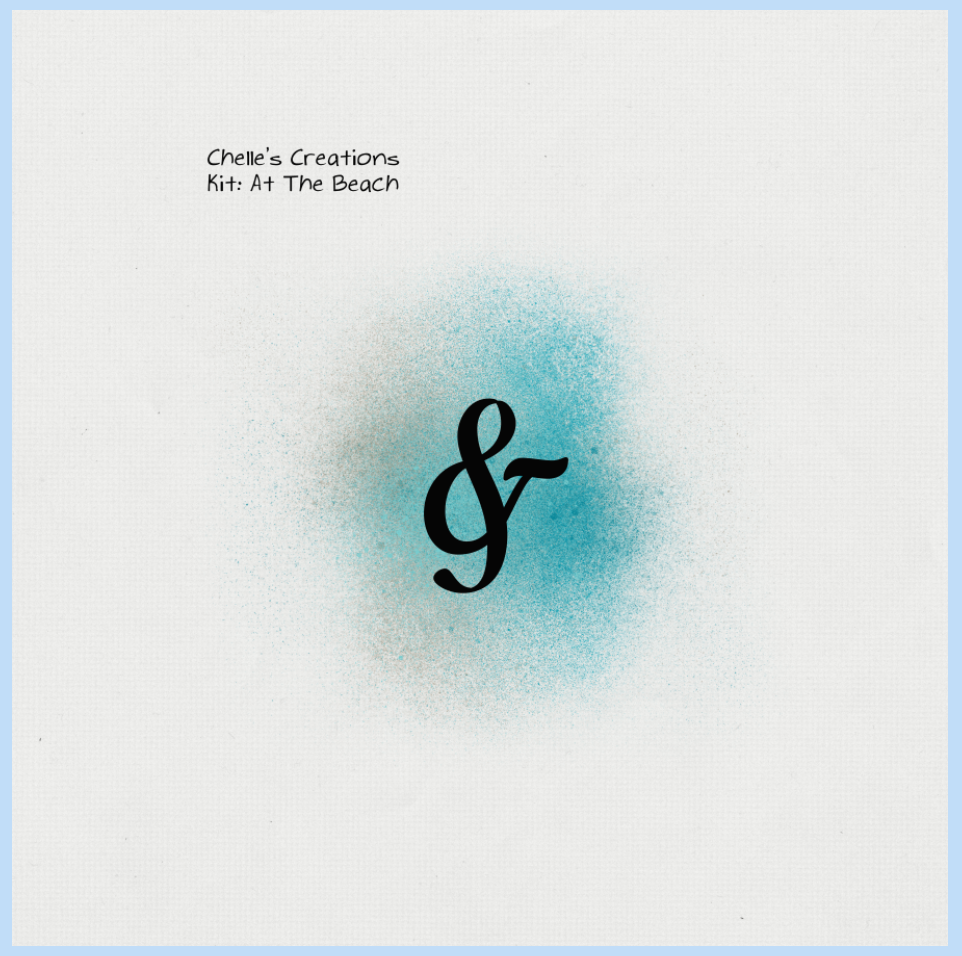
Choose the paint layers, and then delete. Viola!
The CT helped me out and created some awesome layouts to show off this Tutorial: Unmasked Mask! Here they are:
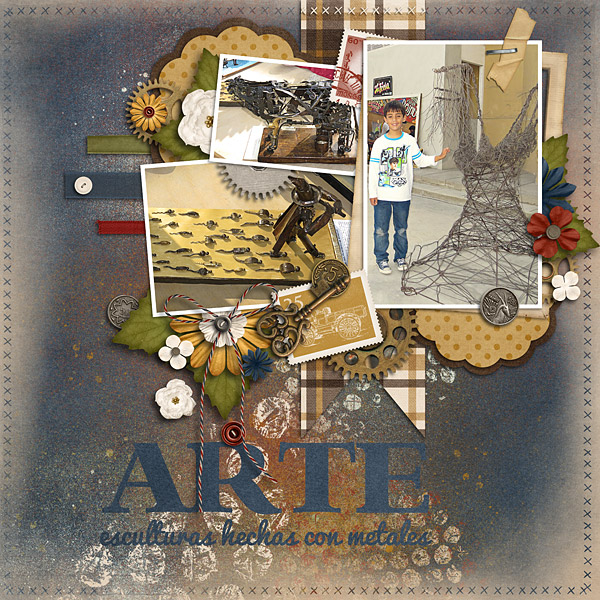
This one is made by Roxana (Roxanamdm) and used Traveler Bundle (retired), CU Spritzers (retired) and CU Bubble Wrap Stamps. She used the tutorial for the stitches around the edges.
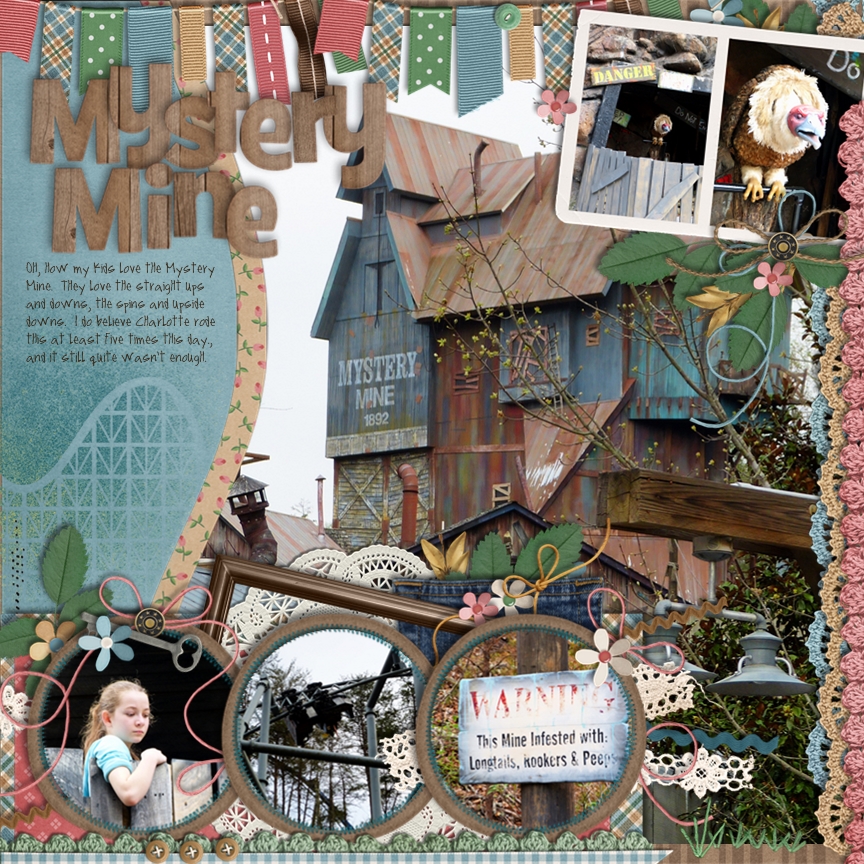
Jan (QuiltyMom) created this layout, and check out the roller coaster in the background! Cool! Jan uses SBC+, and shared how she completes this in her software below. Here are the products she used: Roller Coasters & Cotton Candy, CTR Trek, Yeehaw Bundle, Give Thanks and Gimme Layers Vol. 52 by Cluster Queen Creations.
Here’s how she did it in SBC+:
Place the element you want to use on your page, and fill it with a color that is both different and a higher contrast from the mask you are using. Resize and place it over the mask, then flatten the two elements together. Using the wand tool, select the shape, making sure all of it has been selected and hasn’t spilled over onto the mask. Then cut away the selected area.
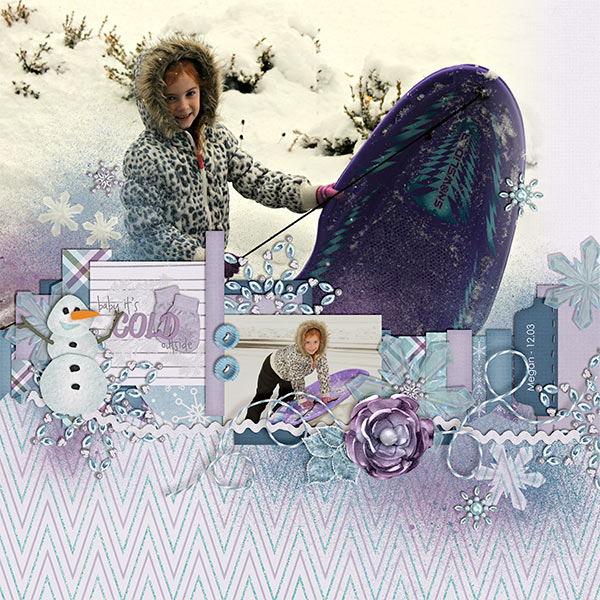
Kayla (keepscrappin) used the Snowlandia kit and word art. She said she duplicated the spritz on top of itself, so it would show up better and merged those layers together. Then, copied and arranged the spritzes where I wanted them and cut out the snowflakes.
What do you think? Going to try out the Tutorial: Unmasked Mask? I hope so. It really is a cool technique.
Have a great week, and thanks for stopping by!


 Hi! I'm Chelle: a 40 something mom of 7. My husband & I live in a rural community in the rocky mountains with our 4 children still at home. In the winters we enjoy sledding & snuggling by the fire. I the cool fall evenings we love relaxing around the campfire & meeting friends at the county fair. Admiring the stars


Pingback: CraftCrave | DigiFree | CraftCrave