


Hi Everyone! This is Jenn (jk703) here, hoping you are all doing well on this wintry (for me) Thursday! We’ve got a smidge of snow on the ground, and it is so cold out! I’m home with a sick child, and it is nice not having to go out and about today! Today I’m going to show you how to make a blend, but backwards, lol! It’s super easy, and looks great!
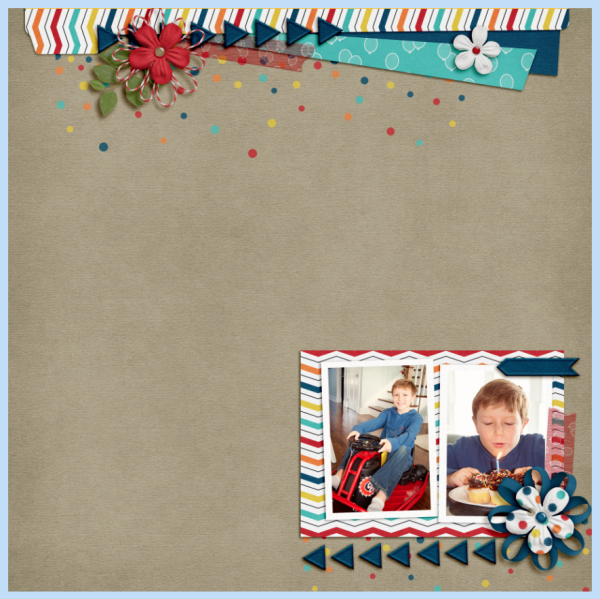
For the Backwards Photo Blend tutorial, I’ve used Chelle’s One Year Older Kit, and some new products from Scrapping with Liz. They were a perfect match and I love how my layout turned out! Here is my layout so far… a little bit of fun, and a lot of open space. I love open space layouts, but I’m not always the best at them. Sometimes, I feel like I spend more time trying to work on a clean layout versus a bit of clustering. So, let’s fill that BIG open space with a picture.
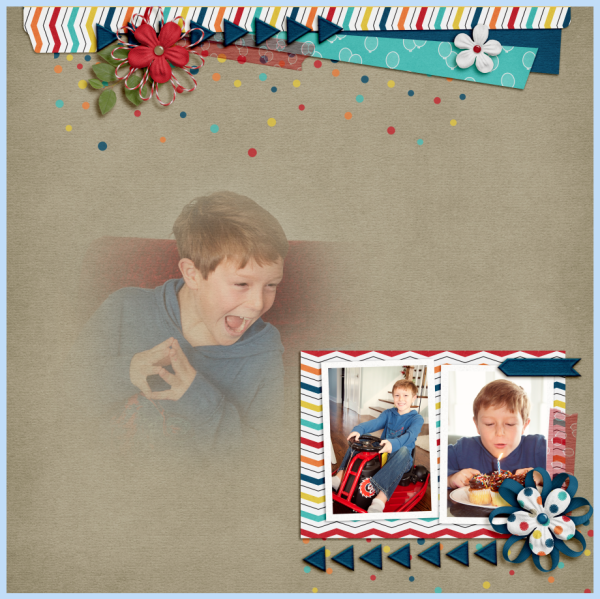
Next, I’ve pulled in a picture and for this image, it is above the paper. Just so I can see where I want the image, I’ve changed the blend mode for the time being. This way I can move the photo and see how it might look for the blend. This step is just for placement. After doing your photo moving, you will then put the image behind the background paper layer. (Remember, to change your image back to the Normal Blend Mode.)
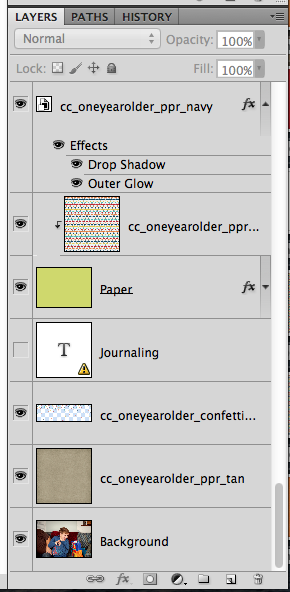
Here is my Layer’s Palette. Photo on the borrow, background paper and then all the papers and embellishments. These are not the originals, just “copies” of the kit pulled into Photoshop. You also want to have a duplicate image of your photo. Not the original. The reason for this is that this method of blending/masking could damage your original photo or papers.
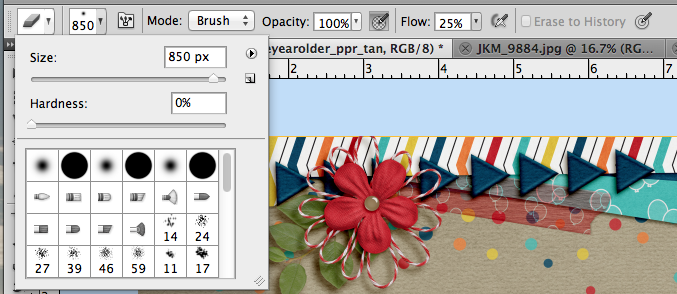
Next, I’ve selected the Eraser Tool.
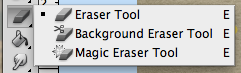
For my selections on the Eraser Tool, here is the sub menu. I’ve selected a large soft brush eraser, and a flow of 25%. I usually start low, and if I need more erased, I go over again, or adjust the flow higher.
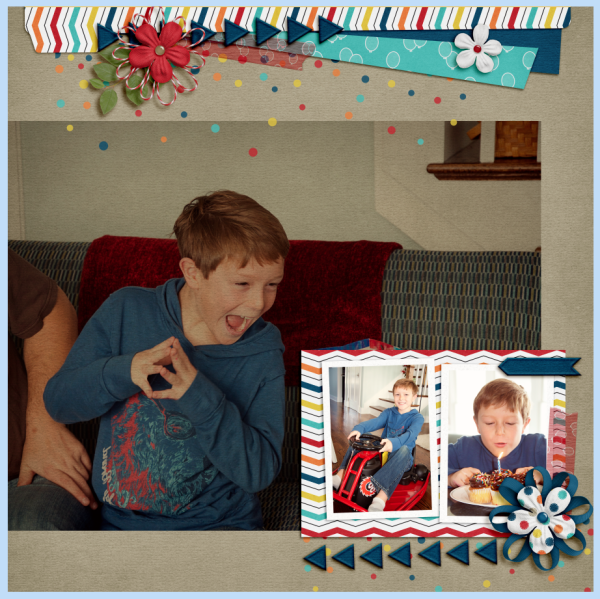
With my kraft background paper selected in the Layers Palette, I slowly click on where my son’s head is, to erase the paper. I click in a couple more spots, and after erasing, here is what my Backwards Photo Blend looks like. It is intended for him to look excited at the pictures of him, lol!
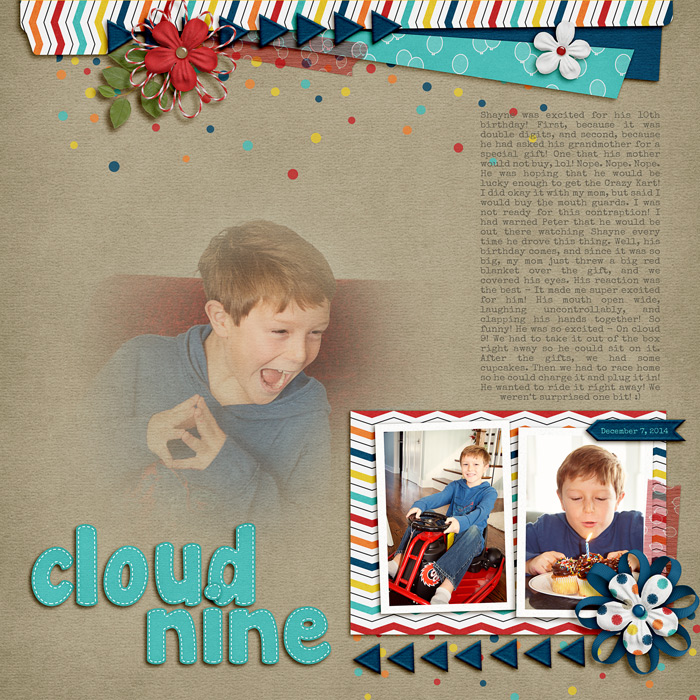
Next, I add a title and my journaling and I’m good to go. Space filled, a bit a cluster, title and journaling. All done!
Jenn (jennschultz) created a page using Chelle’s Rock the Vote and the Summertime mini kit! Perfect combination! She made a layout for a visit with Chip & Dale, and the backwards photo blend was done on the family picture!

A super easy way to try out the Backwards Photo Blend – I hope you liked it! Can’t wait to see your creations using the technique! Have fun, and thanks for visiting!


 Hi! I'm Chelle: a 40 something mom of 7. My husband & I live in a rural community in the rocky mountains with our 4 children still at home. In the winters we enjoy sledding & snuggling by the fire. I the cool fall evenings we love relaxing around the campfire & meeting friends at the county fair. Admiring the stars


Pingback: CraftCrave | DigiFree | CraftCrave