


Hi Everyone! This is Jenn, jk703, here back for another blog post today! I’m here to share how I easily share my layouts after they are completed by using photoshop to Save for Web. Photoshop makes it pretty easy, and I’ve been doing this version for a few years now.
For my example and layout, I’ve used the collab, Snowlandia by Chelle’s Creations and Ziggle Designs. My font is Special Elite, and my title was a free version of Thirsty Script. I’m also using a template that has been modified from Scrapping with Liz.
I’ve finished my layout, and I’ve saved the layout for my Album. Now, I’m going to save for web version. Here is what my working space looks like in Photoshop.

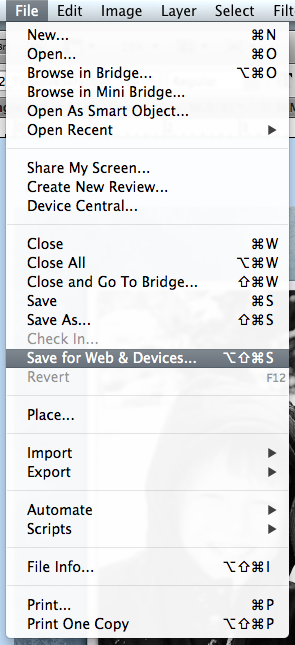
Next, under the File menu, you will choose the Save for Web and Devices option.
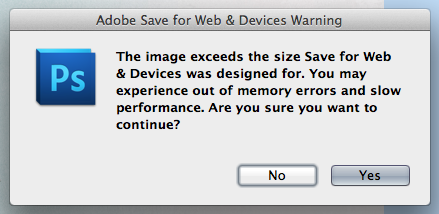
When I complete a layout and save it for my Albums, it is full size. I leave it as is, and after I choose the Save for Web and Devices option, I get a warning pop up. The warning does advise that it may run slow, and have errors. BUT, this error has only ever occurred 1 time when I completed this step, and since I have the album copy saved, I never worried about it. I’m also a bit lazy, and just go for the save for web and save myself a few steps. Here is what the error looks like:
ALTERNATE WAY: If that warning scares you, then before you choose the Save for Web option, you can resize your layout by choosing Image > Image Size. Then when the pop up appears, change your layout to 6 inches by 6 inches or 1800 pixels x 1800 pixels. Then the warning will not occur. All other steps remain the same.
So, once you have chosen Save for Web, a large pop up screen will appear. It will look like this.
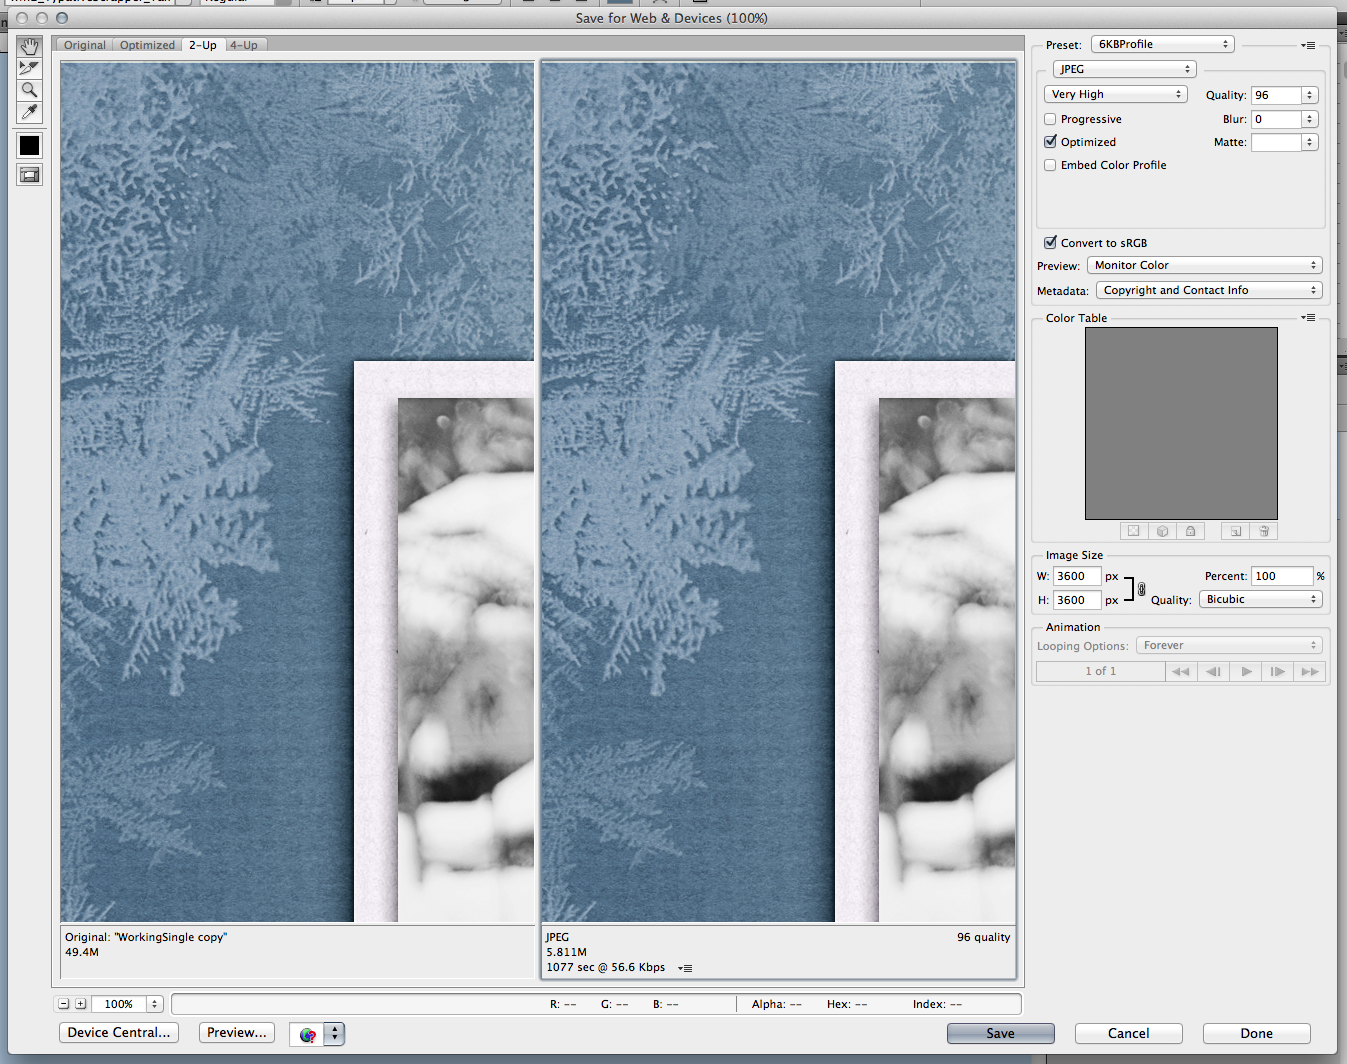
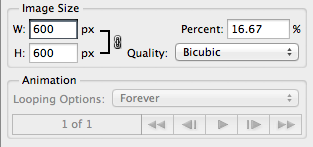
On the right side, about halfway down, there is a Image Size option box. You will enter the size to be whatever size you require. Most galleries are 600 x 600, some are 700 x 700, 800 x 800 and even 900 x 900. Enter in that size, and keep the constraints locked. Once you hit enter, your image will shrink down.
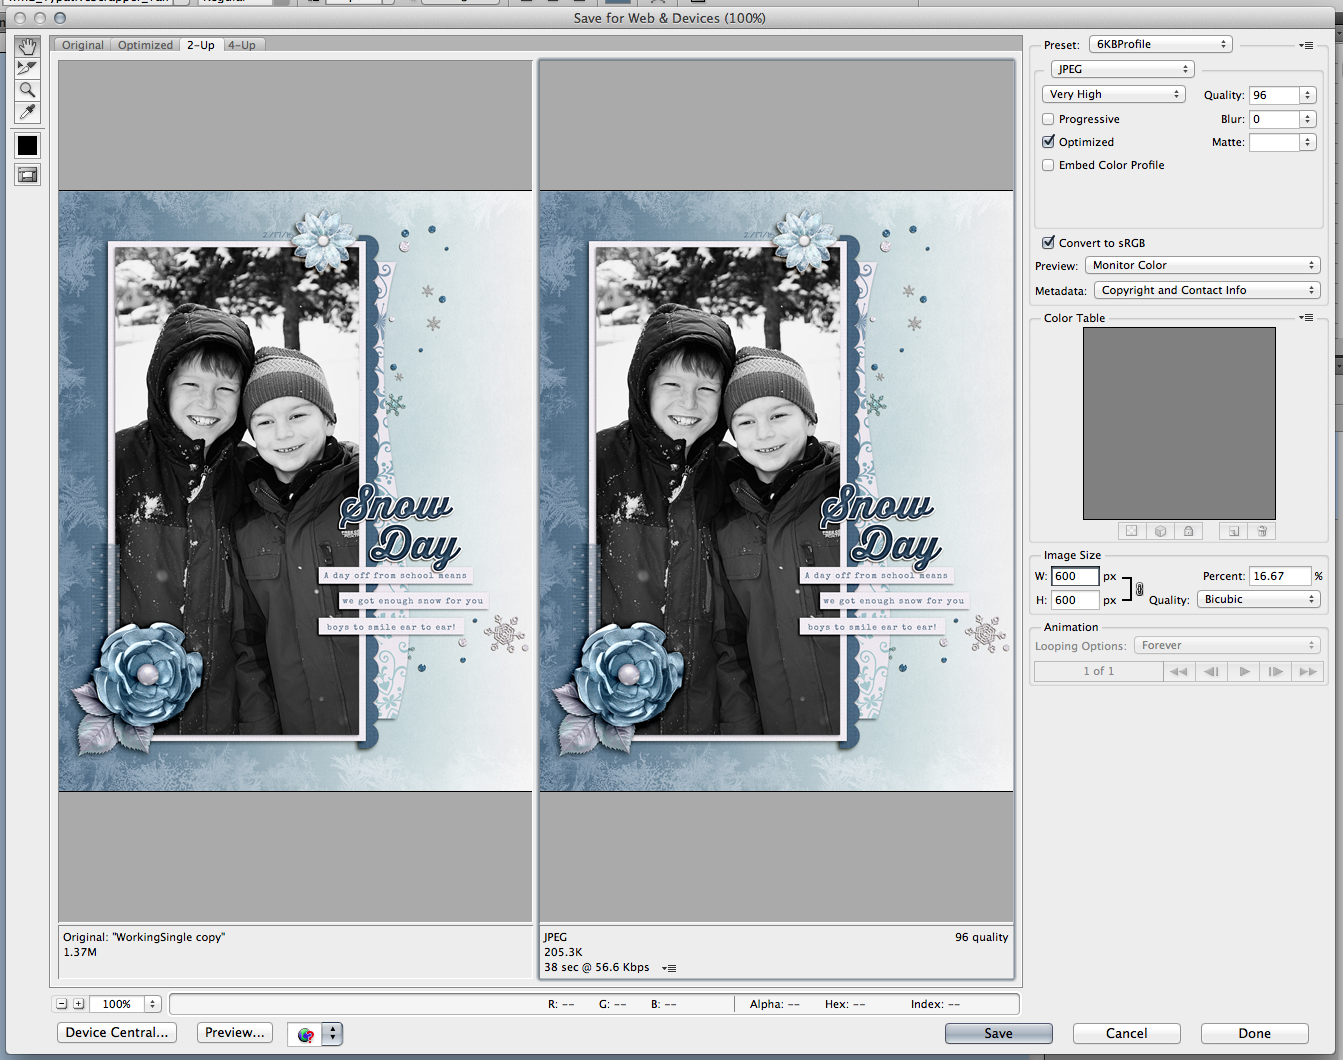 Next, on the image, in the top you have choices for how you want to save. For the web, mine is set to JPEG, and it is also set to Very High, and Optimized.
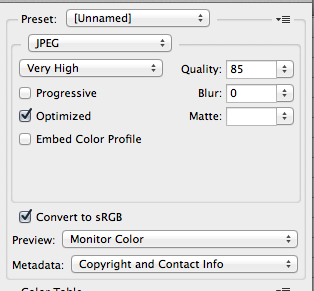
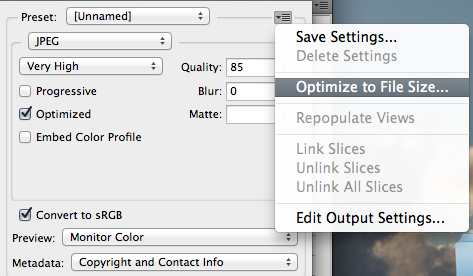
After you have JPEG selected, you will click on that SUPER SMALL itty bitty arrow that is to the right of “Unnamed.” A menu will appear, and you will choose Optimize to File Size.
Once, you click on that, you will then enter the number that you want the file to be – size wise. 😛 I’ve put mine to 249, just so it doesn’t cause issues if a gallery has a 250kb limit.
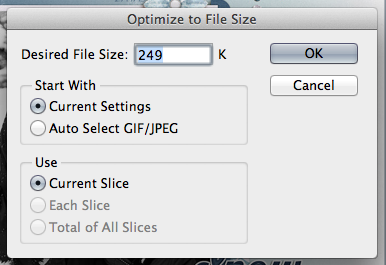
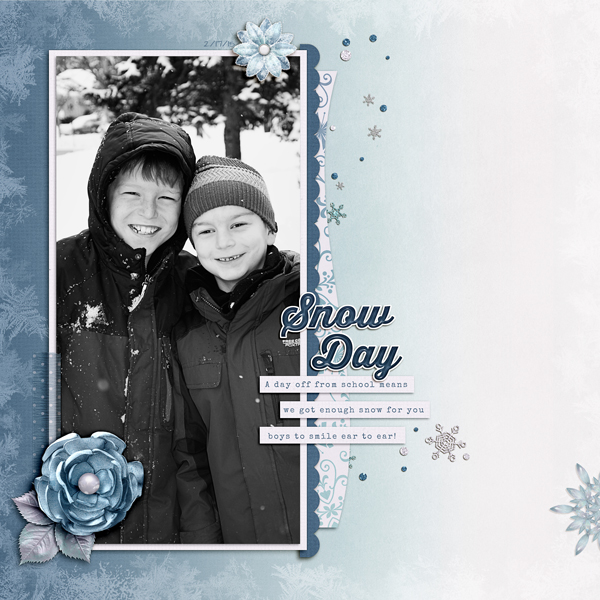
Click OK, and then click Save on the bottom of the Save for Web screen. Save your layout, and then you’re ready to upload to most galleries. Here is the layout that I was working on – perfectly sized, and ready to go for the Web:
Thanks for visiting today! Have a great week!


 Hi! I'm Chelle: a 40 something mom of 7. My husband & I live in a rural community in the rocky mountains with our 4 children still at home. In the winters we enjoy sledding & snuggling by the fire. I the cool fall evenings we love relaxing around the campfire & meeting friends at the county fair. Admiring the stars


Pingback: CraftCrave | DigiFree | CraftCrave
Mine notes are a bit different – so maybe I can tweak them to be a bit more like yours.
mine say:
go to FILE and scroll down to: Save for web,
Change Preset to: JPEG Medium
Change new size to 600 x 600 – click APPLY
then click on the arrow to the left of the Preset-Custom area and change to : Optimize to File Size and set to 150k
Hi Diane! I think your way works fine! You don’t have to change if you don’t like. The way I do it, I believe,the Preset (JPEG Medium) will automatically update itself to the highest quality setting based being below the limit. I usually stick to 249kb, as most galleries have that 250kb limit.
Let me know if I can help!
Jenn