


Hi everyone! Can you believe it’s May?! Holy moly this year is flying by! This is Jenn, aka jk703, here today to share the Tutorial: Alphabet Fill Ins. This is a fun one that can really bring your layouts together! Plus, Chelle has awesome alphabets to fill in! 😛
First, for my example images, I’m using the newest kit – Green Thumb and the Green Thumb {Alpha}. Many of Chelle’s Alphabets will work for this tutorial, as long as they have a lined border. Let’s get to it!
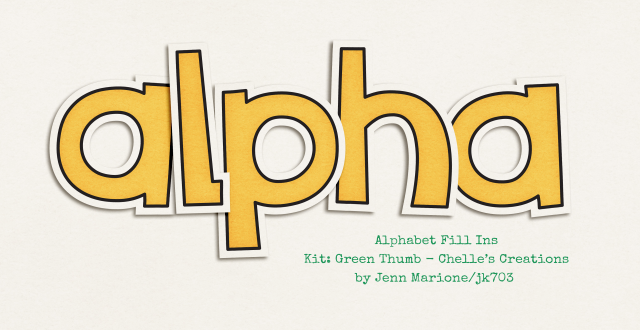
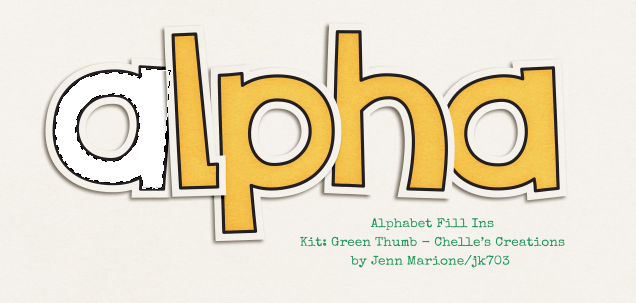
First… Here is the alpha, in it’s original form. I spelled “alpha.” So original, right, lol! It works. 
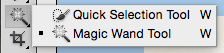
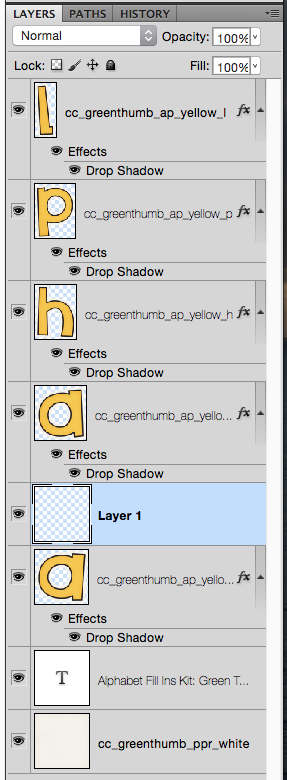
I have my alphabet letters lined up in my Layers Palette, and I added a shadow. Next, I will use the Magic Wand Tool. Here is what it looks like within the Tools.
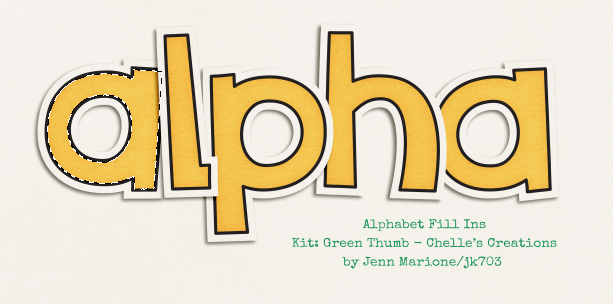
Once you have the tool selected, you will want to choose the first letter of your alphabet in the Layers Palette. I have chosen my “a.” Now, click on the yellow part of the “a” within your workspace. You will get marching ants around the border of the yellow next to the black. Like this:
Once you have the marching ants, you will want to create a new layer ABOVE your alphabet. Do this by clicking on the square with a corner folded over. This will add a new, transparent layer above your letter. Here is mine…
Now, the marching ants are still marching, and your new layer selected in the Layers Palette. Press Command (Alt on PC) + Delete. This will fill in the alphas marching ants with the background color that you have chosen. Here is mine – white, and what my layer looks like after being filled in. You’ve created a mask.
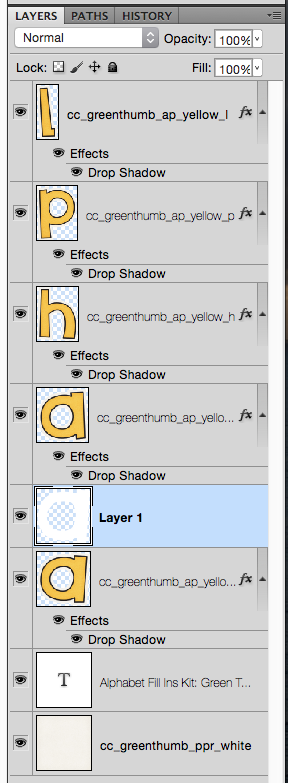
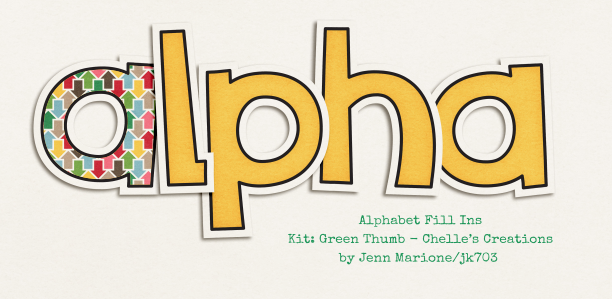
Now, bring in any of your patterned papers, or a paper that really would work with your page. make sure it is above the new filled in alphabet layer. In my case, that is the white “a” layer. Then right click on the paper, and choose Create Clipping Mask. Here is mine:
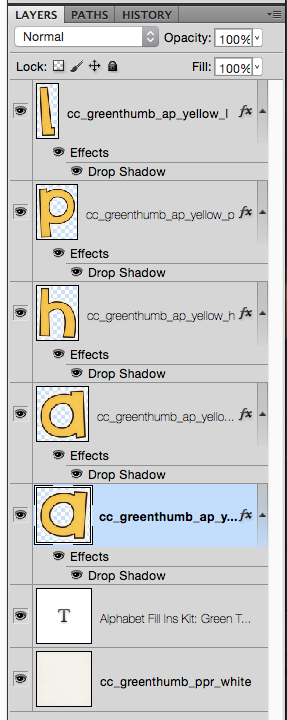
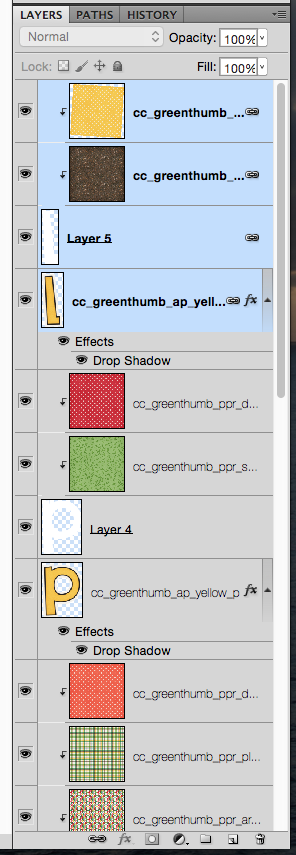
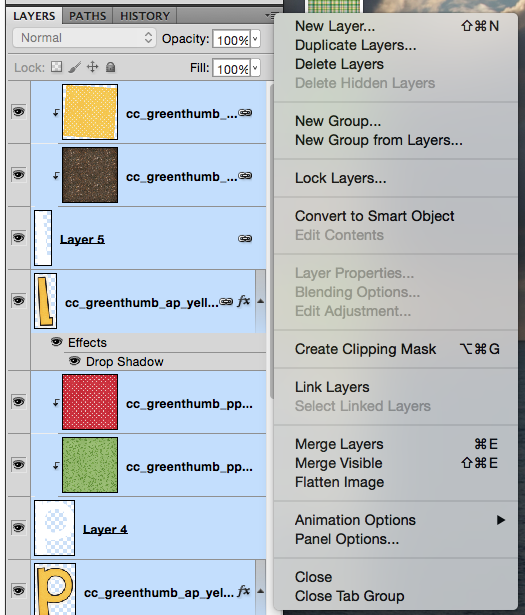
Neat, right?! Now, you have to go back and do that for each letter. I know it seems tedious, but once you do it a couple times, it goes really fast. AND… the outcome is really cute. Here is a copy of my Layers Palette as I was working on this tutorial, and deciding on papers. I loved them all! You can layer paper after paper, but only the top one will show on the letter, unless you turn the layers “eye” off, so it is hidden.
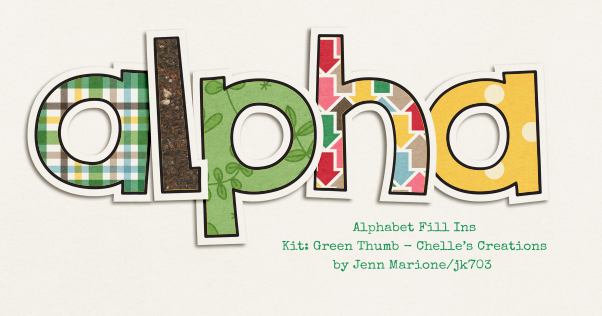
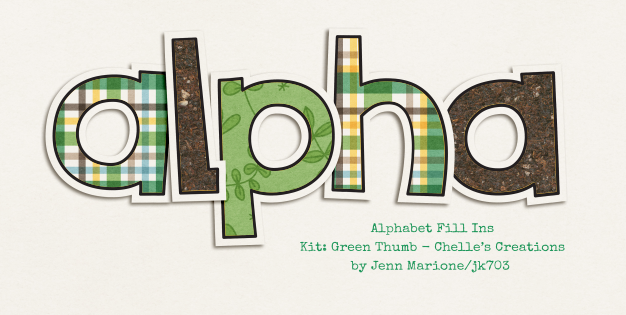
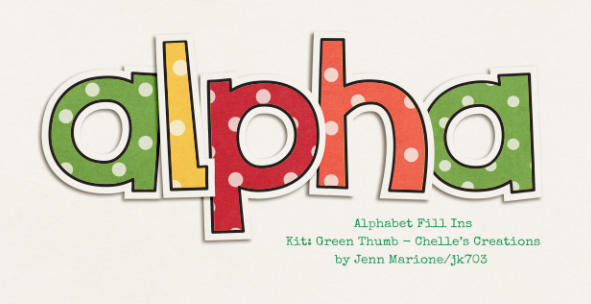
Playing with the different patterns, I came up with these mixes and matches. Super versatile for any layout, and using the same patterns that are in your kit. You can play with the size of the pattern by making the paper smaller, too!
One more tidbit. With all these layers and papers in there, I might want to switch up the papers later. With that in mind, I leave all my layers unmarked and will group them for easy finding later. Highlight all your layers that have to do with the alphabet, masks, and patterns in the Layers Palette. Then click on the super tiny triangle on the top right corner of the Layers Palette. A menu will appear. Choose New Group from Layers.
After you choose the New Group, you will then see all your layers put into a folder. Super neat, and easy to navigate. 
Super easy, fun, and very versatile to your page and favorite patterns. I think this Tutorial: Alphabet Fill In is really a great technique. Give it a try – I’d love to see your layouts. (Link me up – pretty please!!)
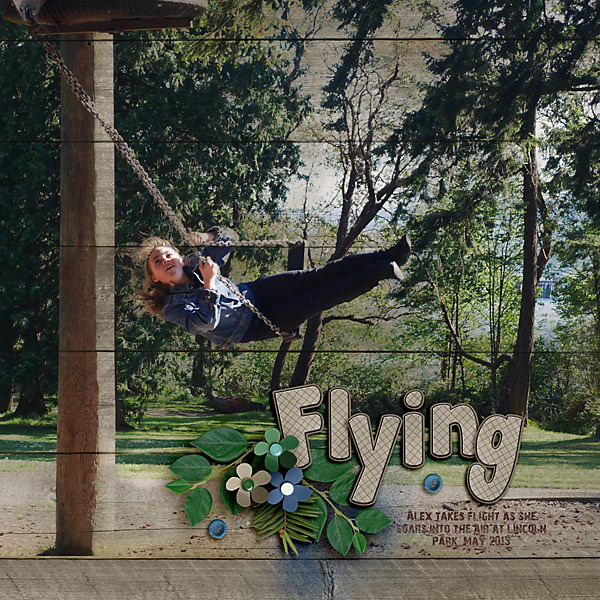
Carol helped me out and created this absolutely stunning layout using this technique. She used Chelle’s At the Park and Gone Fishin’ kits for this layout – just check out that big picture blend into the wood paper. It looks so perfect! Her alpha has a pattern clipped in, and uses a little bit of embossing to the layer also. I think it is a beautiful page!
Thanks for visiting, and I hope you learned another technique to personalize your pages, give you some versatility, as well as stretch your stash just a smidge!


 Hi! I'm Chelle: a 40 something mom of 7. My husband & I live in a rural community in the rocky mountains with our 4 children still at home. In the winters we enjoy sledding & snuggling by the fire. I the cool fall evenings we love relaxing around the campfire & meeting friends at the county fair. Admiring the stars


Ok, I’m gonna need to try this tonight. I’ve always wanted recolor my alphas, but the white border would change colors too! Gonna need to keep a copy of this tutorial in handy.
Thanks!
Thank you so much Jenn, what a great and clear explanation!
This is so cool, thank you! Have you ever thought of turning a tutorial into a PDF that we could save?
Carolyn – Great idea! I will look into it! Thanks for the idea! Jenn (k703)
Pingback: CraftCrave | DigiFree | CraftCrave