


Hi Everyone! Hope you are all doing great! It’s Jenn, aka jk703, here for an easy tutorial – but something you might not know how to do! Hope this is easy for you to follow, and maybe something new for you!
Many of my layouts are square… right angles, and lots of them! What about softening the edges, and making some of your layers rounded?! I love this little idea, and use it all the time, especially because it is sooo easy! So, start your layout, and let’s go!
Step 1: When you are ready to make your rounded edge layer, choose the Rounded Rectangle Tool from the Tools Palette. My tools pop out to the right when I click and hold, which allows me to choose one of the other sub tools in the menu.
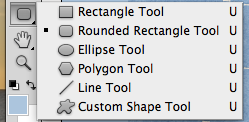
Step 2: Next, you will see your cursor change to a symbol similar to a plus sign. On the tools menu options, there is a section for the Radius. You can have anything up to 13 inches. I’ve used .50 inches for this example.
![]()
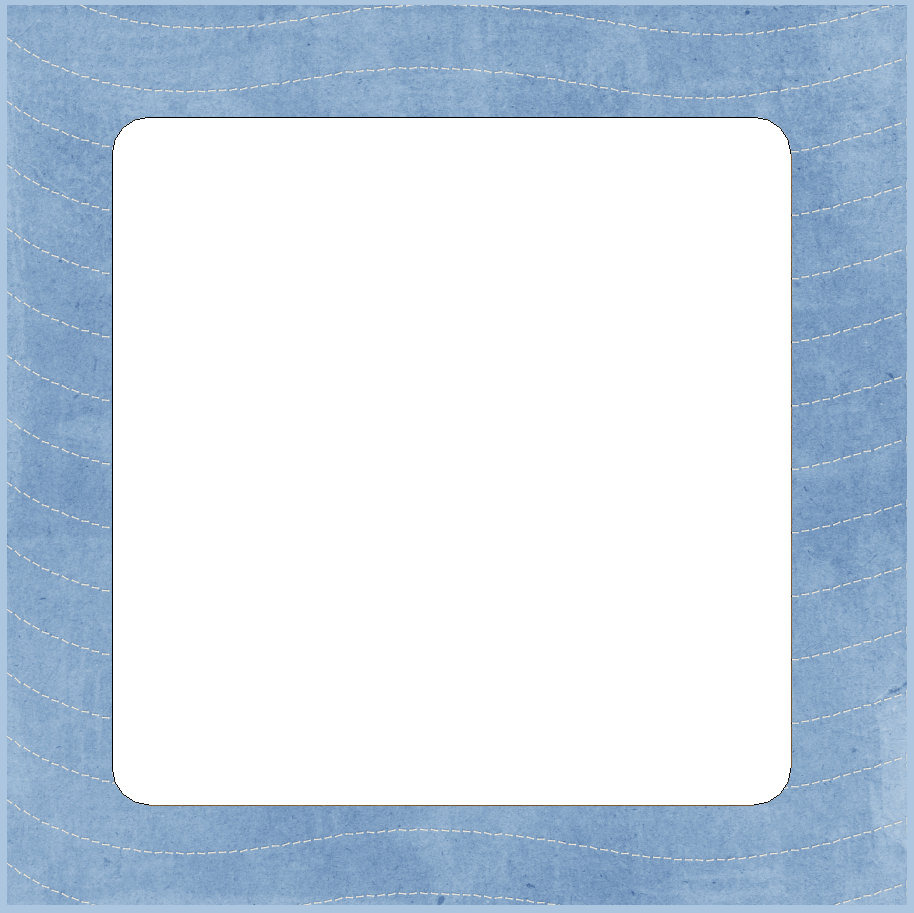
Step 3: Now, you will click on your layout, and hold the mouse button down. Drag the button, and you will see your shape forming with a dashed line. Make the shape the size that you would like. When you let go of the mouse button, the shape will be filled in with the foreground color.


 Hi! I'm Chelle: a 40 something mom of 7. My husband & I live in a rural community in the rocky mountains with our 4 children still at home. In the winters we enjoy sledding & snuggling by the fire. I the cool fall evenings we love relaxing around the campfire & meeting friends at the county fair. Admiring the stars


Thanks for the tutorial, Jenn. I easily forget about the rounded edges too!