


Hello Friends! Chelle has been designing her fingers off this week. Can yo guess why? You got it.
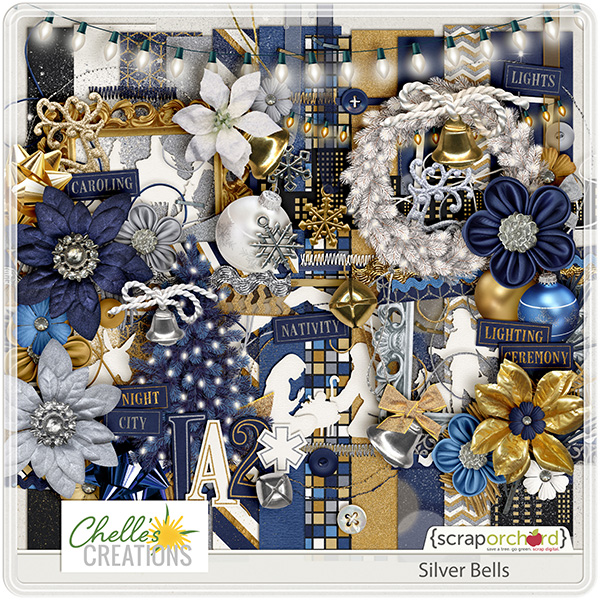
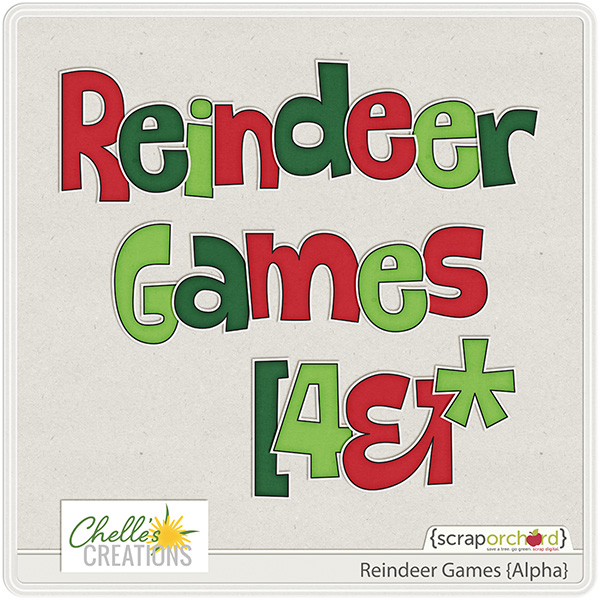
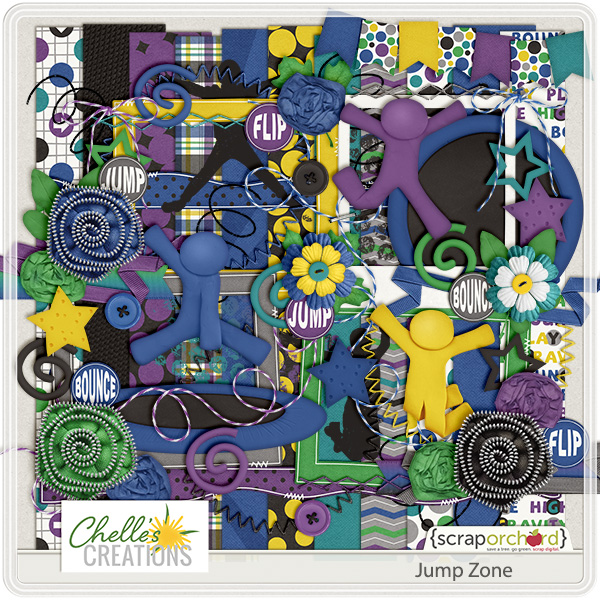
Chelle’s one day sale of the year was yesterday, Dec 4th her entire store was 50% off. As part of the 12 Days of Winter advent sale she released two new digital scrapbooking kits. Silver Bells & Reindeer Games.
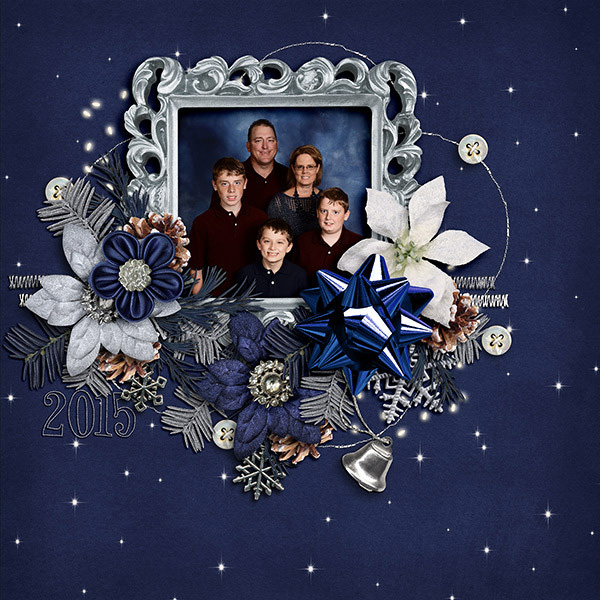
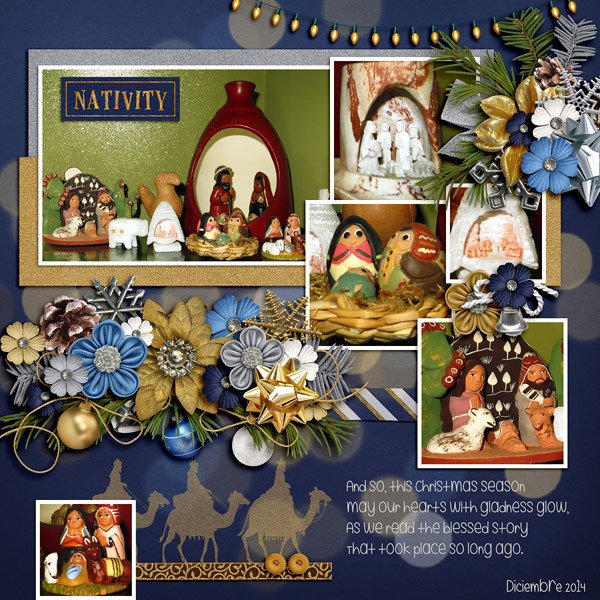

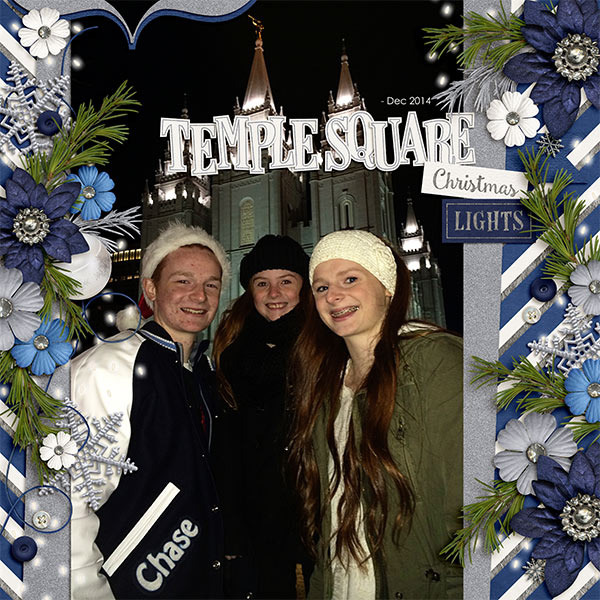


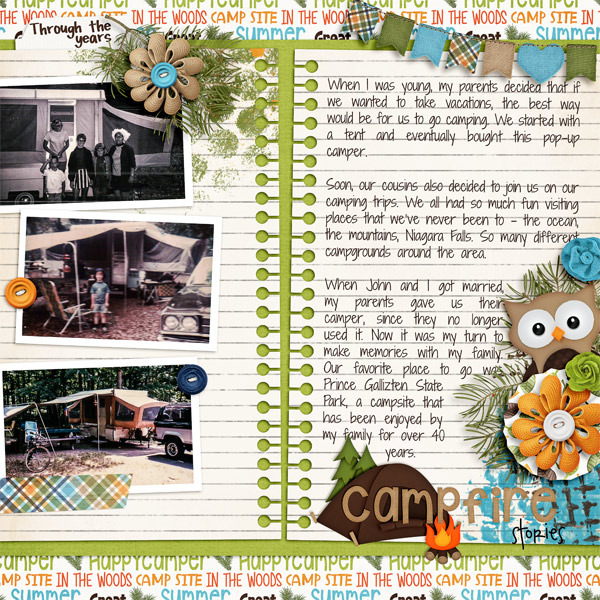
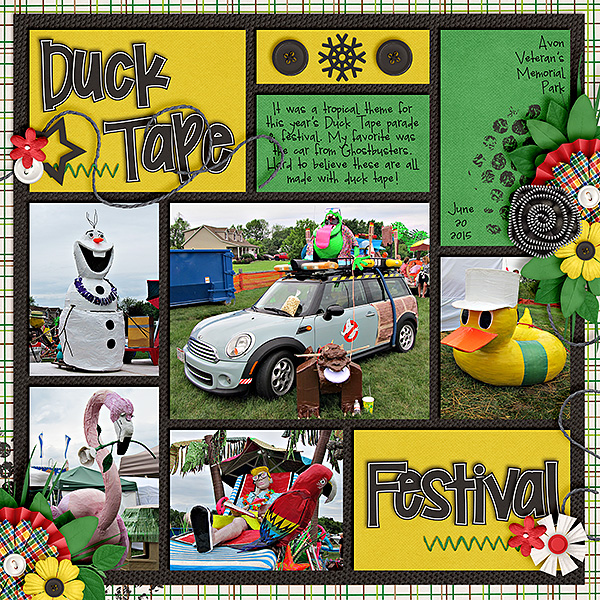
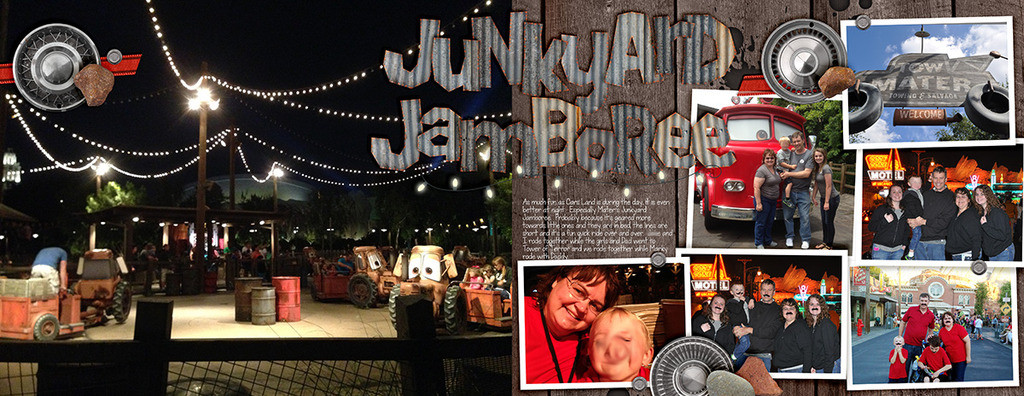
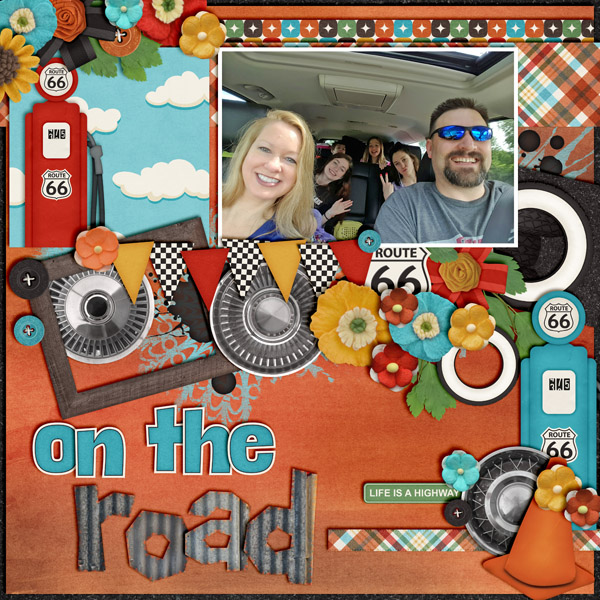
Did you miss Scrap Twister Thursday night? Here is Chelle’s layout using Silver Bells.

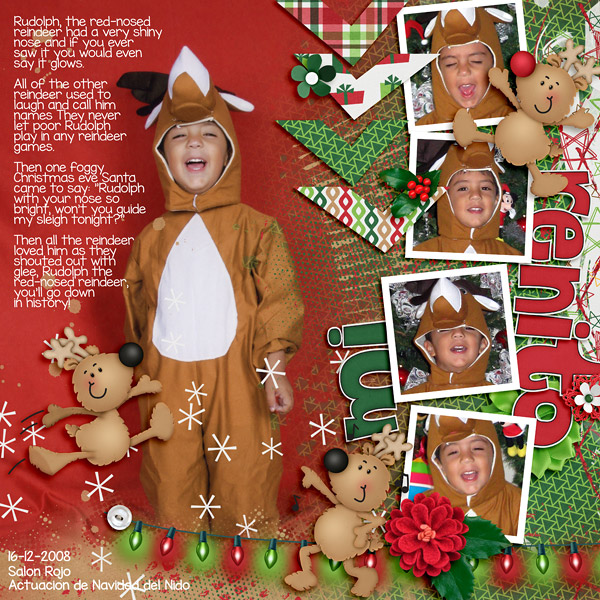
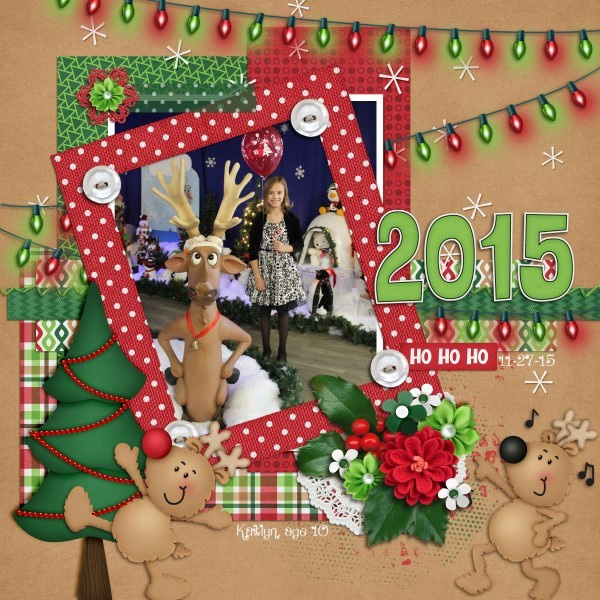
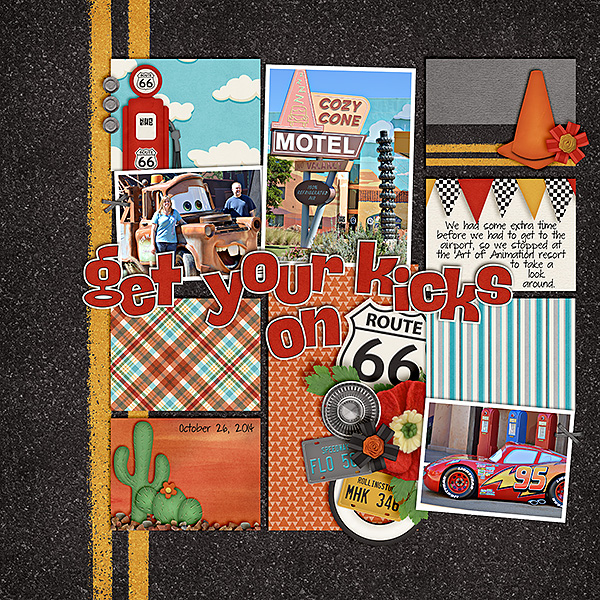
This one uses Reindeer Games.

You can still participate! Go HERE in the forum for the instructions. Post a layout before Sunday Night 11:59 PM. Here are the 2 Freebies that were provided if you completed Twister Game 1 & Twister Game 2.
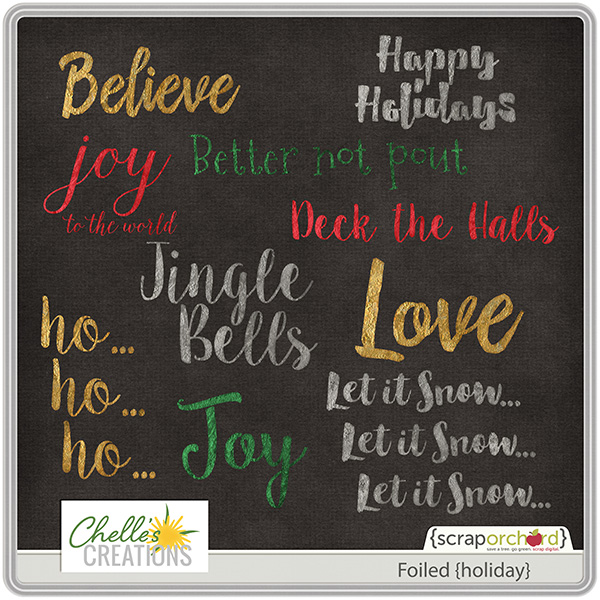
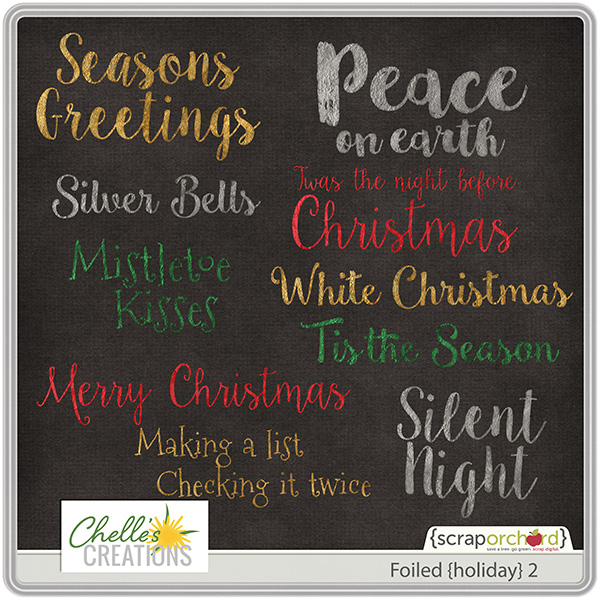
You can purchase CU Foiled if you aren’t able to do a layout before Sunday Dec 6th, 11:59 Eastern.

Have a great weekend!


 Hi! I'm Chelle: a 40 something mom of 7. My husband & I live in a rural community in the rocky mountains with our 4 children still at home. In the winters we enjoy sledding & snuggling by the fire. I the cool fall evenings we love relaxing around the campfire & meeting friends at the county fair. Admiring the stars


 Here are three ideas of things that you can do to connect with those grandkiddos that makes building a relationship a breeze - and loads of fun. "Face-to-Face" Relationships Video chats (such as Skype or Facetime) are a boon to grandparents. They allow us to actually see our grandchildren while we talk to them. But, don't spend all of your time just talking. Use video chats to actually play with them. For grandchildren that are seven years old or older, play Battleship with them. Each of you will need your own set - and then play like you would normally play. Grandsons especially enjoy playing this game. Charades is another fun game to play during a video chat. Have your grandchild act something out. You try and guess what your grandchild is doing. Once you guess correctly, then you take a turn to do something for your grandchild to guess. To make this a successful activity, make sure that you are several feet away from your web camera. If you are too close, your grandchildren won't be able to see your actions. Pictionary is another fun activity to play when you Skype with grandchildren. If your grandchildren are old enough for the commercial game, you can use the cards from that set. If your grandchildren are younger, have them simply think of something, draw it, and then hold the picture up to the web camera for you to see. As variation, use Play-Doh and make a three-dimensional object instead of drawing something with paper and pencil. You can also play other games such as Candyland, Chutes and Ladders, Twister, Boggle, Sorry, and Scattergories. Fun with Photos Typically, when grandma gets a photo of a family member, she sticks it on the fridge. While that is fine and dandy, do something different. Have fun with them! image: http://img.ksl.com/slc/2509/250945/25094587.jpg?filter=studio5/instory image: http://img.ksl.com/slc/2509/250945/25094588.jpg?filter=studio5/instory image: http://img.ksl.com/slc/2509/250945/25094589.jpg?filter=studio5/instory Big Huge Labs is a treasure trove of ways to create unique things from your photos. Here's just a smattering of fun things that you can create: · A motivational poster. · The cover of a magazine with a picture of your grandchild on it · Pop art · Photo booth pictures · Badges (ID badges) · Photos with comic-book style captions · Mosaic pictures · Personalized jigsaw puzzles · Trading cards · Movie posters · Framed pictures (frames that make your picture look like 35 mm film, a stamp, a to-do list, a Polaroid picture, or a bulletin board) · Bead art Doing wild and wacky things with photos is a perfect way to entice your kids and grandkids to send you a plethora of photos! Grandma Mail Everybody loves getting mail. When you send some to your grandchildren, jazz it up. Do something different. Be creative. Be unique! Here are a few ideas that will get your grandchildren dashing to the mailbox to check to see if there's something in there from grandma. · Write a letter and then cut it up into a puzzle. Your grandchild will have the adventure of putting a puzzle together before he gets to read you letter. · Here's a variation of the puzzle letter. Write a letter and cut it up into puzzle pieces. Divide the pieces into three groups and put in three different envelopes. Send the envelopes on three consecutive days. This builds the anticipation of getting all of the pieces and putting together the puzzle when they get all of the pieces. Be sure to let your grandchild know how many puzzle envelopes to expect. You can write on the envelope something like ‘first out of three envelopes.' · Always use a special color of envelopes for your letters (e.g. always use yellow envelopes). Also spritz your perfume on your stationary and envelope. This reinforces (through smell) which grandmother you are (the one who wears the lovely perfume). · Write a letter on several ping-pong balls. Box them up and send them off to your grandchild. · Buy clear vinyl from a fabric store. Stitch two pieces together creating several ‘pockets.' Fill the pockets with items such as stickers, pencils, notepads, glow-in-the-dark sticks, crayons, card games, coloring books, or books. · Make envelopes out of old calendar pictures, fun/pretty ads from a magazine, or scrapbook paper. · Use empty water bottles for your mailing containers. Put things in the bottle such as items to make jewelry, flavored lip balm, colored pencils or crayons, marbles, miniature toy figures (Army guys, cowboys or Indians), candy or gum, hair barrettes, puzzles (if the pieces are small enough), Legos, glow-in-the-dark sticks or bracelets. Nina Lewis (a.k.a. DigiGram) is the blogger behind Grandma Ideas. She has been blogging for 5 years and loves to use technology especially to connect with her grandchildren. She has four grandsons and three granddaughters - one granddaughter that was born exactly one week ago today. Read more at http://studio5.ksl.com/index.php?nid=54&sid=26040780#PSo6Hkr86d16PL66.99)