


Hi Everyone! It’s Jenn, aka jk703 Here for today’s post. Can you believe it’s almost November and DSD weekend!? This year is going by so fast. We are going to chat about retouching photos and I will provide some quick and easy tips to retouch your photos – fast and easily. First and foremost, when you retouch photos or work with any images, you should re-save the image as a new file so that the original will remain intact. The Layers Palette in Photoshop and Photoshop Elements is very important because you can work with your edits on each layer, without damaging your original photo. Just to be safe, re-save with a new name. Here are some great and easy tips.
1. Content Aware is an awesomely cool feature in CS6. It will allow you to remove unwanted items in your photos – which could be Wires, poles, other people, scratches, or other marks. This tool takes time to play with and you will end up with different results every time. Give it a try. It is found under Edit > Fill.
2. Smooth skin using the High Pass Filter. This is a backwards retouching technique. Most times the High Pass Filter will make your images crisp, and add some definition. For retouching photos, we will use it to soften skin and make it appear smoother. Make a duplicate copy of your image, and change the blend mode to Overlay. Run the High Pass Filter by Clicking on Filter > Other > High Pass. Next, click on Image > Adjustments > Invert. Your image will appear to have a fuzzy cloud over it. Click on the Mask button (grey square with a white circle inside) and add a mask to your duplicate layer. With the Mask selected, take a soft round brush and brush black on the areas of your image that you want to be sharp. The other areas will remain soft and smooth. Play with the Opacity to change the softness. Quick and easy smooth skin! (This can also be used for Teeth Whitening, too!)
3. Fix spots and other marks, scratches, or items on faces and people by using the Spot Healing Tool. This looks like a BandAid with a dotted circle behind it or you can press the shortcut: J. When using this too, you will want to sample All Layers and I usually use the Content Aware as my Type. You can also change the blend modes for this feature – replace, lighten, Darken, etc. All you have to do is press the Option button, and sample the skin that you want to work with, and then click and brush the area that you want to heal. This is especially great for the Under the Eye Bags that we get from scrapping all night long! For those pesky bags, make sure you have the Lighten blend option and play with the opacity.
4. Adjustment Layers and Curves can be used to tone down certain colors or add contrast to your photos. There is a small half black and half white circle on the bottom of your Layers Palette. This is the Adjustment Layer button. Click this and there are a HUGE amount of options for working with your photos. The Color Balance adjustment option allows you to change certain colors in your image, as well as Shadows, Midtones, and Highlights. You can also add a Curves Adjustment Layer to make changes to the contrast and processing. Be sure to click on the menu options you can try where it says Default.
5. Remove Red Eye with the Red Eye Tool lets you choose the darkness and size of the pupil. Get up and close to the eyes so you can be sure to cover the whole area that needs fixing. You can also
6. If all of your hard work is not working with your photo, and your editing and retouching hasn’t helped, try changing your photo from a color image to a black and white image. Black and white images are very forgiving and easy to do! First, make an Adjustment Layer, and choose Channel Mixer. Within that menu, click and check off Monotone. Your image will instantly become black and white. Next make another Adjustment Layer, and choose Brightness/Contrast. Play with the sliders until you are happy with the black and white conversion.
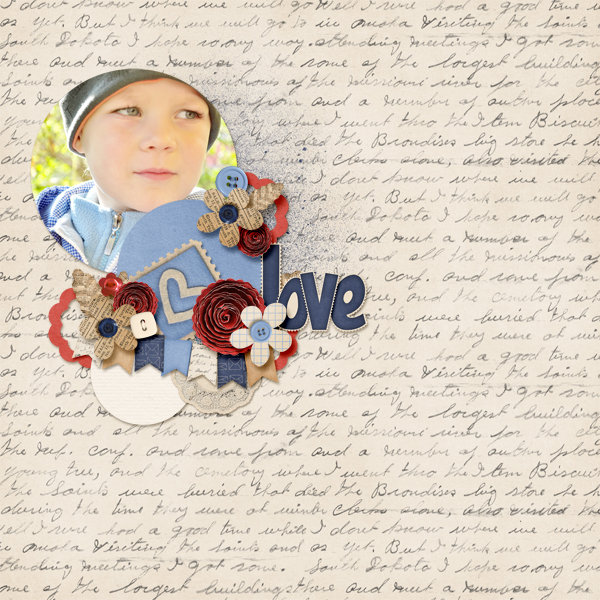
There are so many more ways to retouch your photos, but I think that working with these will get you off to a good start. Here are what the CT did with their photos and layouts. Dagi had a darker photo, and used an Adjustment Layer > Curves to lighten her image and improve the dark contrast. Here is her layout, and she used Letters From Home.
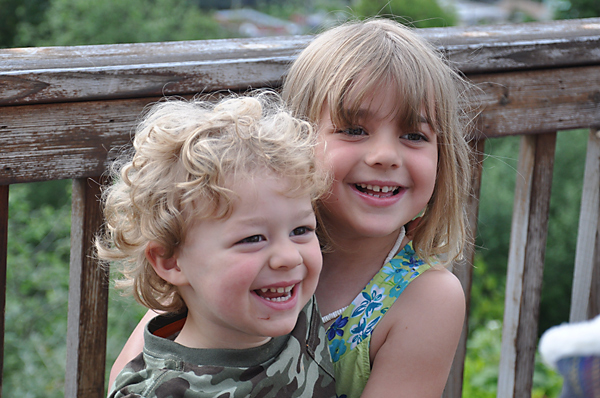
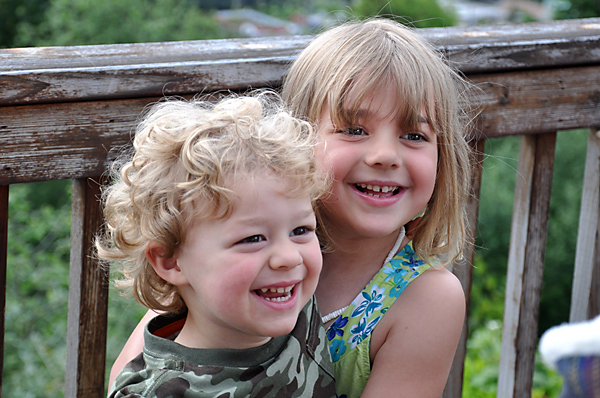
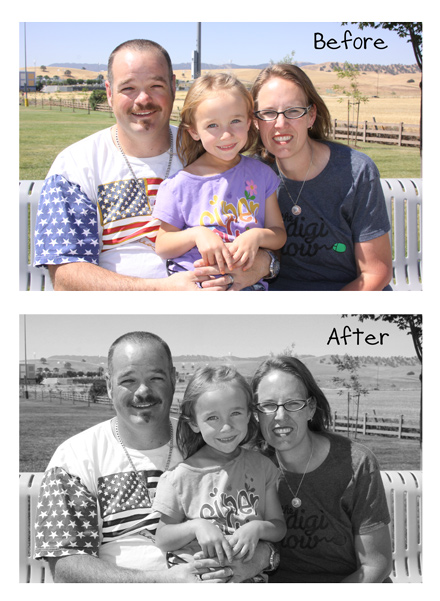
Carol sharpened the photo by using the unsharp mask, and then she used the clone tool to get rid of a scratch mark on his chin. She also lightened the area around the little girl’s eyes, whitened the whites of the eyes, and added some catchlights.
Before:
After
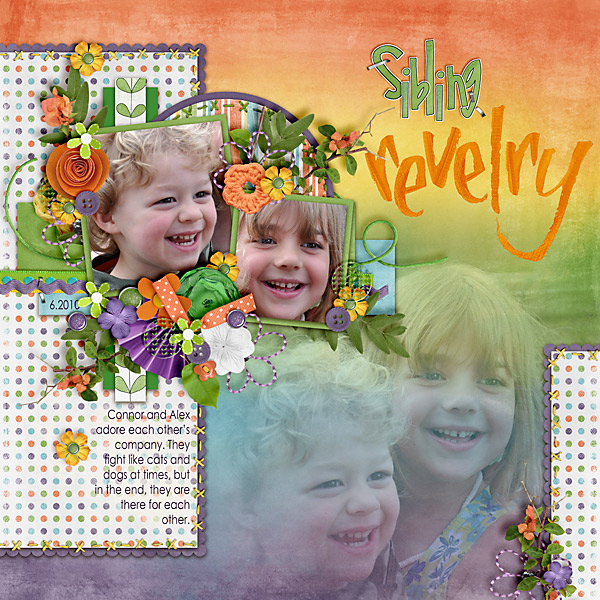
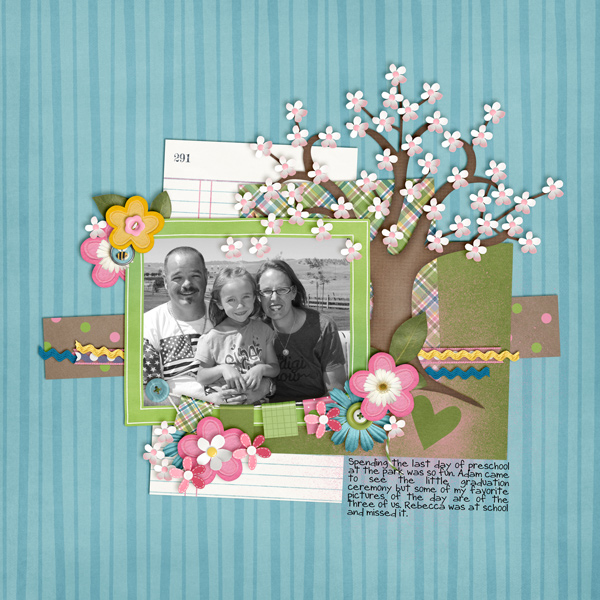
And her layout, using Bugcatcher in combination with other items:
Lastly, Krisi worked with a photo by using content aware to remove the pole sticking out of Rachel’s head. She also used an Adjustment Layer – Black & White – Maximum Black to change the photo to Black and White. I love how it turned out. Here are her images:
Here is her layout, using the Through The Years Quick Pages:
I hopt that you’ve learned something useful for retouching your photos today! Thank you for coming by the blog and visiting! Hope to have you back again!


 Hi! I'm Chelle: a 40 something mom of 7. My husband & I live in a rural community in the rocky mountains with our 4 children still at home. In the winters we enjoy sledding & snuggling by the fire. I the cool fall evenings we love relaxing around the campfire & meeting friends at the county fair. Admiring the stars


