Hi Everyone! It’s Jenn here, otherwise known as jk703 around digiland! Hope you are enjoying your summer! Today, I am going to show you how to play with the shadows on strings. They will look as if they are lifted off the page, and this can be applied to papers, and other embellishments too!
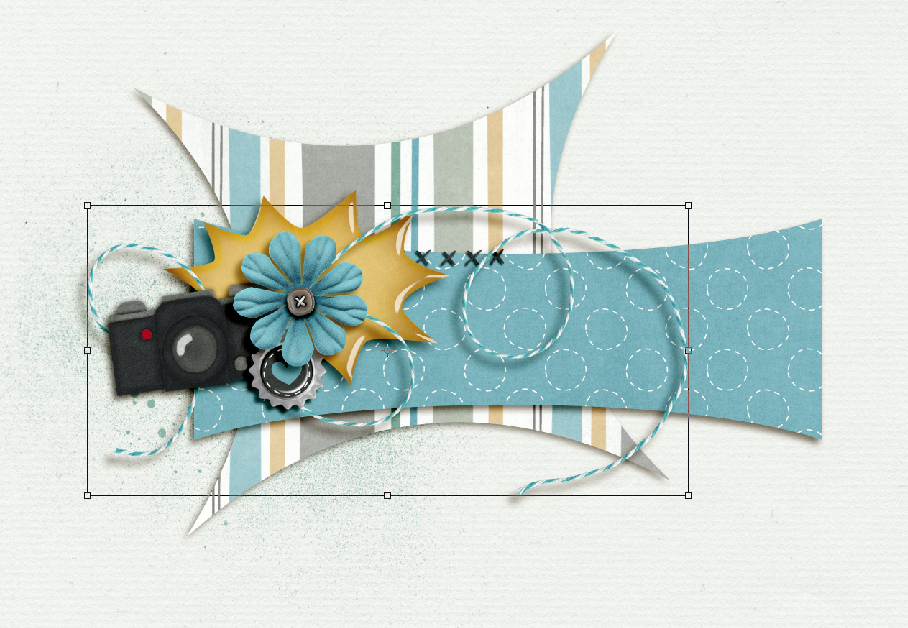
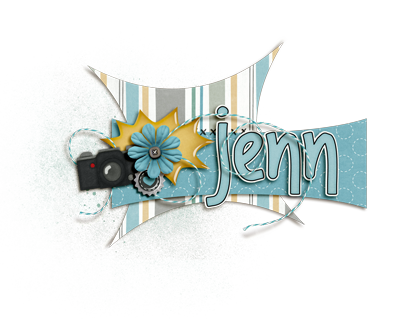
Scrap as you normally would scrap. After you have finished your page, we will tweak your string shadows to make them appear just a little lifted off the page. I’m using Photoshop CS5 and you will need to be able to split your Shadow and element by “Creating Layers” in the Layers Palette. For my example today, I’ve used Oh Snap! and I decided to make a siggy! For this tutorial, I have inserted a white paper for the background so it would be easier to see the shadows and how they move. Here is what it looks like now:
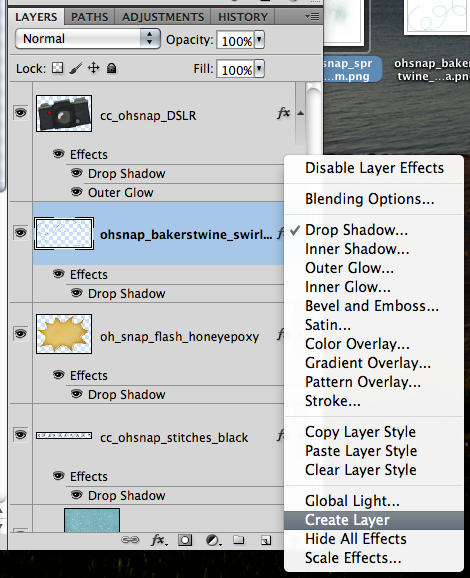
Now, you will right click on the string layer in your layers palette. Choose Create Layer.
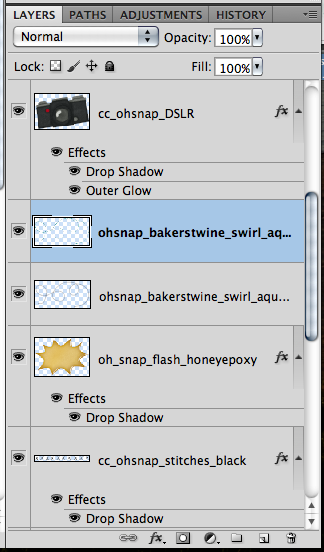
Next, you will have the string’s shadow selected from the layers palette. Click on the Smudge Tool.
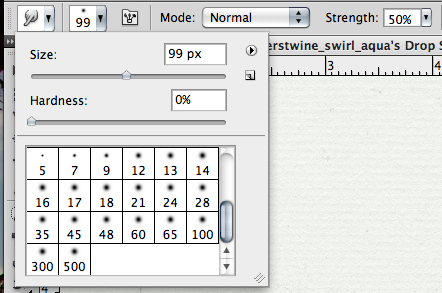
After you have chosen the smudge tool, you will want to change your brush to around 100 or so and with an opacity of 50%. This is all personal to what you like, so you can change this as you see fit.

Look at the shadow of the string, and see where you would like it to lift a little from your page. Click on the shadow of the string, slightly move it in the direction that you want. I moved three different spots on my string. The problem now, is that my string looks too dark where it was lifted.

Choosing the Eraser Tool, and changing the size to about 135 with an opacity of 20%, I slowly erased some of the shadows darkness where the string is lifting.

Next, I went back and used the smudge tool on areas to make the string appear closer to certain layers, such as the topmost paper. It takes practice, and it is a personal preference as to how much your strings are lifted off the page. You can also go back and create layers for papers and other elements, such as flowers and bows. Smudge them up, and give a little lift to your pages. Here is what mine looks like after I played with the strings and paper corners.

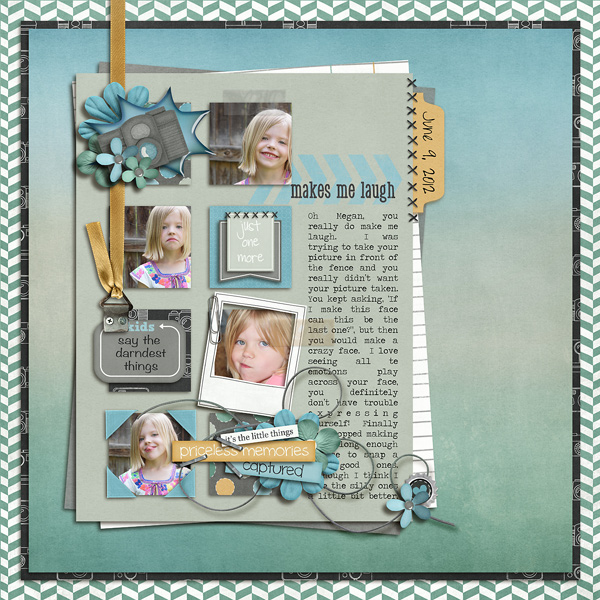
Here are some layouts that they team did using strings. Here is Karen’s before layout and then her after layout. She worked her layout in PSE, and used her own workaround to lifting the string! She used Chelle’s Oh Snap! also. Before:
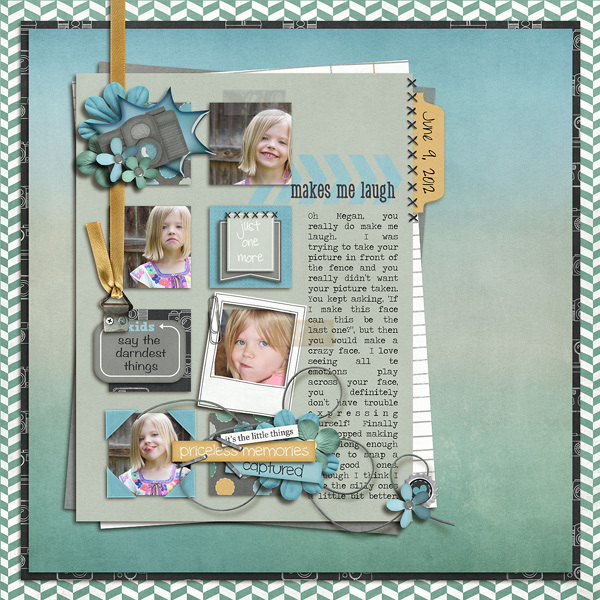
After:
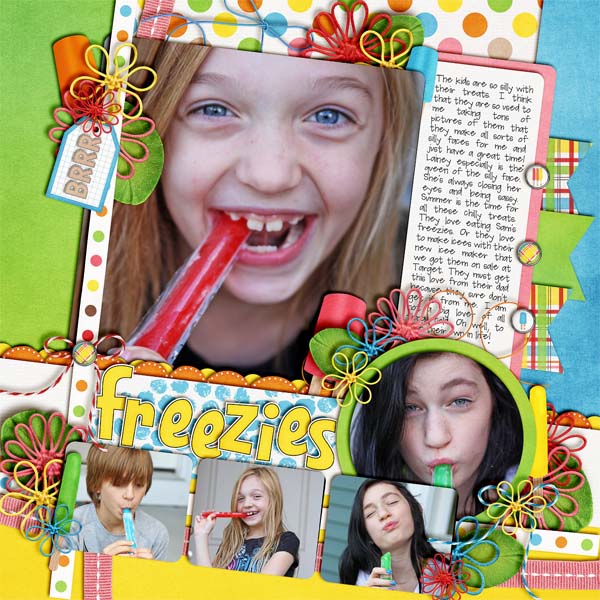
From Melissa, using Beat The Heat:
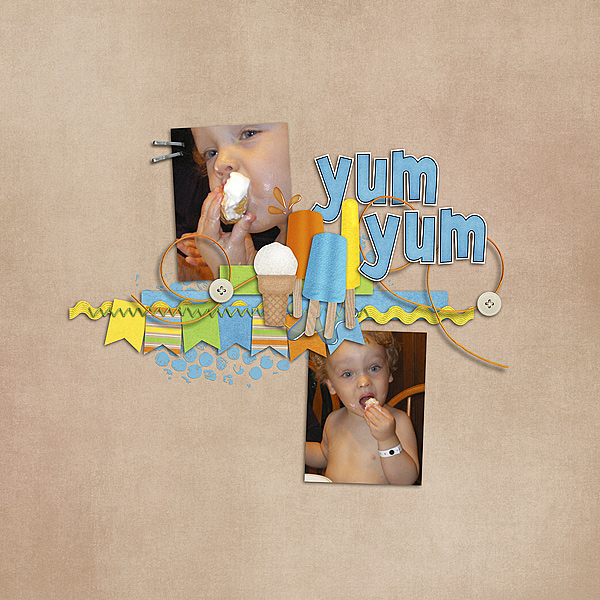
and one from Jenn, also using Beat The Heat:
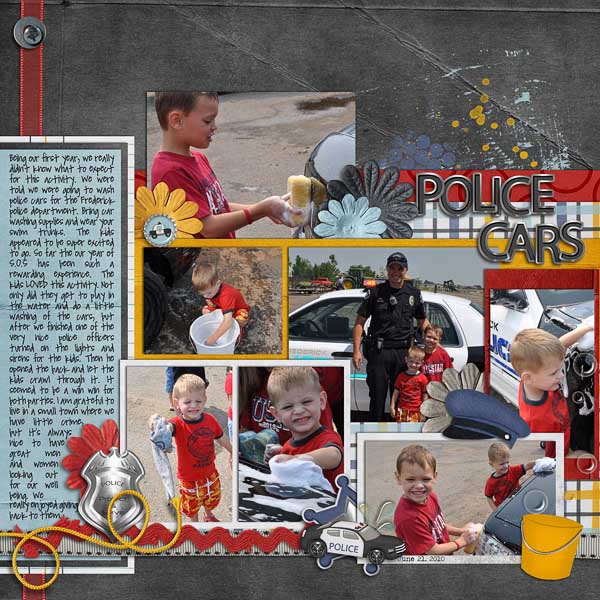
Erica made this awesome page using Heroes {Police} and the bucket is from Spic -n-Span:
There you have it. Hopefully, you can give it a try! We would love to see your layouts in the gallery trying out any of the tutorials you can find on Chelle’s blog! Thanks for visiting and we hope you come back soon!




 Hi! I'm Chelle: a 40 something mom of 7. My husband & I live in a rural community in the rocky mountains with our 4 children still at home. In the winters we enjoy sledding & snuggling by the fire. I the cool fall evenings we love relaxing around the campfire & meeting friends at the county fair. Admiring the stars


