


Hi Everyone! Hope you are all doing ok! It’s Jenn, aka jk703, here from the super cold (for us) this week! It’s the coldest we’ve seen in a while in New Jersey, so I’m happy to stay bundled inside and under a few extra layers of warmth!
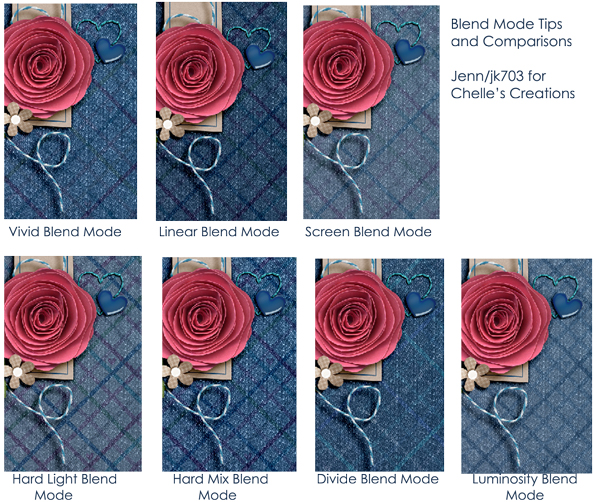
With layers in mind, we are going to take a peek at Blend Modes and how they compare to each other. First, Blend Modes are ways that we can change the look of our layers. They can blend layers together to create new looks and effects. There is a base layer and then the “painted or edited” layer. Blend modes will let the layers own, highlights or shadow, details to show through from the underlying image.
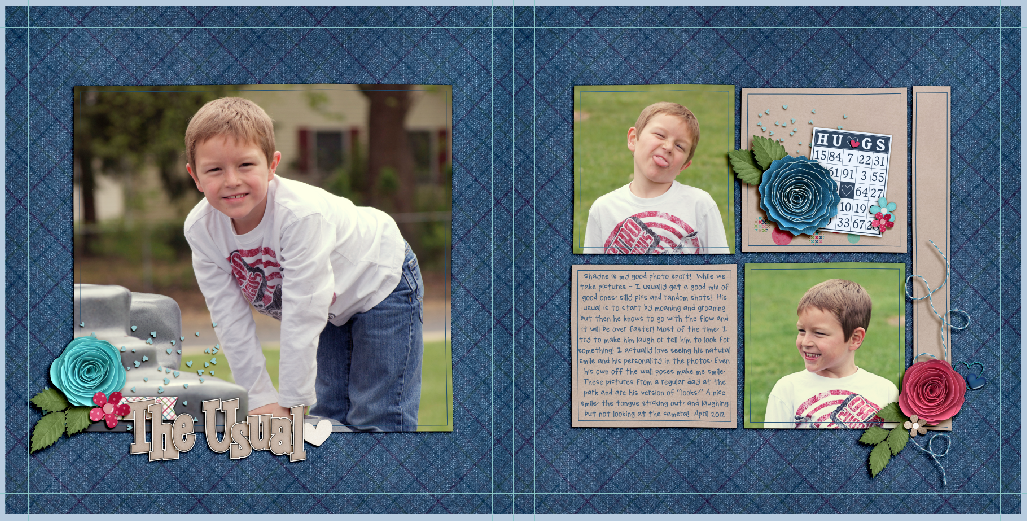
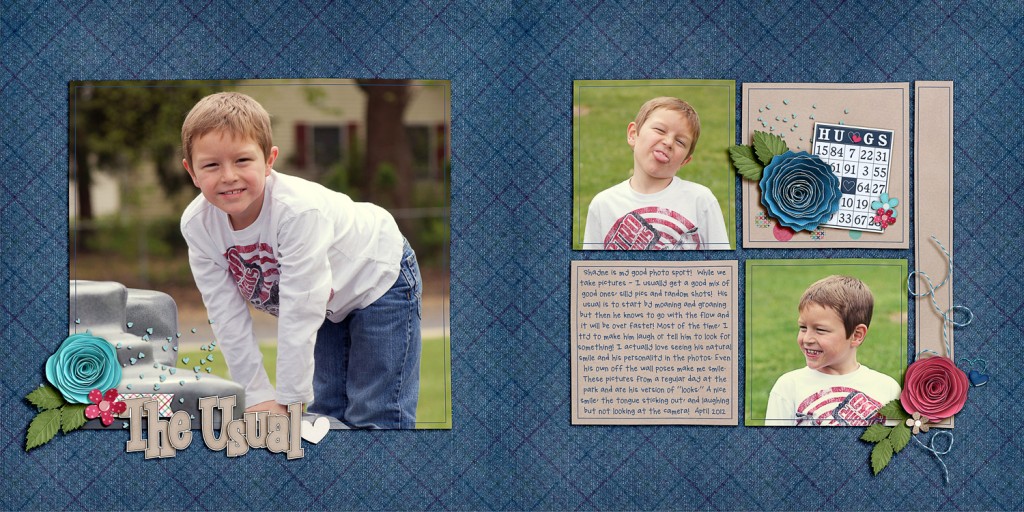
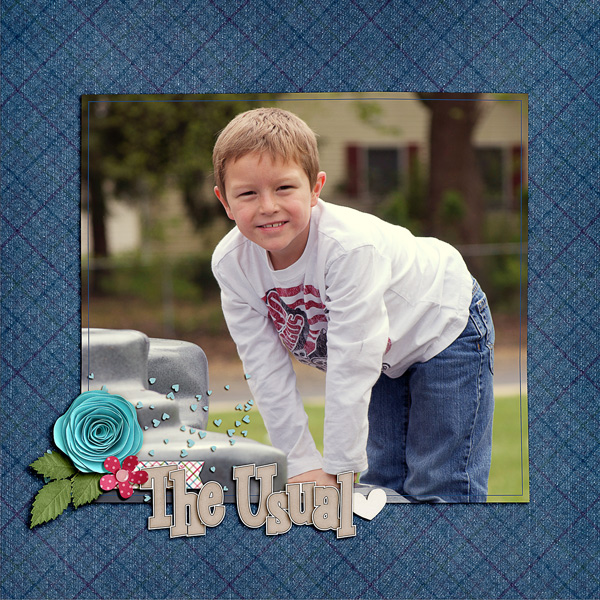
For this post, my base layers will be “Normal” and at 100% fill and 100% opacity. Combining the two layers can create some beautiful effects, and enhance your papers, ellies or photos in digital scrapbooking. Here is my layout that I created. My background is actually a combination of blend modes and papers. I used Chelle’s Love Grows Bundle for my “The Usual” layouts.
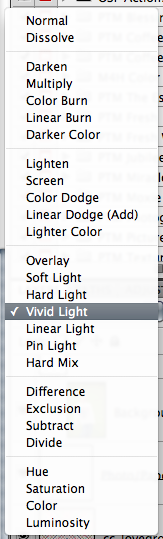
Here is the list of Blend Modes that are available to you:
Here are some easy explanations for my favorite blend modes – from my point of view and usage.
- Normal = no change or blending
- Darken = replaces pixels that are lighter than the original layer. If they are lighter, they are replaced.
- Multiply = takes the base layer color and multiplies it to the blend color layer, which makes darker color. Great for overexposed images.
- Color Burn = darkens the base layer color to reflect the blend color layer. White has no effect of this blend mode.
- Linear Burn = darkens like Color Burn, but takes away the brightness.
- Lighten = chooses either the base color or the blend color, whichever is lighter.
- Screen = color from both layers are multiplied by the inverse colors. The result color is always a lighter color. Screen is the typical fix for an underexposed image because it lightens it.
- Overlay = applying a multiply or screen effect depending on the base color. Great for enhancing colors.
- Soft Light = Darkens or lightens colors, depending on the blend color layer. It is like shining a diffused or muted light on the layers.
- Luminosity = lightness is changed to that of the blend layer while preserving the base colour and saturation. Great for blending.
Currently, my paper layers look like this… As you can see, I have a lighter plaid paper on top of the denim paper. I also have a teal paper under my denim paper. This is because I was indecisive when choosing my final background. I decided that the dark denim looked best. For this blog post, the teal paper does not affect or change the color of my background as I have turned off the viewing of those 2 layers.
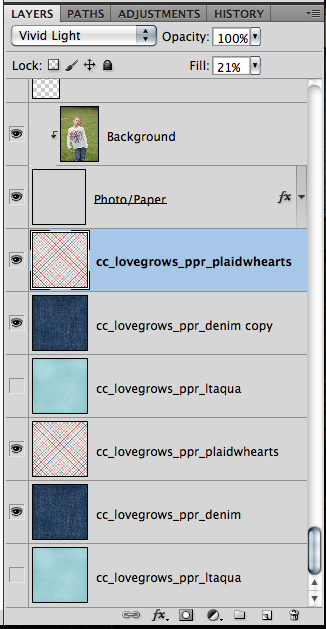
Right now, you can see that my light plaid paper has a blend mode of Vivid Light chosen, and a fill of 21%. A very important tip: lowering the opacity of the layer will weaken both the layer and its effects. By lowering the layer’s fill, it will weaken the layer without affecting the appearance of the effects. I see what I like when I create, but many times I choose Fill over Opacity. 
Here are my final pages:
Here is what the CT did with their blending!
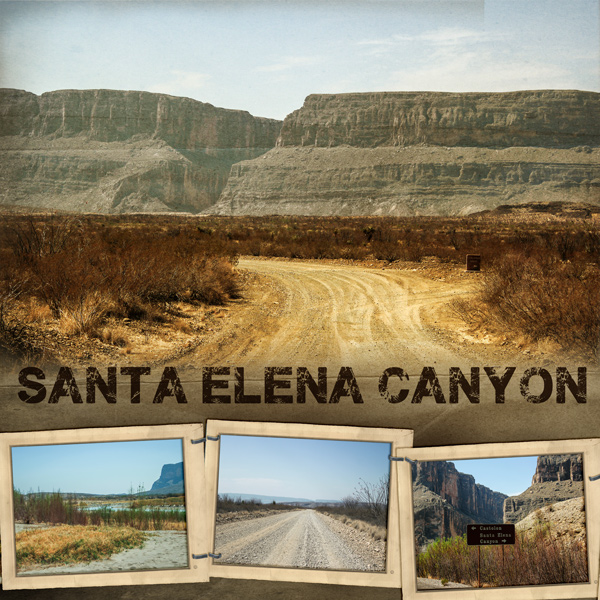
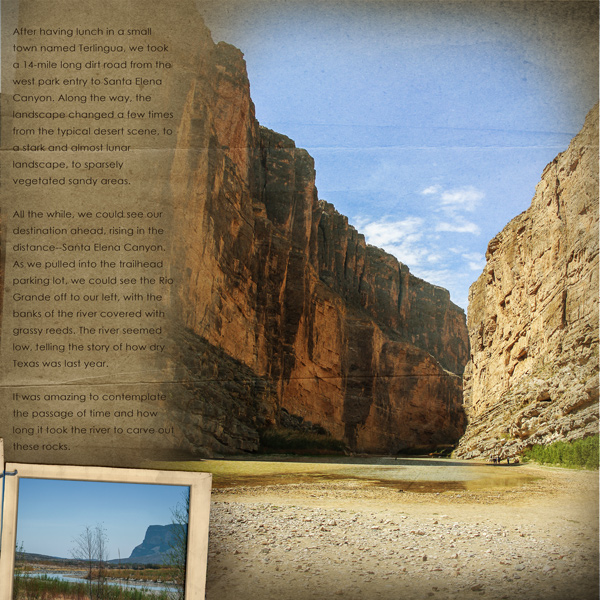
Leslie (lab130) created this wonderful photo stunning page! Look at that! She used Chelle’s ‘On the Trail‘ paper and ‘Letters from Home’ frames and staples. Here is how she described her layouts with the blend modes – “The large photos are hard light blended. The smaller photos are multiplied and the opacity of the multiplied photo is reduced to about 50%.”
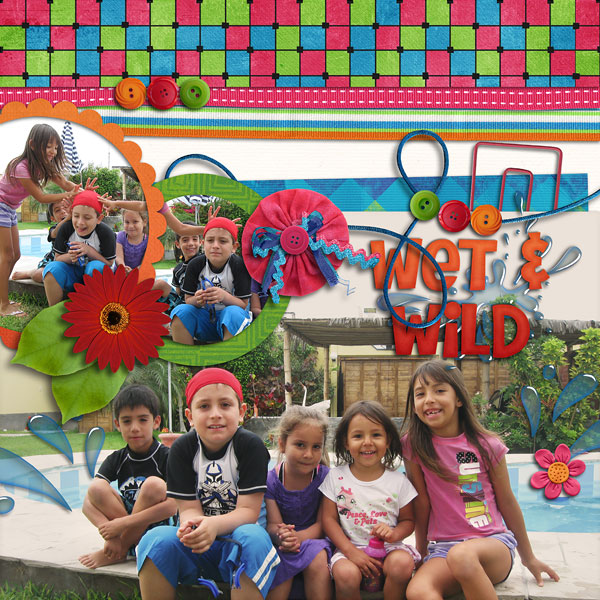
Roxana (roxanamdm) said that she Used 3 layers for the background picture to make the kids pop a little from the photo. The opacity of the layers were as follows: 1-overlay 30%, 2-soft light 30%, 3-normal 80%. I believe she used Chelle’s Make a Splash kit.
One last tip! When you want to scroll through the blend modes for a specific layer, there is an easy way. Just choose the layer that you want to play with int he Layer’s Palette. Next, click on the Blend Mode list in the top left of the Layers panel to select a blend mode. Then press Shift + (plus key) to cycle down the list and Shift – (minus key) to go back up. This little tip is a time saver!
Have a great week everyone!


 Hi! I'm Chelle: a 40 something mom of 7. My husband & I live in a rural community in the rocky mountains with our 4 children still at home. In the winters we enjoy sledding & snuggling by the fire. I the cool fall evenings we love relaxing around the campfire & meeting friends at the county fair. Admiring the stars


