


Hey everyone! Happy Valentine’s Day if you are in the US! This is Jenn, aka jk703, here for today’s tutorial for Stroked Overlays. This is to add a little edging around your paper or photo. A simple technique, yet it can add a little pop to the page. Let’s get started.
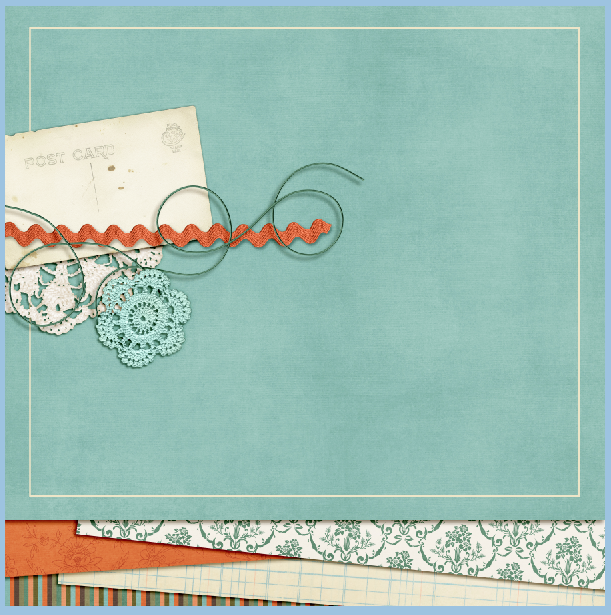
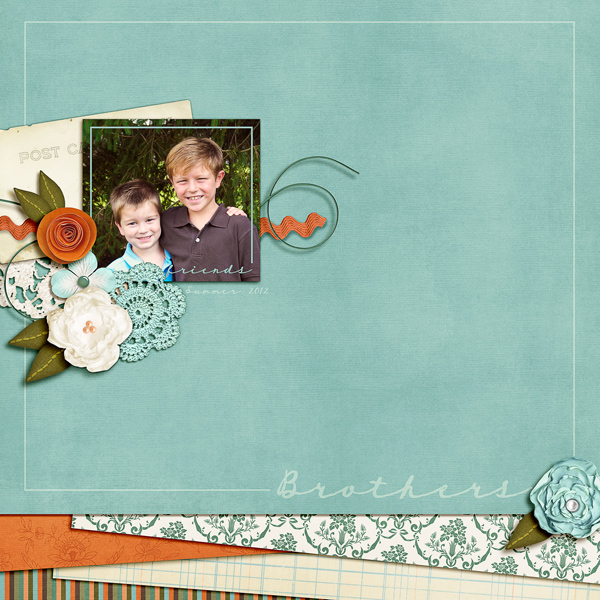
Here is my layout that I am working on. I’ve used Chelle’s Family Tree for my example.
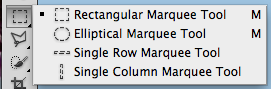
Using the Shape Tool… Create a Shape… any shape you like. I chose a rectangle (and later I changed it to a rounded rectangle). Then click on the Shape’s thumbnail in the Layer’s Palette. This will bring the ants marching around your shape.

Create a new layer by clicking on the square with the folded edge that is on the bottom of the Layers Palette. If this is a paper, then you can hide the shape layer. If this is a picture, please leave the shape unhidden. 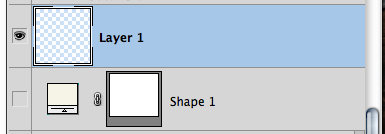
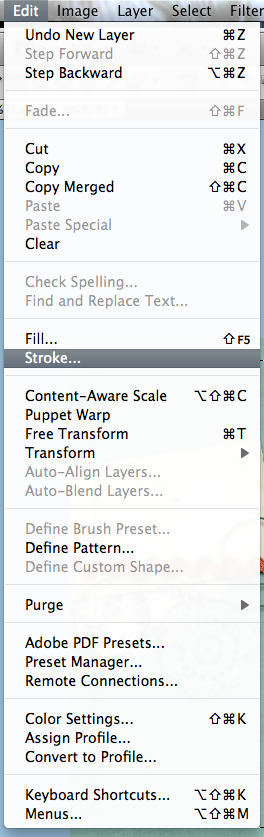
My example is for a paper, so I have hidden my shape layer. With this new layer selected, click on Edit > Stroke. A pop up will appear… you can make your choices for color, size and blend mode.
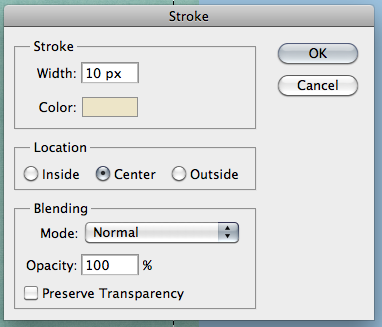
Once you click ok, press Command + D (Control + D for PC). You will have a stroke of your shape, super easy! (I will refer to this as the stroked layer) You can change it up to have rounded edges, blend modes, and colors.

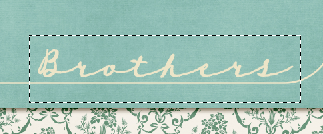
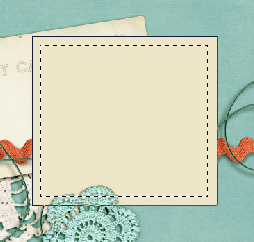
Next, in the Layers Palette, I’ve chosen the stroked layer I just created. Then I selected the Rectangular Marquee Tool. I’ve clicked and dragged a rectangle over the word I typed in – “Brothers.” Once I have my rectangular Marquee in the right spot; I let go of the mouse. I pressed the delete button and the part of the line within the rectangular marquee was deleted. Switching to the Move Tool, I was able to scoot my Type Layer down to fall within the line.
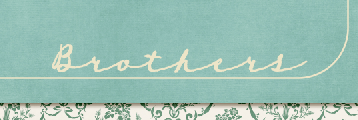
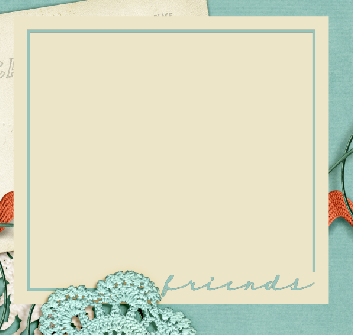
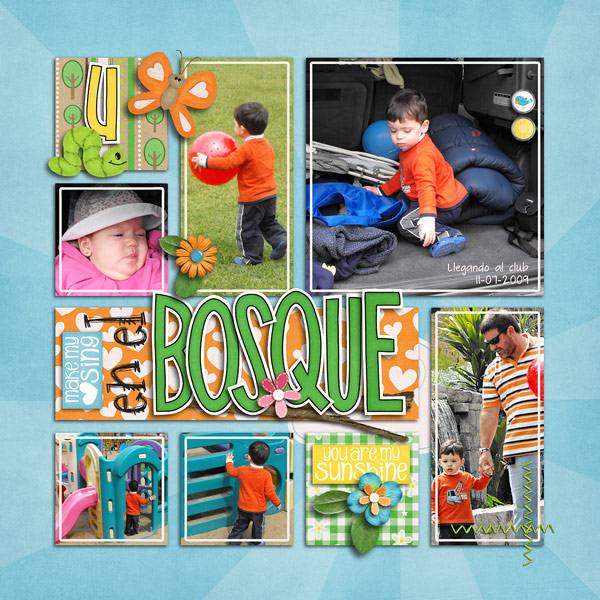
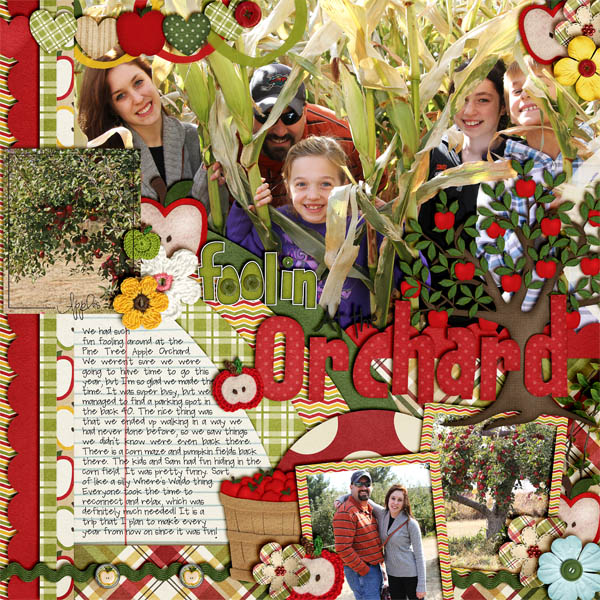
 Here is a paper overlay stroke… with a title mixed in, blend mode changed to Soft light. My font is TXT Longhand.
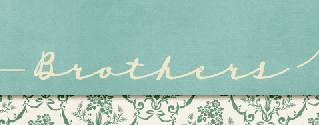
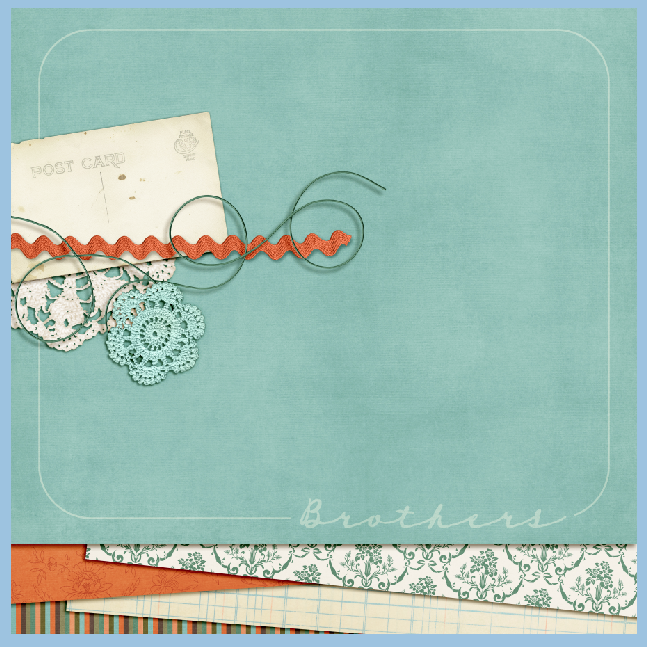
If you are working on a layer that is for a photo or something else that you want to outline don’t hide the shape layer. That will become your photo mask. Click on the shape’s thumbnail in the Layer’s Palette to get the marching ants. Create a new layer, and then click on Select > Modify > Contract. A pop up menu will appear. I chose a contraction of 50 pixels, and click ok. Add the stroke as stated above. You will have a stroke on the inside of your photo mat. You can follow the same steps to remove part of the stroke to add words, or maybe a date.


 Hi! I'm Chelle: a 40 something mom of 7. My husband & I live in a rural community in the rocky mountains with our 4 children still at home. In the winters we enjoy sledding & snuggling by the fire. I the cool fall evenings we love relaxing around the campfire & meeting friends at the county fair. Admiring the stars


