


Hi everyone…. It’s Thursday and that makes me happy! This is Jenn (aka jk703) and I get to bring you a fun and super easy tutorial today. We are going to add a little oomph to your photos, by adding a bokeh texture. Bokeh what?!? I know… sounds odd and even when it’s typed it looks odd – but I promise it is fun.
In the past, bokeh was always known as the blur that is in your photos, mostly around the things that are in focus. You take a picture of a child, and the area all around the child is in a blurry state, while the child remains in focus. The blurry areas, aka areas out of the depth of field, are referred to as bokeh. Bokeh usually, though not always, has reflective out of focus points of light. Nowadays, with improvements with cameras and equipment, bokeh is used to refer to those specific out of focus lights or shapes in your photo.
Bokeh is easy to add to your photo, but it takes time, patience and a little effort. You will need to play with different bokeh textures to find the ones that fits with your photo. That is the biggest hurdle to this tutorial – trying out many bokeh textures. Good thing there is only about 5 steps to add the texture!  ok… let’s get to it.
So… where can you get bokeh textures? Try out this awesome site – Lost and Taken – specifically this post about 94 Free Colorful Bokeh Textures – http://lostandtaken.com/blog/2012/1/25/94-free-colorful-bokeh-textures.html. Here is their About Page to learn more about this wonderful site. Once you have downloaded the textures, take a peek at them to see what you like, and what may work with your photo. Also, pick a couple that you think would look bad with your photo too. lol!
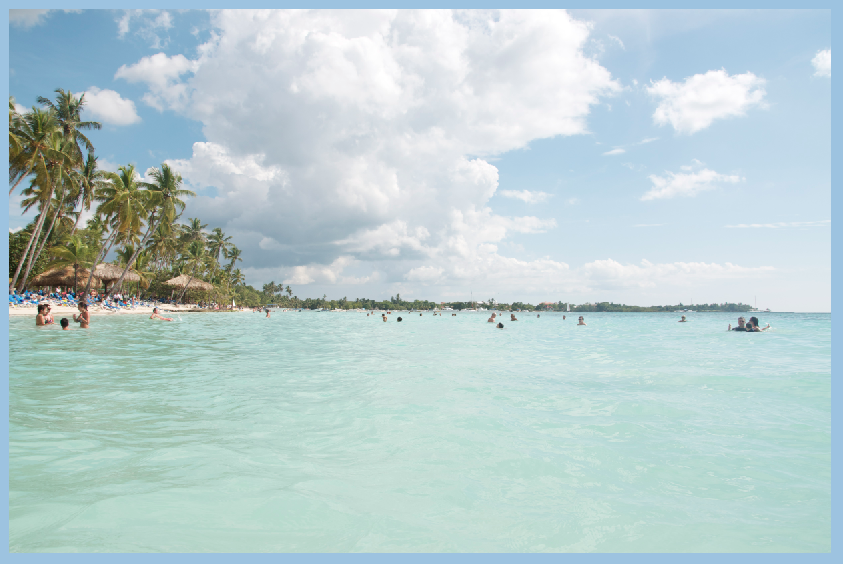
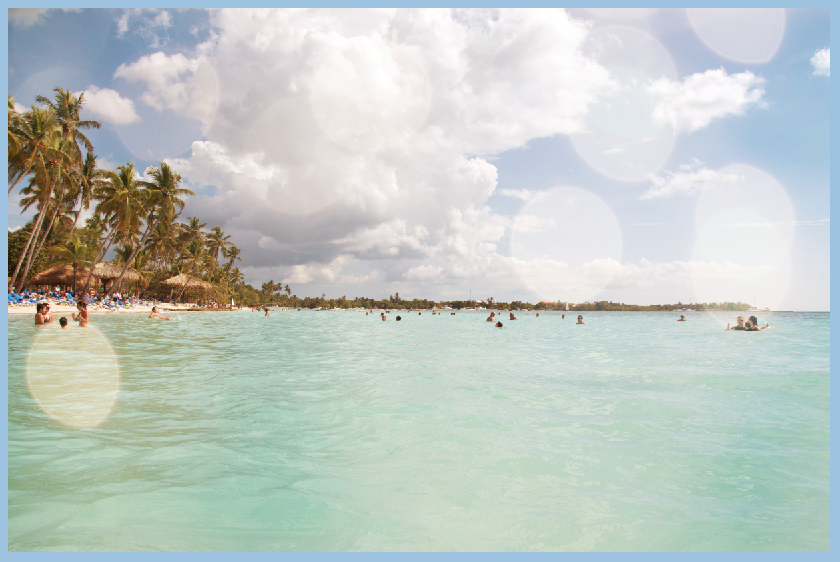
First up, open up both your photo and the bokeh texture that you want to use. Here is my photo of La Romana, DR:
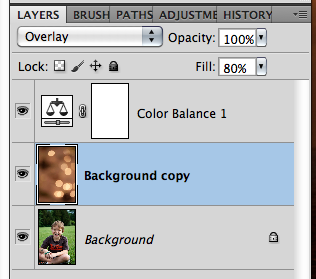
Next, click over to the bokeh texture, and Copy it into your photo’s file. Make sure to have your Bokeh on top of your image in the Layers Palette. 
With the Bokeh layer selected in the Layers Palette, change the blend mode to Overlay. 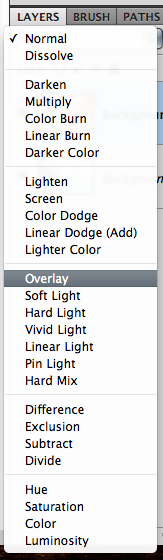
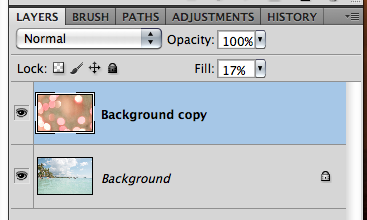
Once you have overlay selected, you will then play with the opacity of the bokeh layer.
Here is what my image looks like with the Bokeh overlay and opacity played with. Simple, subtle and pretty. 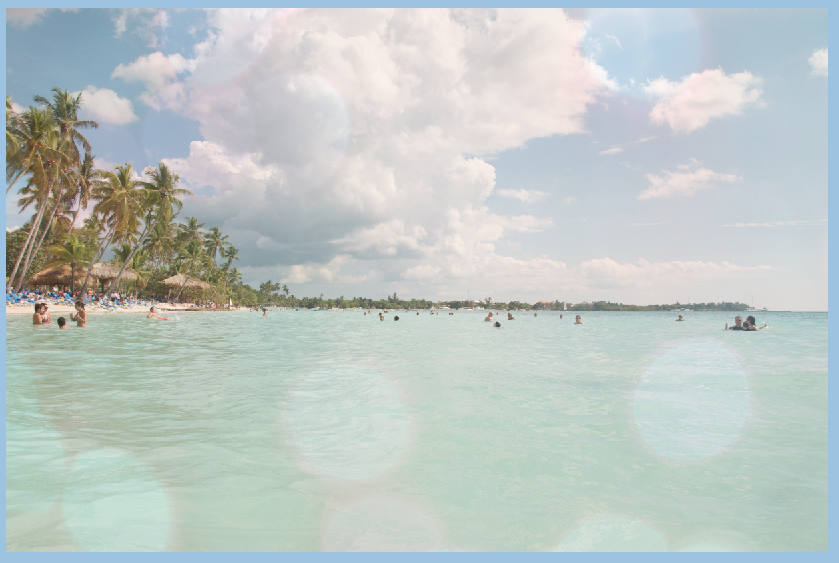
Here is another boken and it’s effect. 
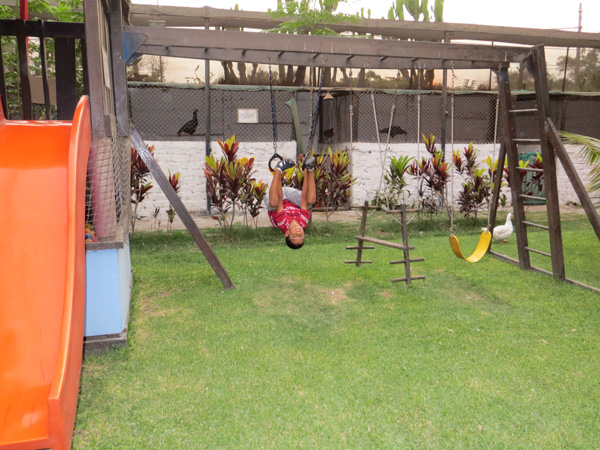
One last one with my son and a bokeh effect. If you find that your image takes on too much of one color, you can always make an Adjustment Layer to remove that cast of color. For these images, I created an Adjustment Layer to remove some of the orange coloring. 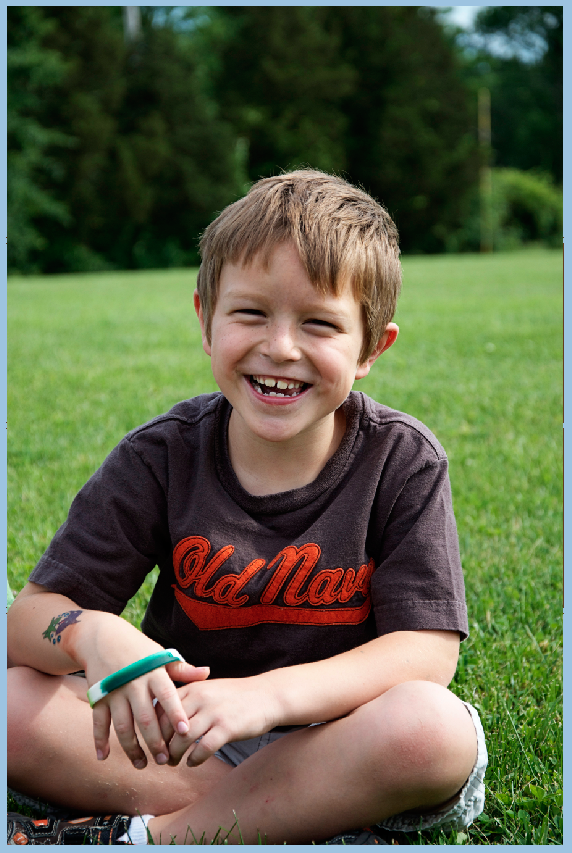
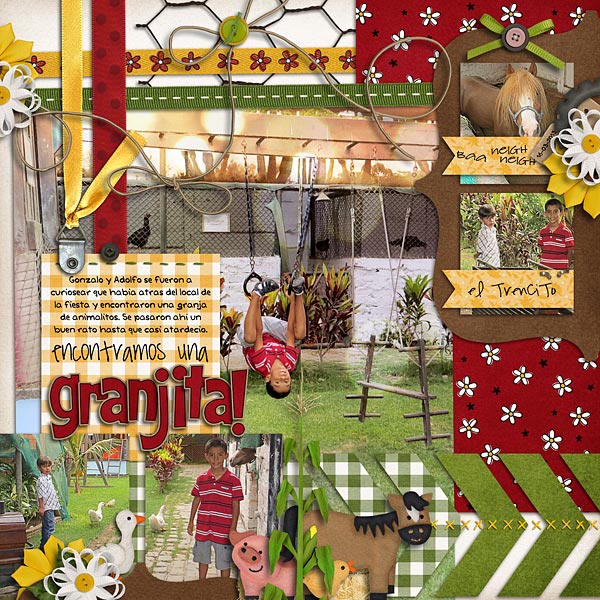
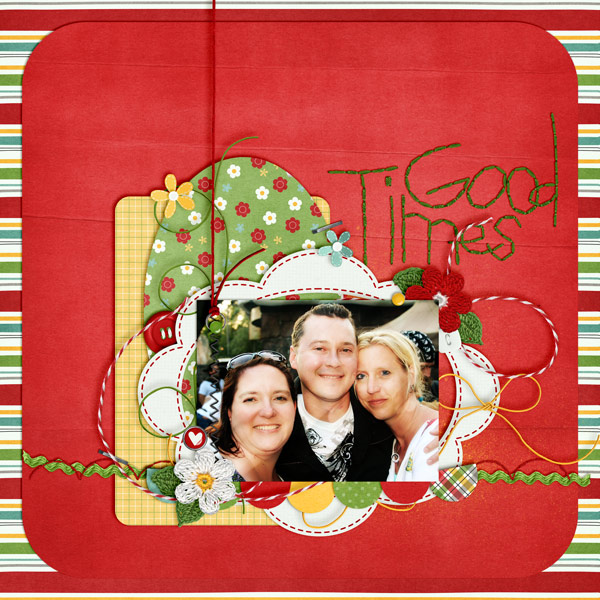
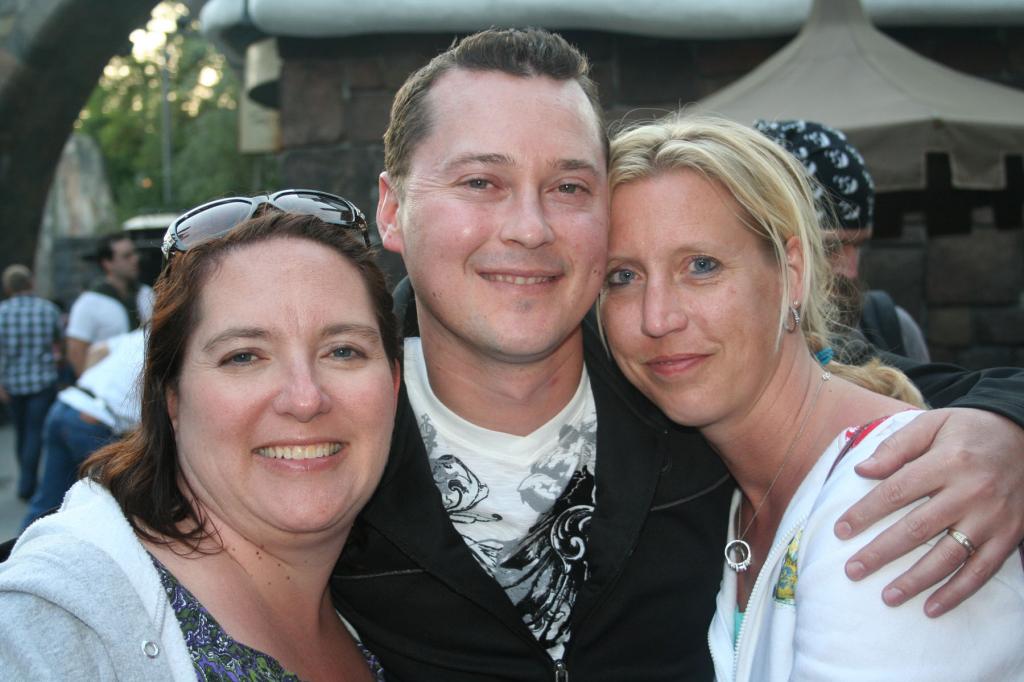
Here is what the CT came up with….
Roxana (Roxanamdm) said it took her some time to choose the bokehs and then the correct color and opacity. It wasn’t easy to find the right bokeh for her photo. I used Bookeh #21 and #12. EIEIO was used.


 Hi! I'm Chelle: a 40 something mom of 7. My husband & I live in a rural community in the rocky mountains with our 4 children still at home. In the winters we enjoy sledding & snuggling by the fire. I the cool fall evenings we love relaxing around the campfire & meeting friends at the county fair. Admiring the stars


