


Hi Everyone! Happy Thursday… I’m so glad it’s almost Friday! It’s starting to get warmer here, though we’ve seemed to skip Spring a little – we jumped from 60’s to 80’s in days… and I’m already tempted to turn on my air conditioning! That’s early for me in the Northeast!
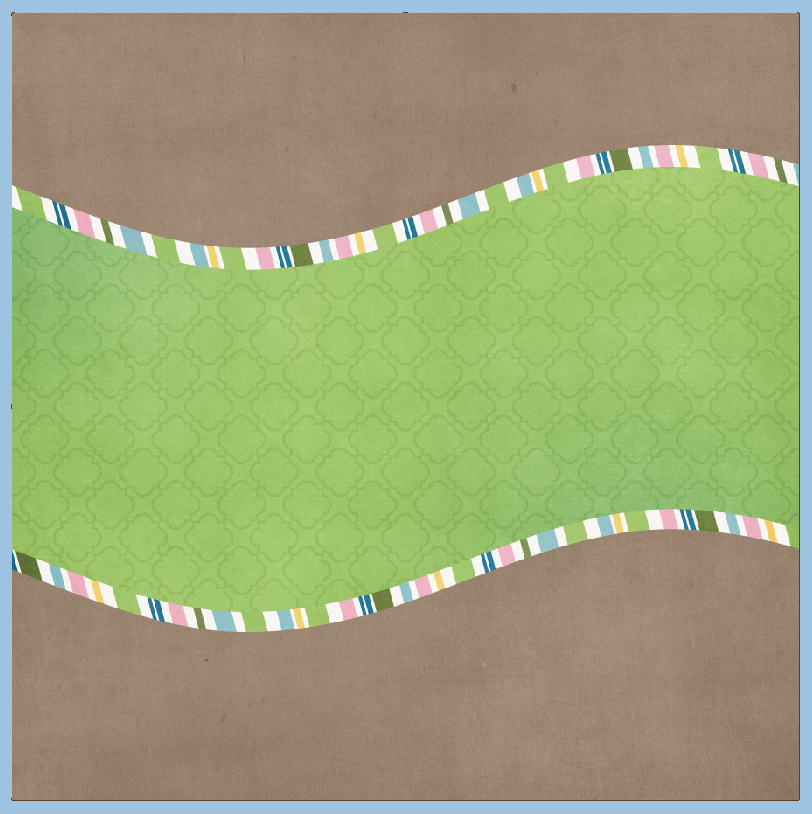
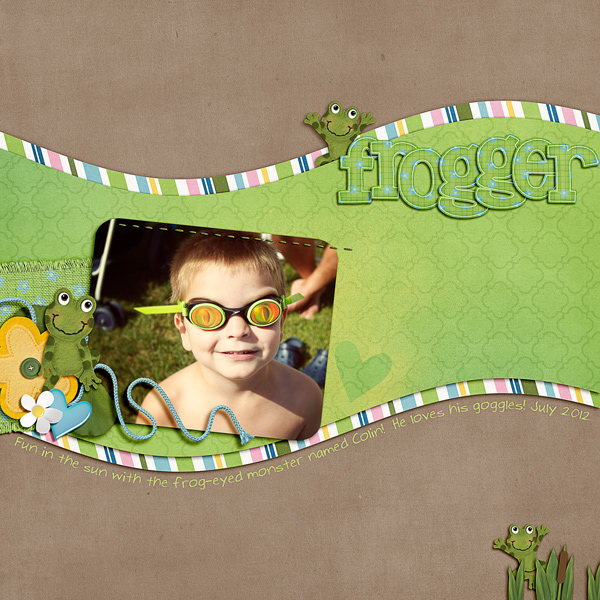
Ok… onto the tutorial! Text On/In a Shape is fun! I love being able to write within a shape or around a shape in Photoshop. It’s one of my favorite features. I’m going to show you how to do this… easily. Here goes… For my layout , I used Chelle’s Toadally Add On kit – it is a fun one, and much more versatile than you might think! Here is what I’m starting with. I’ve used the shape tool to make my paper layers.
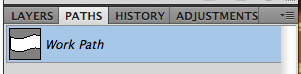
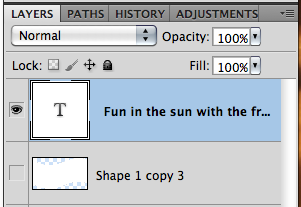
Now, I’m going to duplicate one of my shape layers and use that as a basis for making a path for text. You can duplicate a layer by right clicking on it, and choosing Duplicate Layer. Here is what my Layer’s Palette looks like.
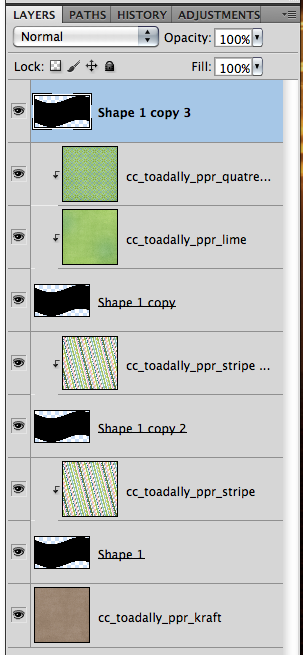
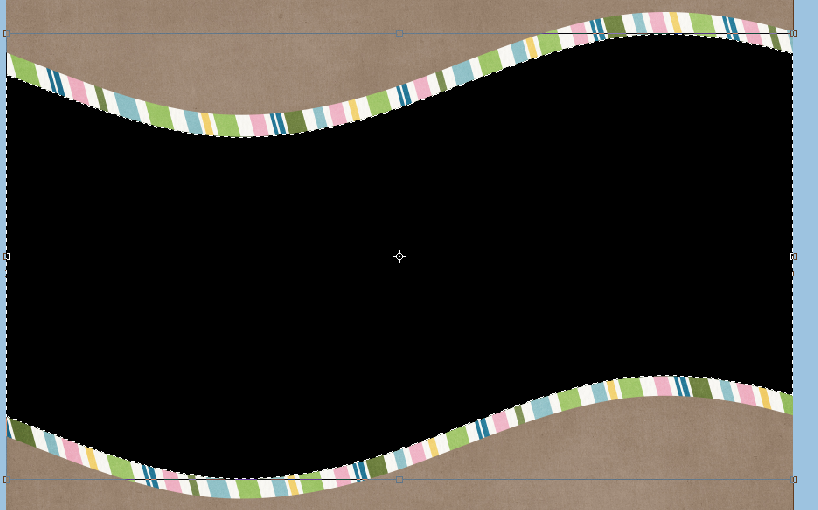
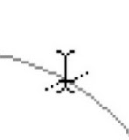
Once I have my shape in my Layers Palette, I chose that layer and double click on it. You should get the marching ants around your shape.
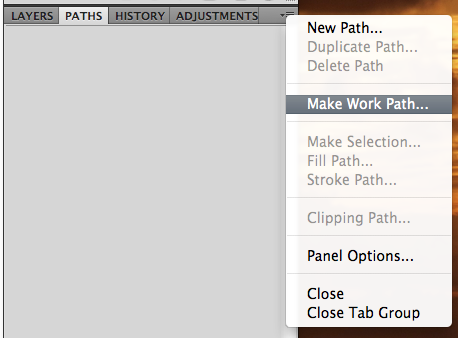
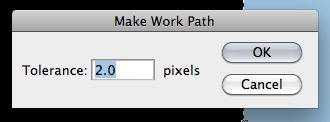
Click on the small lines and triangle in the top right corner, and choose “Make Work Path.”
If you click within the shape a cursor will appear, and look as if two parenthesis are surrounding it. This just means that the text will be INSIDE the shape. Depending on your shape, this might take a little playtime figuring the size and spacing of your text.

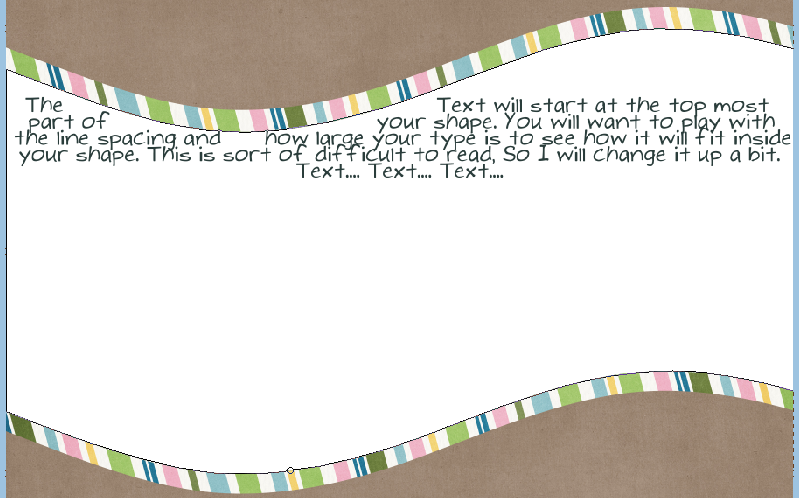
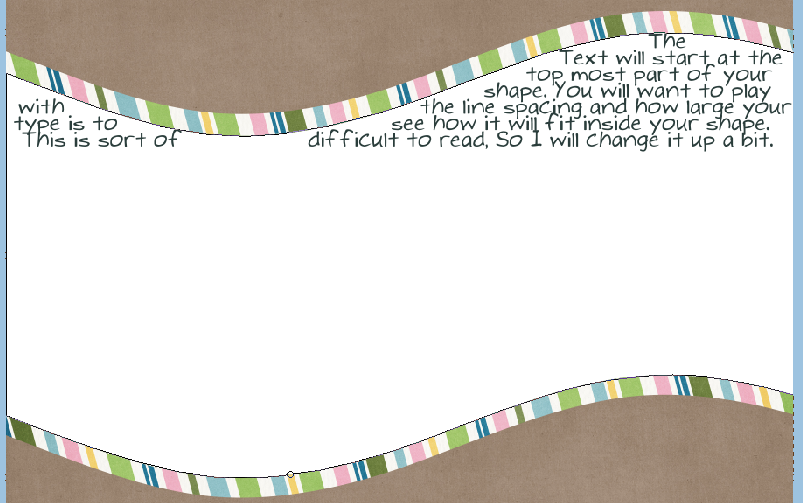
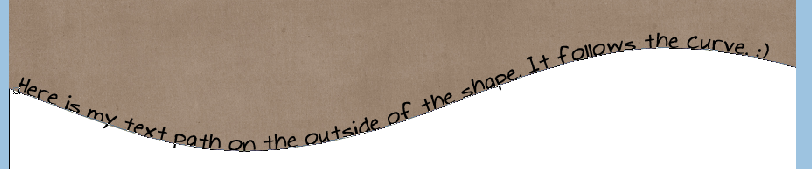
If you click on the shapes edges, you will see a cursor with almost a tilda going through it. One tip when working on the edges with text. Take a peek at your setting in the Paragraph Tab, so that you know if you are typing centered, left edge or right edge. Click at the point where you want to start typing, and the text will go around the whole outside of the shape.
You can use the move shape to move it around a bit, or to even make it larger or smaller a little. Here is my final layout:


 Hi! I'm Chelle: a 40 something mom of 7. My husband & I live in a rural community in the rocky mountains with our 4 children still at home. In the winters we enjoy sledding & snuggling by the fire. I the cool fall evenings we love relaxing around the campfire & meeting friends at the county fair. Admiring the stars


