


Hi Everyone! It’s Jenn, aka jk703, here to get to to Stickerize!!! Stickers were a part of my scrapping when I was a paper scrapper. Even lifting them with pop dots or adding them behind photos – they seemed to always be on my pages! BUT, once they were down, you couldn’t move them around! Well, that isn’t the case in digital scrapping! Yay! Here are a few ways to stickerize your layouts! For my layouts, I’ve used Chelle’s Girlfriend kit.
Adding a stroke to a font, or doodle is easy and makes it look stickerized. First up, doodles.
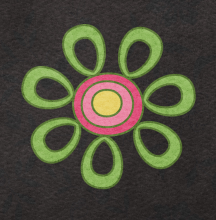
1. With the doodle selected in the Layer’s Palette, choose Edit > Stroke.
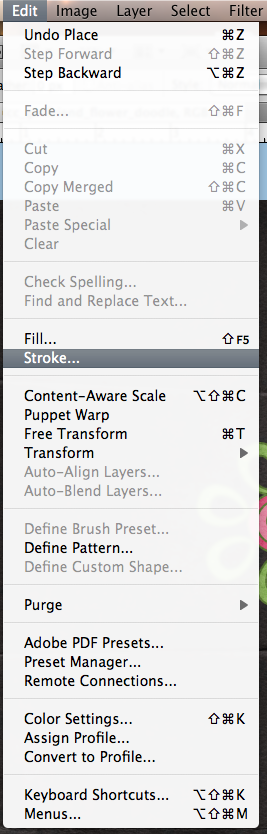
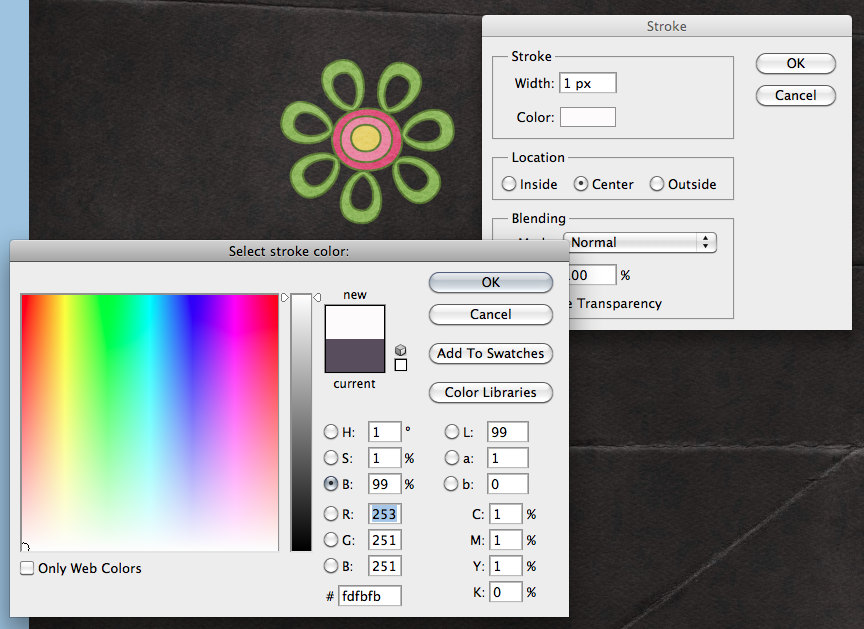
2. A new menu will pop up, and you will want to choose white as the border for your doodle. Once white is chosen, you can also choose where the stroke’s location will be from – center, inside or outside. You can also indicate how thick of a stroke you want by noting the number of pixels. Keep the blend mode normal, and the opacity 100%.
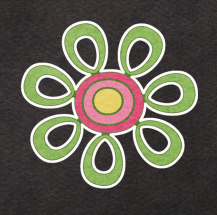
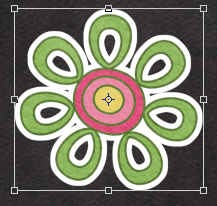
Here is my doodle with the location set to center and it is 10 pixels:
Here is my doodle with an outer location, and 20 pixels. These options are totally customizable for the look that you want to create.
So simple and pretty easy to add a sticker to you page. Right?! Next up, adding a sticker look to felt. Sometimes when I was paper scrapping, many stickers were “realistic” or appeared to be on stickers, but they were flat. Here is how:
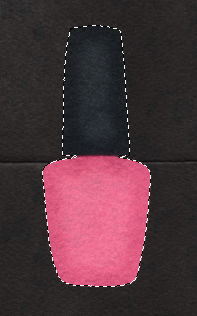
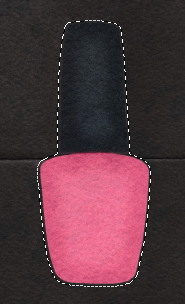
1. With your felt ellie selected in the Layer’s Palette, double click on the image’s thumbnail. You will see marching ants around the object.
2. Press D on your keyboard to set your default foreground and background colors.
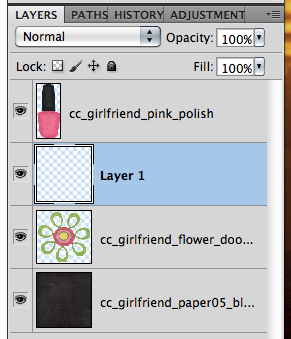
3. Insert a new layer under your felt ellie. You can do this by pressing Command + the New Layer icon (Control for Windows) and it will be under your selected layer.
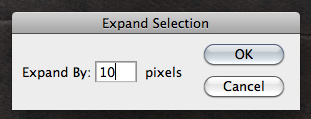
4. With your new layer selected, and your marching ants still marching, choose Select > Expand from the menu. You can enter eny number… I have 10 pixels.
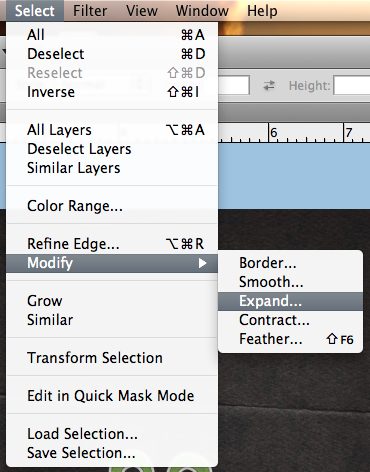
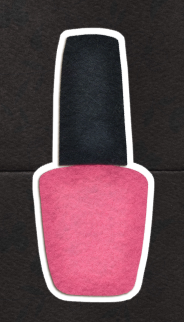
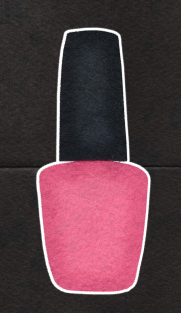
5. You will see the marching ants expand from the original selection by 10 pixels. Press Command + Delete to fill the marching ants on your new layer. Here is what the before and after looks like, and then another with a 20 pixels expansion and a shadow on the felt layer.
That was another easy way to add stickers to felt!
One last way to stickerize…. fonts.
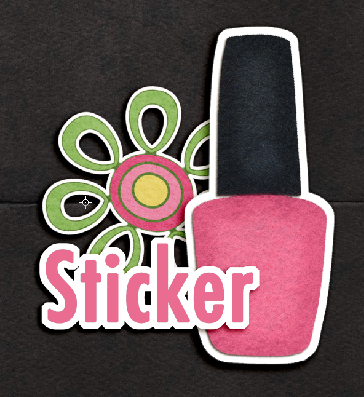
1. With the type tool selected and you’ve chosen your font, size and color — type what you would like stickerized. I’ve written the word sticker, and my font is Futura.
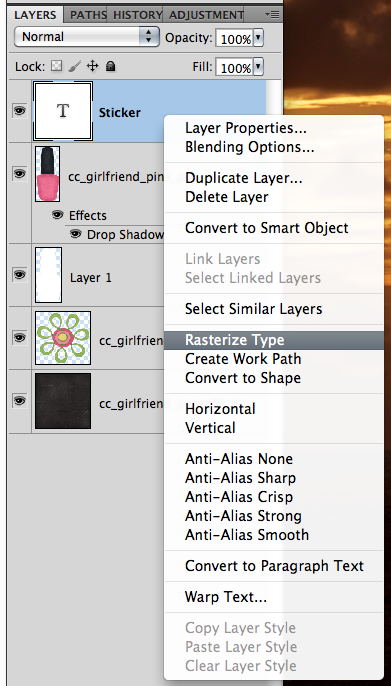
2. With your Type selected in the Layer’s Palette, right click and choose > Rasterize Layer.
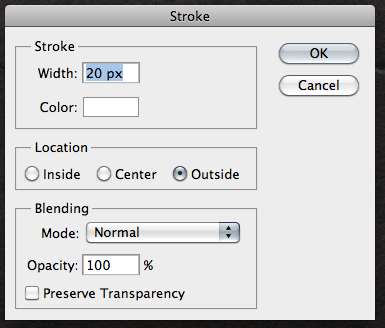
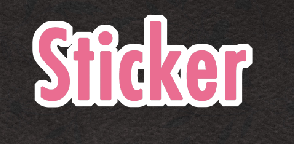
3. With the type layer still selected, choose Edit > Stroke. For this part of the tutorial, I have 20 pixels, outside location, 100% , and Normal. Here is my Type with the stroke added.
Layer them up and you can cluster with the best stickers. You can be creative with what you make stickers out of, and you can always use that undo feature! Stickers can be fun because you can layer and layer…. so, get to stickerizing!
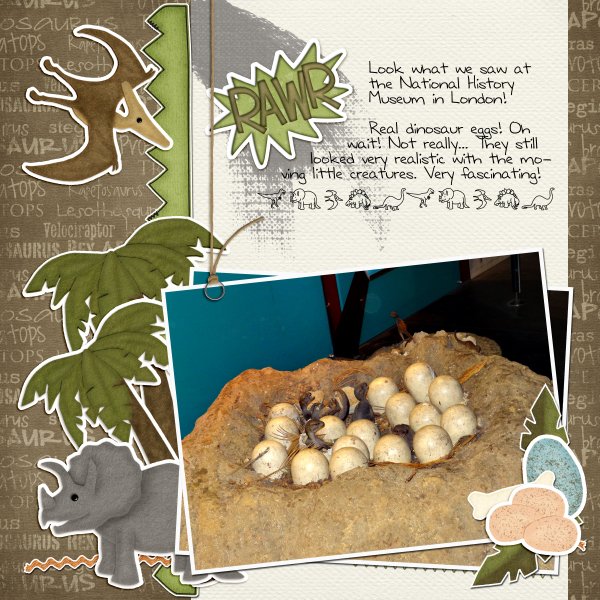
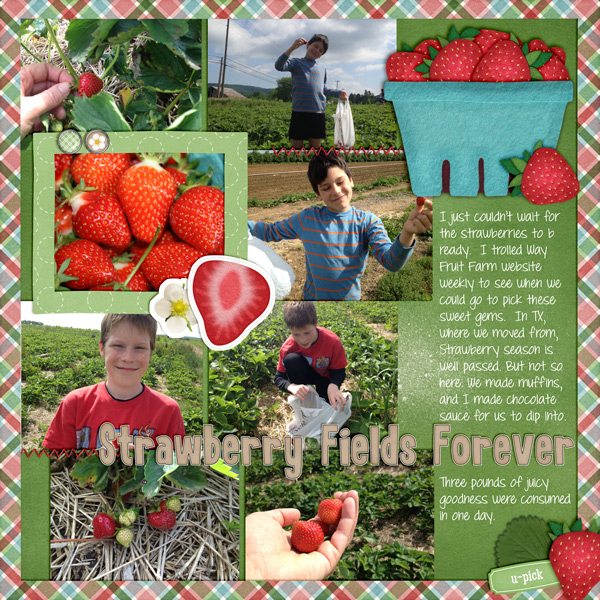
Here is what a couple of my fellow CT members came up with the Tutorial: Stickerizing!
By Samantha, using Prehistoric:
By Leslie, using Berry Berry Sweet, and DJB Britanny Print.
Have a great day! Thanks for visiting!


 Hi! I'm Chelle: a 40 something mom of 7. My husband & I live in a rural community in the rocky mountains with our 4 children still at home. In the winters we enjoy sledding & snuggling by the fire. I the cool fall evenings we love relaxing around the campfire & meeting friends at the county fair. Admiring the stars


