


Hi Everyone! Happy Thursday! It’s Jenn, aka jk703 here to share a super fun technique with you today! Ninety percent of the time, I have photos on my layouts. I’m sure you like to include them from time to time, no?! lol! Well, what if we add a paper overlay to your photo, and gave it a little pattern or texture. Here’s how:
Open a copy of an image up in Photoshop. Then open up a couple of papers and fun patters to try out! Make sure your are using copies of the images and papers so that you don’t ruin the original versions.
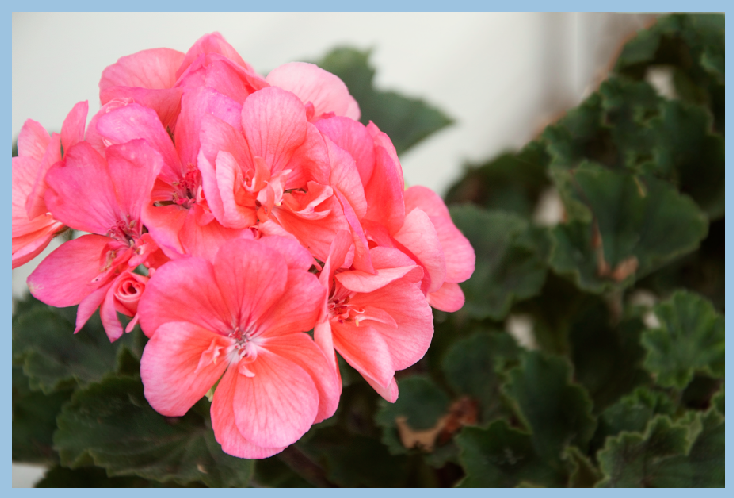
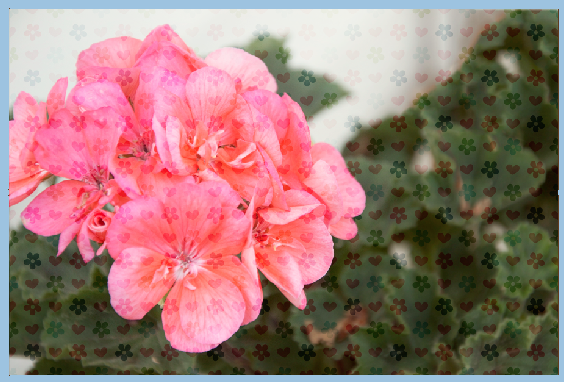
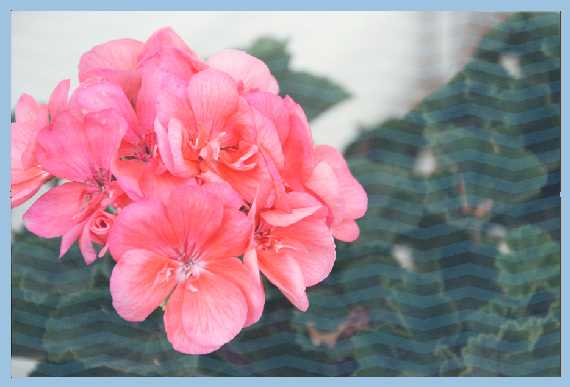
Here is my image and then a picture of my paper layer on top. I am using Chelle’s Love Grows papers.
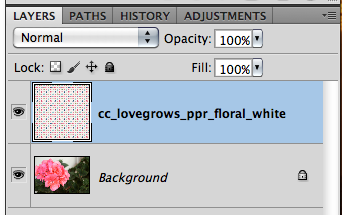
Next, you will clip the paper to the photo. Right click and choose Create Clipping Mask. 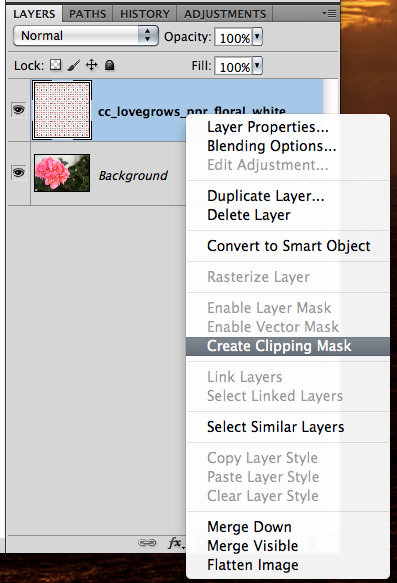
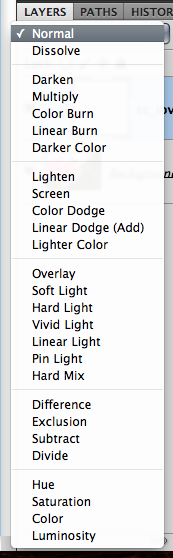
After you’ve clipped your paper, you will play with the Blend Modes. Make sure you have the paper layer highlighted. Instead of clicking each time to see a new blend, just use a shortcut. To scroll through the blend modes, press Command (Control) and the + symbol. To go the opposite scroll, use the – symbol.
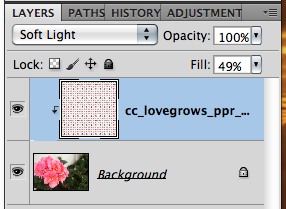
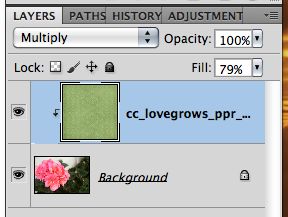
Once you have found the blend mode that you like, you will want to play with the opacity of the paper layer. You can also use numbers as shortcuts to opacity percentages. 9 would be 90%, 6 would be 60% etc. Give it a try. Here is my layers palette and my image at this point. I used the Soft Light blend mode and an opacity of 49%.
Next, you will choose the brush tool from the Tools. With your paper layer selected, change the brush settings to a round soft brush, with a low opacity for strength. Here is what my eraser tool menu looks like.
![]()
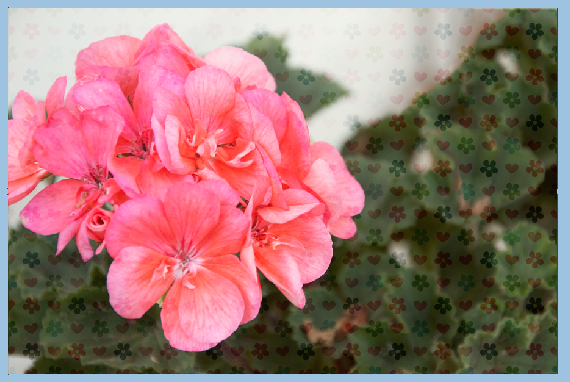
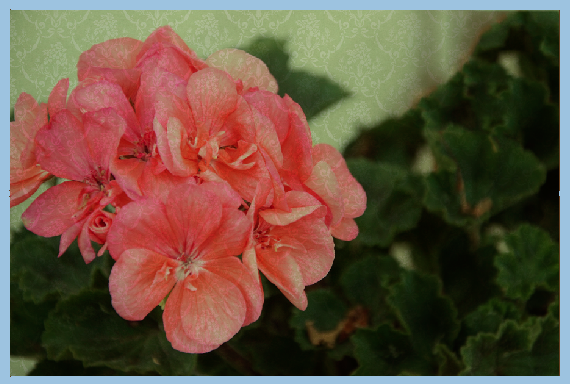
Now, slowly go over the part of the image that you want to highlight, to remove the pattern overlay. Since I am using a flower pattern paper, I am going to erase the flowers on the flower. (lol) Here is what I have… some flowers are visible on the edges, but not so many in the center. This paper was white with a colored pattern.
We will see what we get when using other colors and patters now. First up, A dark blue pattern. I used a Screen blend mode, and changed the opacity to 70% What’s interesting about this pattern, is that it gave my photo a cooler appearance. So, you can always use a colored paper to get a closer color to the kit you are working with. 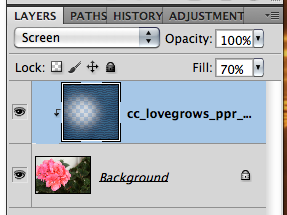
After the blue, I decided on a green paper. Check out this change – I love it. It sort of gave my image a little bit of an antique, grungy feel. I think the pattern looks cool on the flower, so I didn’t even erase it. It adds a dramatic tone without much effort.
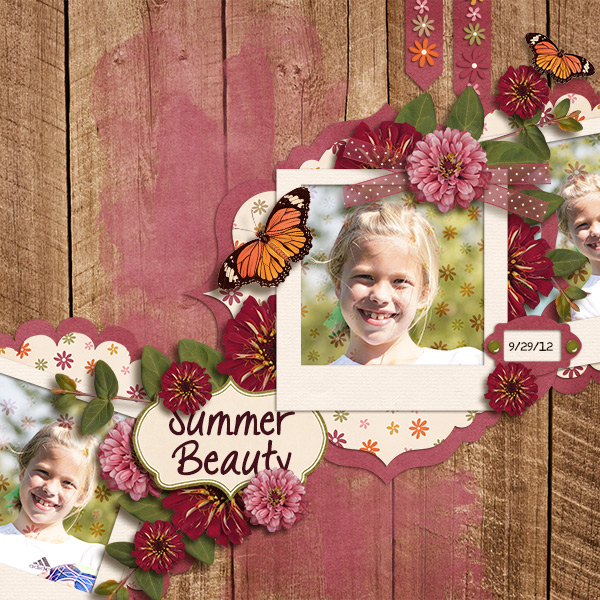
I shared this technique with the CT, and Karen (karen32) came up with such a pretty page… She used Chelle’s Indian Summer and it just looks wonderful. Can you see the flowers on the pictures? So subtle, yet it adds a little fun to the page.


 Hi! I'm Chelle: a 40 something mom of 7. My husband & I live in a rural community in the rocky mountains with our 4 children still at home. In the winters we enjoy sledding & snuggling by the fire. I the cool fall evenings we love relaxing around the campfire & meeting friends at the county fair. Admiring the stars


