


November got away from me for some reason and I missed posting a video tutorial for you. I am back this month with another great video to share with you. Stitches are the perfect element to anchor paper and photos to the page but can also be used to add a handmade look to your digital creations. This video tutorial by Chelle’s Creations show you how different techniques to add her CU Stitch Toolkit to your designs.
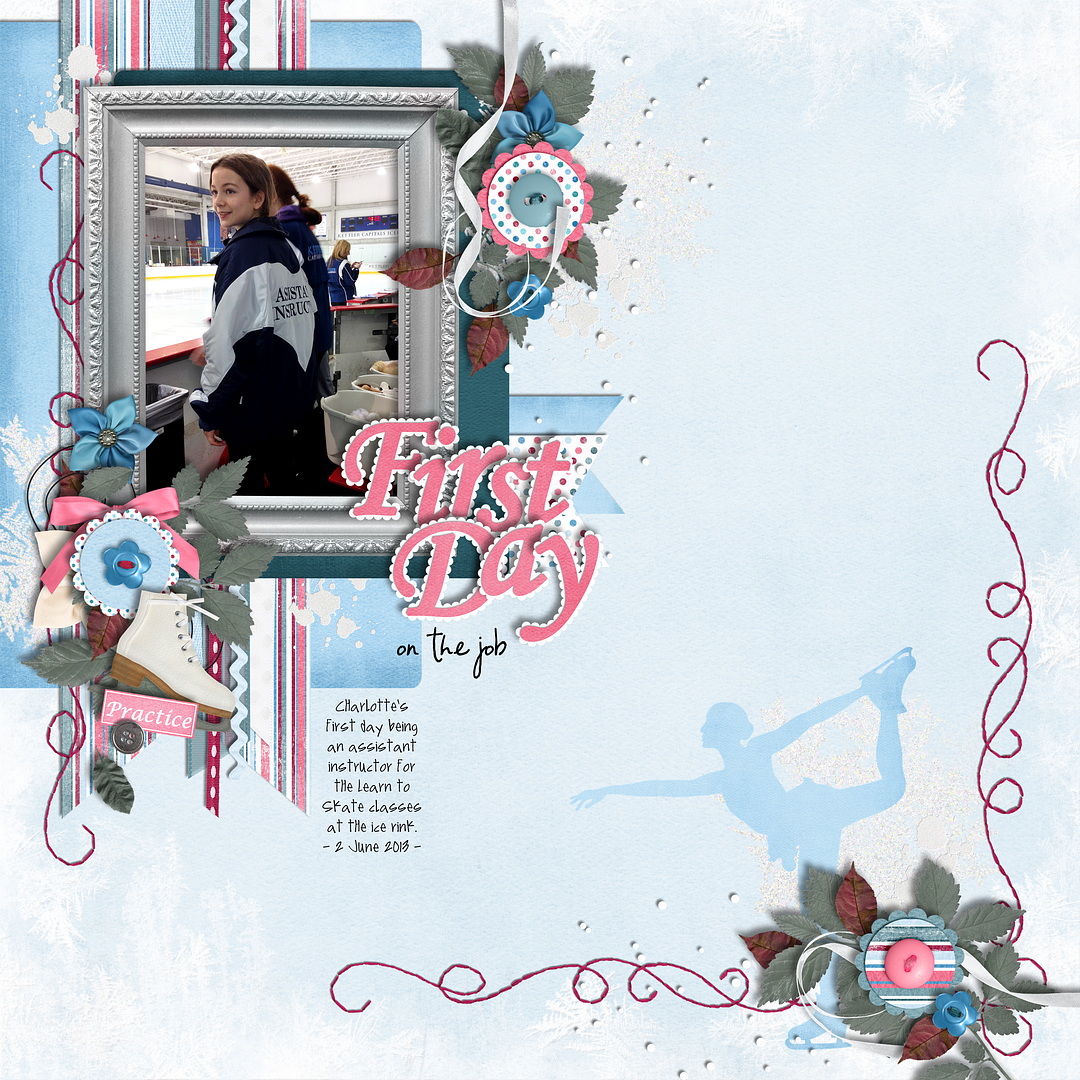
Jan (QuiltyMom) combined the swirly stitches to create longer stitches for the back layer of both her fancy corner and border. Don’t the stitches just help make her lovely clusters really pop. Jan combined Toe Picks & Figure Eights, blog freebie from the kit, Zoo Crew (Arctic), and Penalty Box. She also used a template by Cluster Queen Creations.
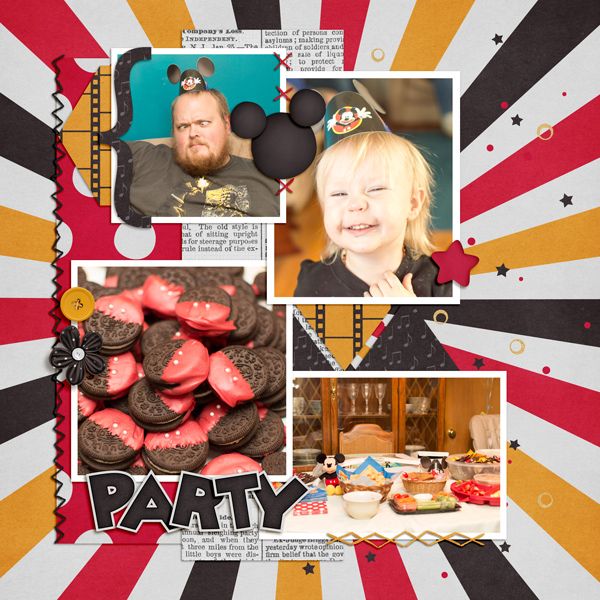
Recoloring stitches to match the colors of your kit is another way you can use the stitches. Jen (supergirljennie) uses this technique along with combining the stitches to create longer lengths to create you adorable page. Aren’t those cookies the cutest? To create this page Jen used the Mickey Mouse Club March {Sampler} and the Mickey Mouse Club March {Alpha}.
Both of these layouts used Chelle’s Creations CU Stitch Toolkit as well. Hurry over to Chelle’s Creations store to pick them up.

Like Chelle’s Creations CU products head over here to learn more about Chelle’s Creations Designer Club.


 Hi! I'm Chelle: a 40 something mom of 7. My husband & I live in a rural community in the rocky mountains with our 4 children still at home. In the winters we enjoy sledding & snuggling by the fire. I the cool fall evenings we love relaxing around the campfire & meeting friends at the county fair. Admiring the stars


Pingback: CraftCrave | DigiFree | CraftCrave