


Hello Hello! Welcome to today’s tutorial! This is Jenn, aka jk703, and I can’t wait to share a fun and really easy tutorial for you today. You are going to love the Tutorial: Easy Pencil Sketched Photos! It is fun, and has a cool effect, plus I think it can give you a way to change up your layouts. Add a bit of different –  I hope you like it!
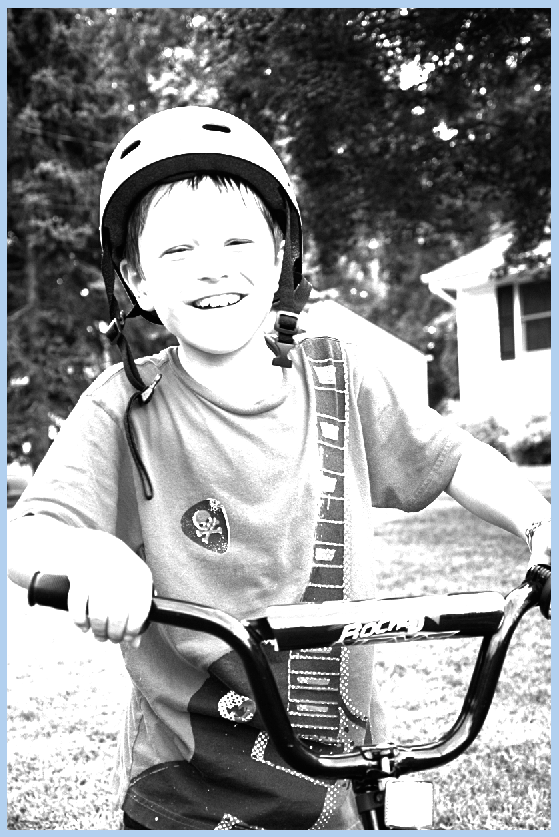
Here is my son, and right before he was done riding his bike, I was able to snap this picture. He is laughing at me for some reason, but I don’t know what it is, lol! I pry told him to get back on the bike and put his helmet back on for a picture. All I know is that he has an infectious smile, and the natural smiles are my favorite. This is the original picture that I will show the tutorial for Easy Pencil Sketched Photos. (This should work for both PS and PSE users – Krista provided instructions on how PSE differs. I will include that in parentheses).

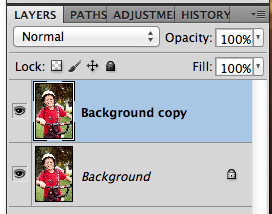
First, make a duplicate of your photo, right click to duplicate or Command + J. This way the original is still available and not written over with layers and other changes.
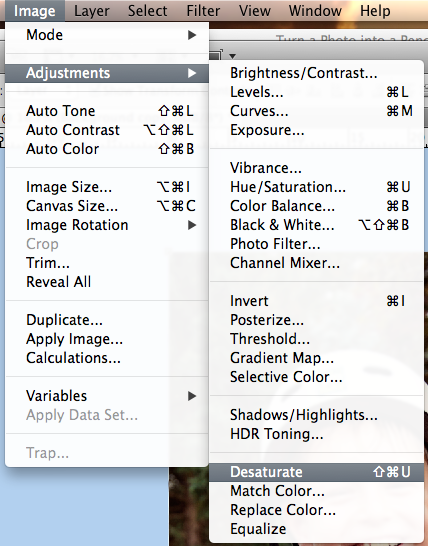
Next, choose your duplicate layer in the Layers Palette. Then click on Image > Adjustments > Desaturate. This will cause your image to turn to a black and white version. (For PSE Users – Krista said that she went to Enhance>Adjust Color>Adjust Hue & Saturation. She then brought the saturation slider all the way to the left.)
Duplicate the desaturated layer.
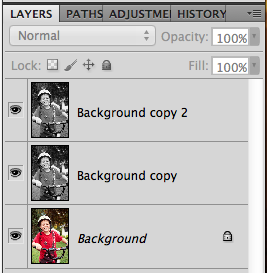
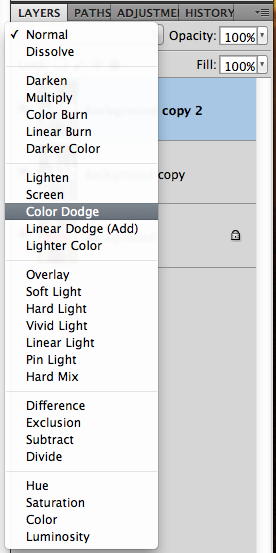
Choose the top layer in the Layers Palette. Next, change it’s Blend Mode to Color Dodge.
Your image will have an almost over white black and white image. Like this:
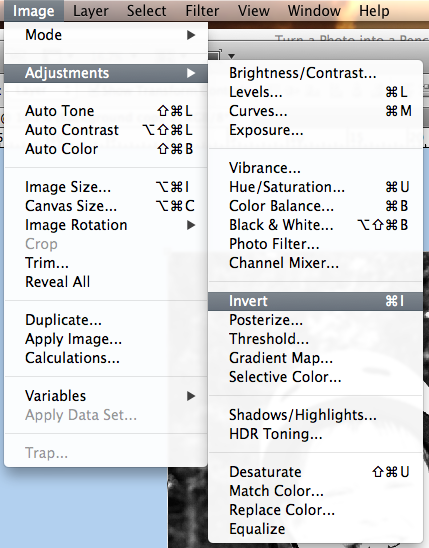
The top layer is still selected at this point. Next, click Image > Adjustments > Invert. (For PSE it’s Filter>Adjustment>Invert.)
Your image will turn ALL white right after inverting it. It’s normal.
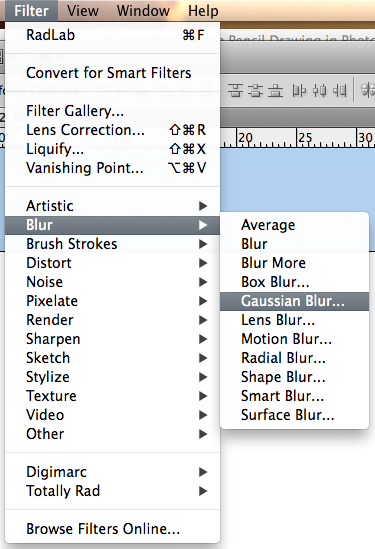
Ok. Next, click on Filter > Blur > Guassian Blur.
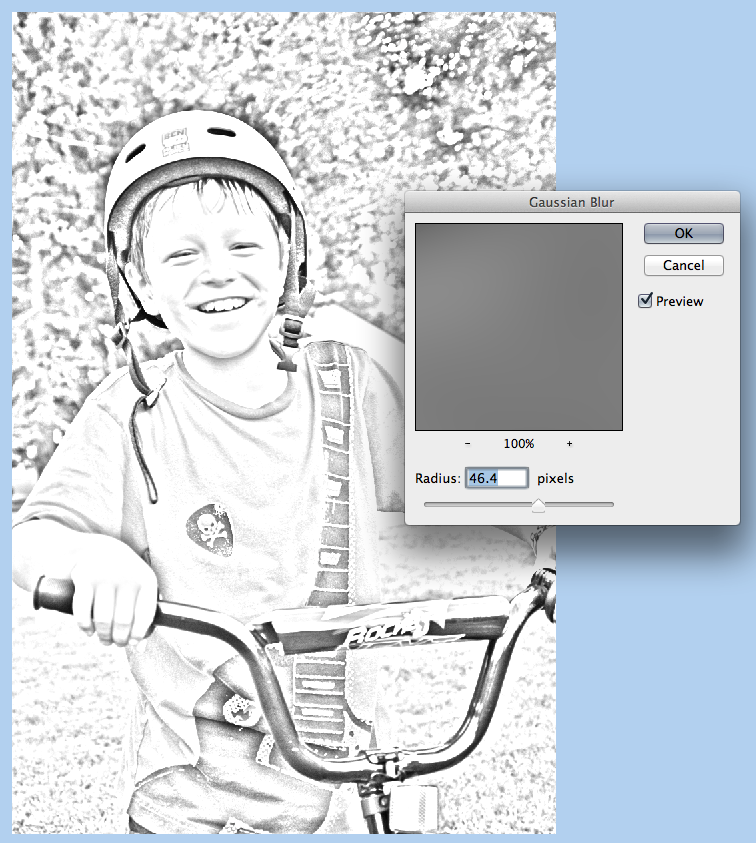
You will move the slider to a lower number, probably between 20-60, depending on your photo. Mine is around 46.
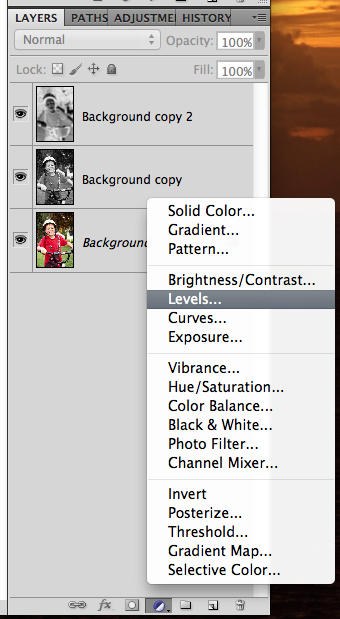
The image lost a lot of it’s detail when we added the blur. We will get some back. Create an Adjustment Layer for Levels. I used the half white/half black circle on the bottom of the Layers Palette to do this step.
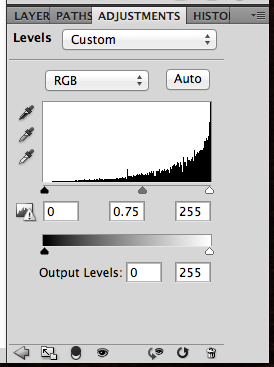
Now, choose the middle triangle under the chart. Slide it to the right. It will change the image, so watch and slide at the same time. It will bring some of the detail back
Here is what my image looks like at this point.
I feel that the surrounding area takes away from him, so I’m going to bring a little more focus to the image. Select the layer just under the Levels Adjustment. Press D to change your foreground and background colors to the default setting.
Now, choose the Brush Tool, and use a Soft Round Brush, and you will paint with the foreground color, black. Mine is at a size of 715, and I originally had the opacity at 20%. As I worked with the brush, I lowered it to 5%. Play with this and your image. If you have erased too much, just switch up your brush color to white, and you can fix where you erased too much of the image. (For PSE Users, Krista said that for some reason she had to use the white to erase the background. When she used black it made the background black).
![]()
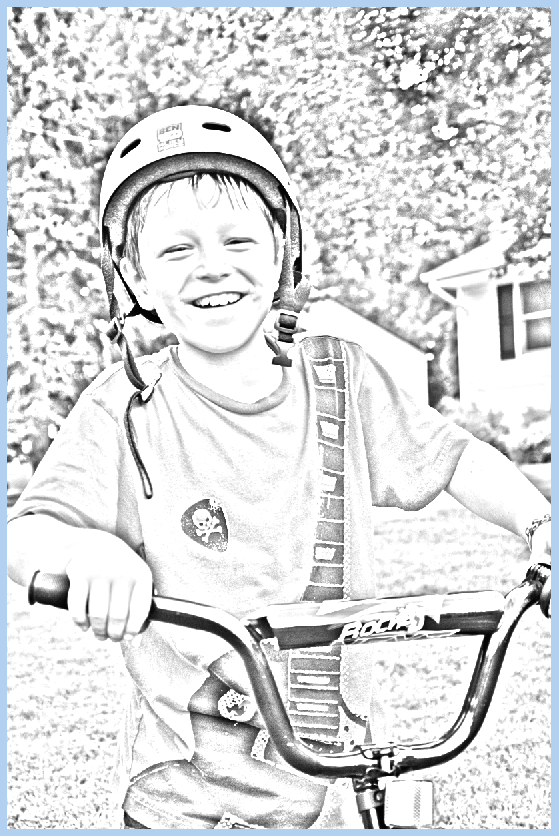
Here is what I ended up with. You can merge the layers and save them. Then you can use it for your layouts – framed images, polaroid versions, or blend it into the background. Have fun!

Pretty straight forward! It turns out great for such a simple technique. Here is what the CT created.
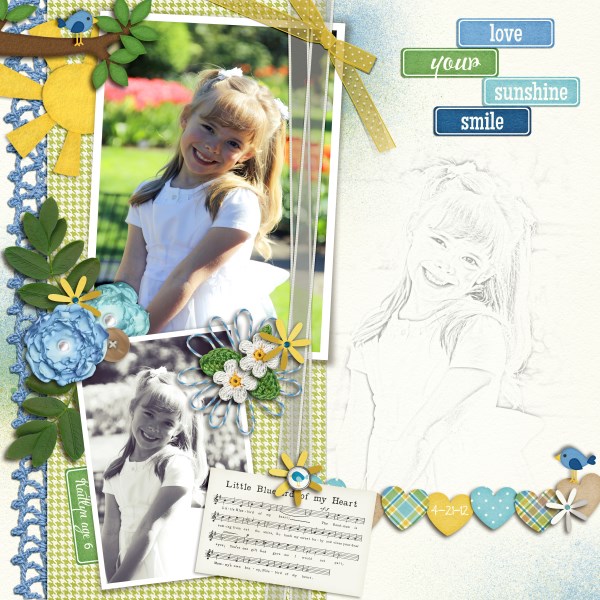
Lisa (kelseyll) created this soft and lovely layout. She used Bluebird On My Shoulder and the Curled Frames.
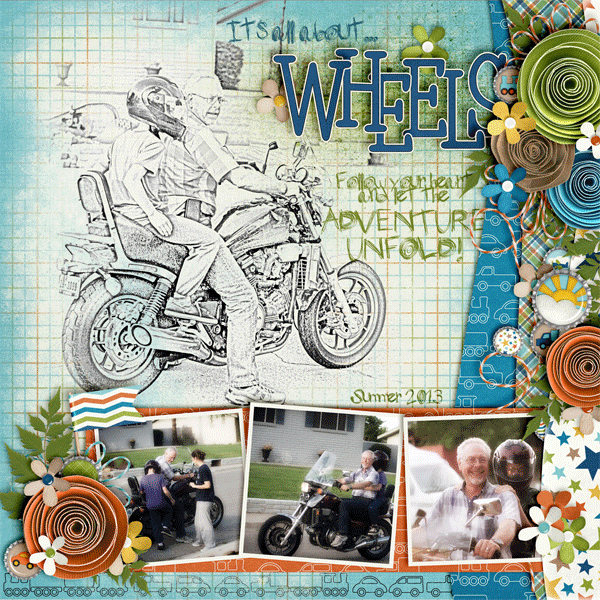
Leah (Cat Lady) made this awesome layout – I think the sketched image is so fun and works so perfectly with that alpha. She used About a Boy and a Fiddle Dee Dee Template.
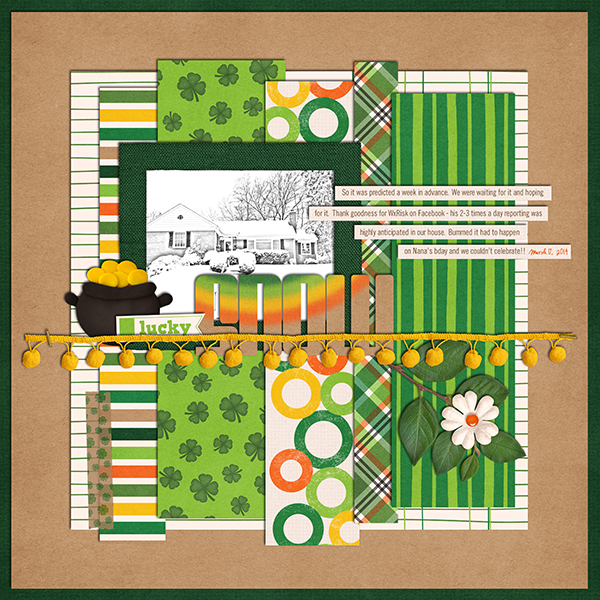
Jenn (jenny) made this fun layout and had the house sketched! She used Lucky Me.
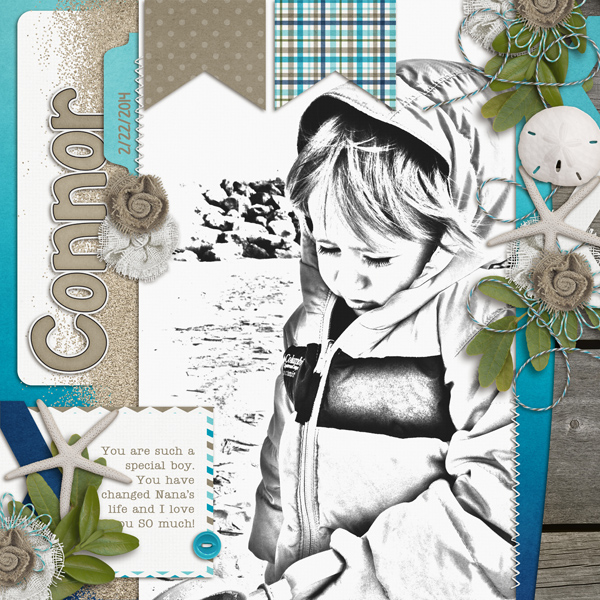
Krista (kc71595) made this layout and the sketched image fits perfectly! She used At The Beach and a Little Green Frog Template.
Simply too easy for you not to try it out! Have fun and we’d love to see your pages using this Tutorial: Easy PencilSketched Photos in the ScrapPin Galley! Thanks for stopping by!


 Hi! I'm Chelle: a 40 something mom of 7. My husband & I live in a rural community in the rocky mountains with our 4 children still at home. In the winters we enjoy sledding & snuggling by the fire. I the cool fall evenings we love relaxing around the campfire & meeting friends at the county fair. Admiring the stars


