Hi! Leslie here and I want to show you a website that can add something different to your pages—make fun groups of words using Wordle or Tagxedo. For purposes of this tutorial, I’m going to demonstrate Tagxedo and give you some handy tips to use it on your upcoming scrapbook pages.
First things first, go to http://www.tagxedo.com. You may need to download Silverlight for this to work. That’s ok, and it works on a Mac and a PC. Next, select ‘Create’ and then ‘Load’.

Here, you can choose to enter in your own text (type it in here, or copy and paste it from another document), or load text from a Webpage. I typed in, “Nittany puppy cute love Nittany Nittany puppy dog adorable Labrador Nittany Nittany cute love Nittany yellow sweet lovable”. Using the default shape, I now have this:

The words ‘Nittany’ and ‘cute’ appear a bit bigger because I repeated those words in the text string. So, if you want certain words to be bigger, use them more often in what you type in. If you want words to remain grouped together, like ‘super cute’, you need to enter it like this ‘super~cute’.
Ok, so let’s say that I didn’t quite like how that turned out. I could simply respin it and it will fill the shape another way. But let’s say I want different colors and a different shape. Let’s do that. To adjust color, font, orientation, layout, go to the menu under ‘respins’ on the left.
To change the theme, font, or orientation of the text you may click the ‘redo’ arrow ![]() next to the appropriate menu choice or click the right arrow
next to the appropriate menu choice or click the right arrow ![]() to view the theme menu.
to view the theme menu.
So now, I’ve modified the colors, selecting a theme that has the colors I want. I’ve modified the amount of fonts that the program will use, and I’ve chosen to use only horizontal and vertical text.
But I want a different shape. Let’s select the ‘shape’ menu, under Options.
I’ll choose a dog from the default shapes (you can load your own, too). And now I have this.

Cute, right?
Have a play! You can’t hurt anything. Try playing with the ‘Word | Layout Options’ to change how many times words appear, color variation, how tight you want the words to be, etc. If you don’t like what you see, reset it!
To save, select ‘Save | Share’. Save it as a *.png file. I saved it as a 16 megapixel image. I can now bring it into PSE and use it how I want. I use the magic wand to remove all the white background. To make sure all of the little bits of white inside the letters gets deleted all at once, make sure you have the ‘contiguous’ option unselected. And if I have a color that doesn’t quite match what I want, I can use the color replace tool in PSE/PS to get it just how I want it!
For ideas and inspiration for what you can do with it, check out the Tagxedo Gallery: http://www.tagxedo.com/gallery.html
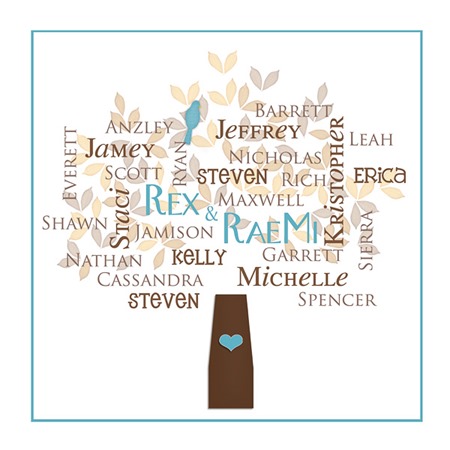
Here, Erica (stanworth) uses Through the Years to create this lovely printable as a Christmas gift for her in-laws.
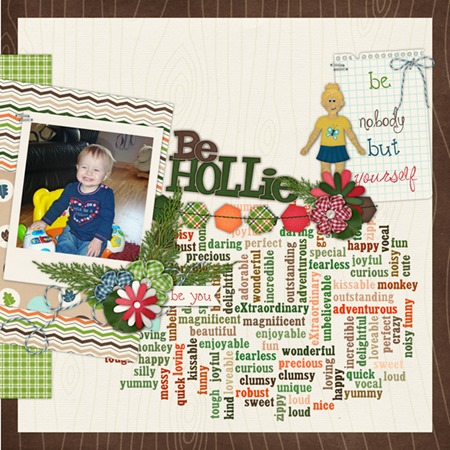
Here, Helen (winipeg1) uses In the Forest & In the Backyard Little People to make this cute layout! I love how the words define all of these superlatives about her child. Every kid should have a page like this!
I hope you learned something and might give this a try. If you do, let us know and link in the blog comments to your gallery post.


 Hi! I'm Chelle: a 40 something mom of 7. My husband & I live in a rural community in the rocky mountains with our 4 children still at home. In the winters we enjoy sledding & snuggling by the fire. I the cool fall evenings we love relaxing around the campfire & meeting friends at the county fair. Admiring the stars


Thank you so much for sharing this with us.., I love it! I’m new to digital scrapping and this makes me feel like I actually made something. Now to find that free version of photoshop I heard about, or download Gimp, so I can stop doing the copy/paste/8.5 x 11 thing in Word and really feel scrappy