


Hi Everyone! This is Jenn, jk703, here to make a favorite technique super duper easy for you to add to your layouts. I’ve seen watercoloring around and there are so many steps and it takes me too long. When that happens, I don’t want to add that technique to my pages, it ends up being too much work! So… I’ve found another way to watercolor – The Way Too Easy Watercolor Painting Tutorial! 😛
My layout uses the kit that Chelle created for The Daily Digi: Roller Coasters & Cotton Candy. For the brushes, I’ve used Chelle’s CU Watercolor Brushes. These brushes are perfect for also adding a painted spot on busy patterns for journaling. 
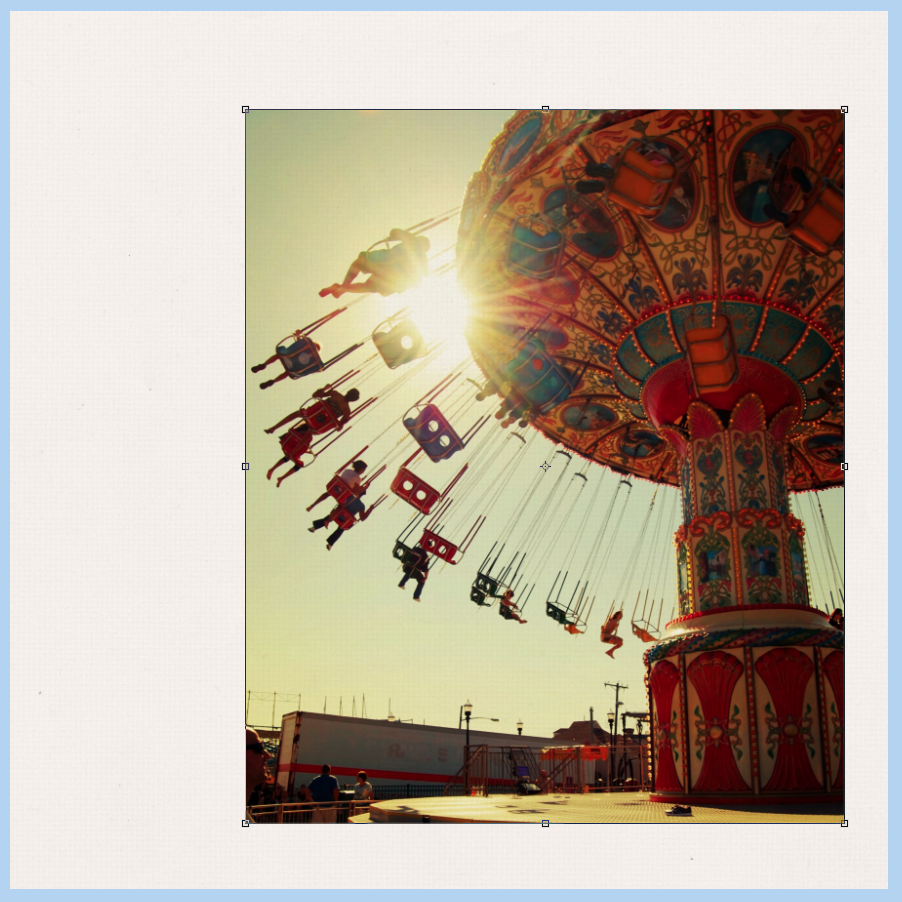
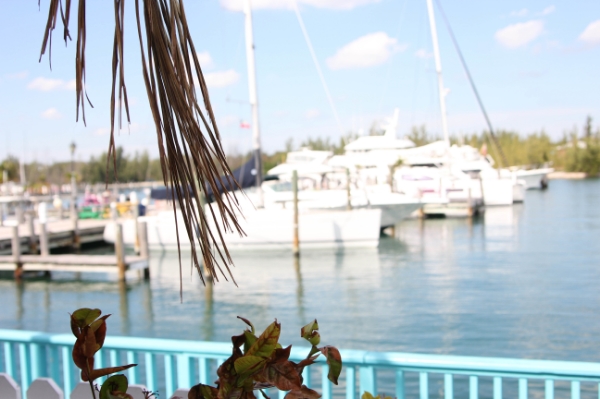
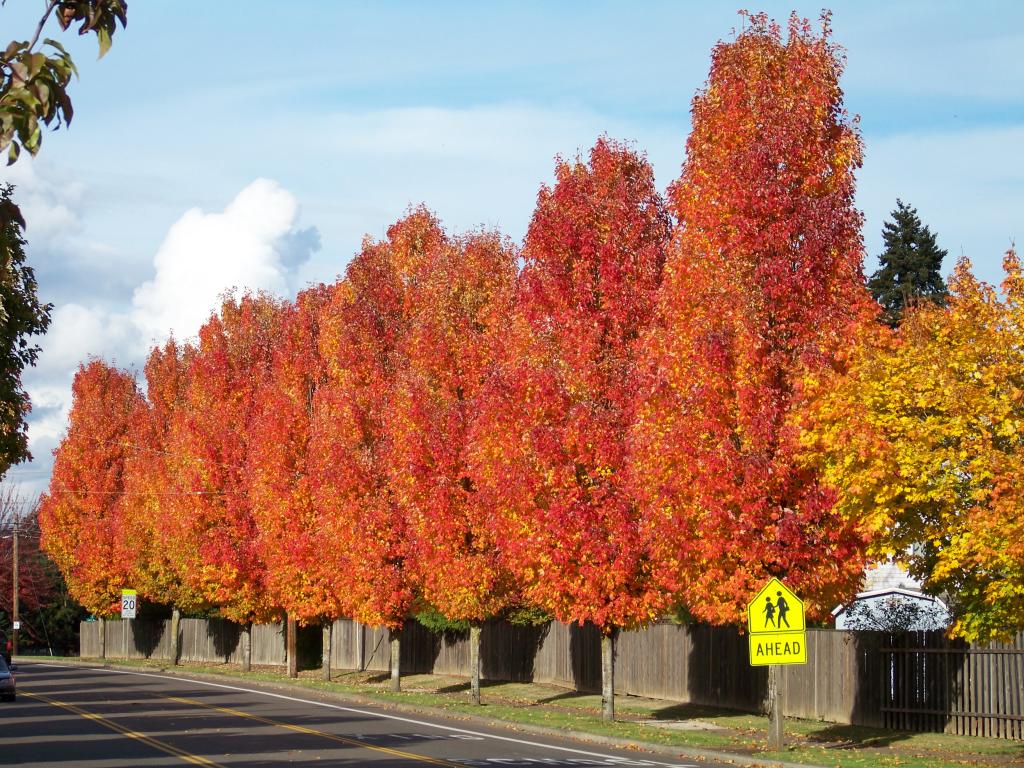
First things first. Open a paper that you plan to watercolor your image onto. Then on top of that paper place a copy of a photo.
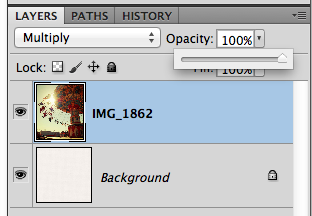
Here is what my layers look like:
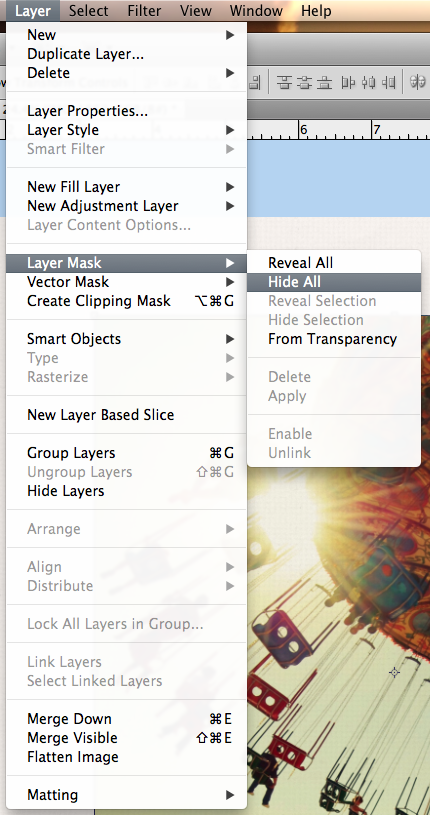
With the photo selected, click on Layer > Layer Mask > Hide All.
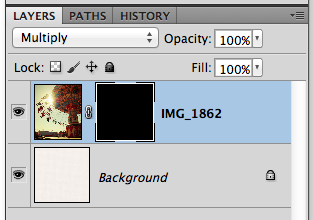
A mask will appear next to your photo in the Layers Palette. Change the Blend mode to Multiply – or whatever works well with your photo to allow a little texture of the paper to come through, and help it blend a little with the paper.
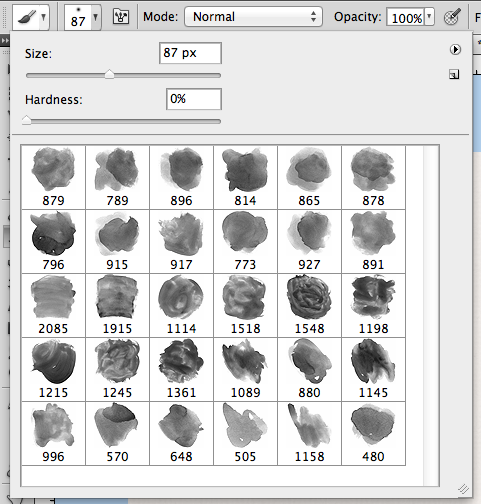
Next, choose the brush tool from the Tools. I’ve got Chelle’s watercolor brushes loaded and I’m ready to paint. If you need to load a brush, you can click on the little circle with the arrow pointing right and choose Load Brushes. Otherwise, you can use any type of brushes that you have or that come with Photoshop.
You will want to use a few different brushes, and different sizes. All of the brushes that I used were a 0% hardness. When painting on the mask, paint with white, and I change the opacity of the brushwork as you paint. If it is too light, you can re-do, but we can also try to fix it in the end. Keep reading!
After I’ve played around and brushed my mask, this is what my page looks like so far. Not bad with a few brushstrokes!

Next, if your painted image is too light, just duplicate with image/mask layer. Then you can lower the opacity based on the look of your image.

Here is my darkened, double photo/mask.

That’s it. Really, only a handful of steps for a great watercolored look!
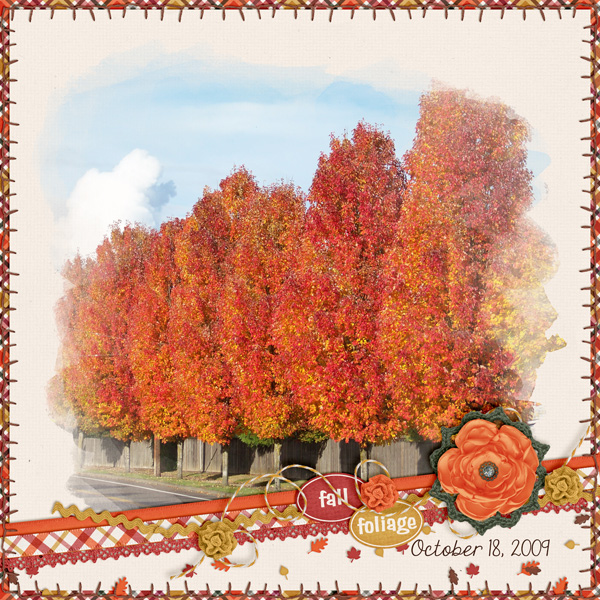
Here’s my final layout:

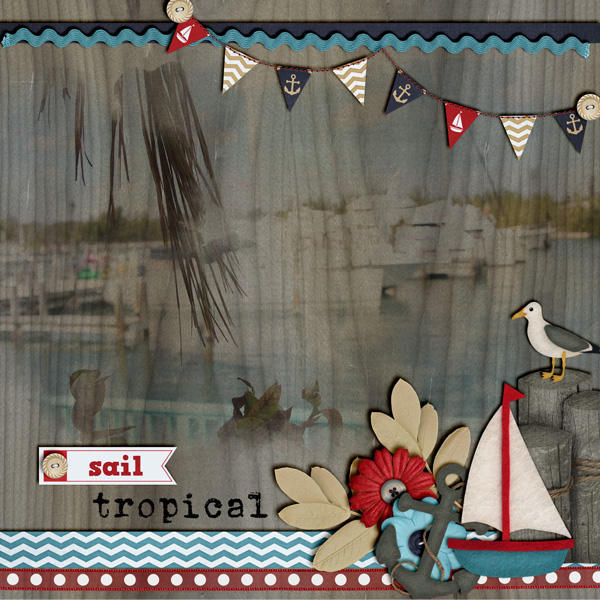
Here is what the CT came up with… some fantastic pages! Jenn (jennschultz) created a lovely waterside page. She used Anchor’s Away and Chelle’s Watercolor Brushes.
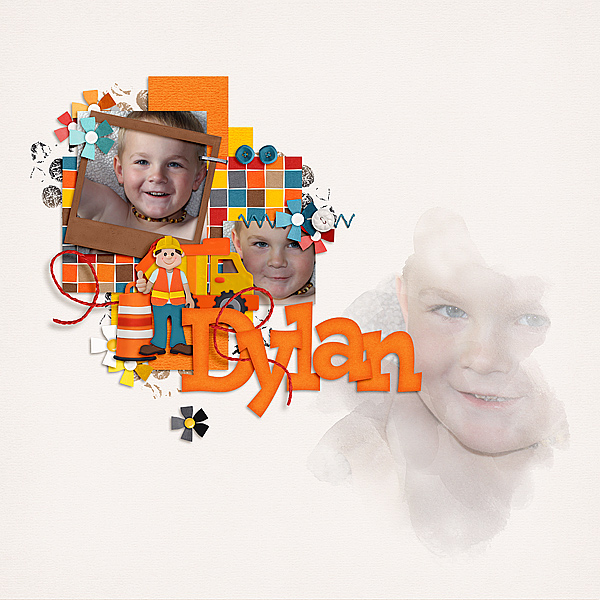
Melissa (pretty peaches) created this cool page of her son. She used CU Watercolor Brushes and Hard Hat.
Krista also made a super beautiful fall page for this tutorial! She used Falling 4 You.
Hoping you guys find this tutorial as easy as I did! We would love to see your pages i the ScrapPin Gallery! Thanks for stopping by!!


 Hi! I'm Chelle: a 40 something mom of 7. My husband & I live in a rural community in the rocky mountains with our 4 children still at home. In the winters we enjoy sledding & snuggling by the fire. I the cool fall evenings we love relaxing around the campfire & meeting friends at the county fair. Admiring the stars


Pingback: CraftCrave | DigiFree | CraftCrave
Thanks so much for this quick tutorial. Just goes to show, that I learn something new everyday and I love it! Thanks again