On the Water | Digital Scrapbooking Classics

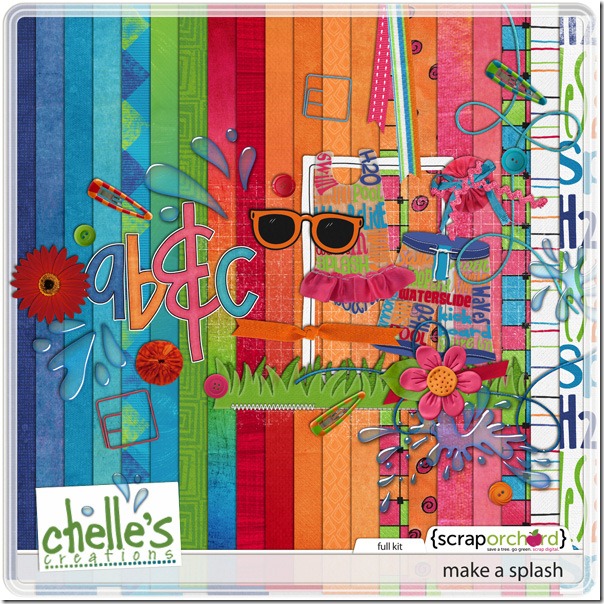
Anyone need to cool off? If you’re in North America, chances are you’ve seen some extremely hot temperatures this week, and you might have been on the water to cool off during our record breaking heat wave over the weekend. Did you take your camera and get some good photos? Chelle’s Creations has the perfect classic kit for your pictures called On the Water. In fact, even if you haven’t been to the lake recently, you might need to make a digital scrapbooking project with this kit just to dream of your next trip to the water. Her Creative Team members have been playing with the kit and have made some outstanding pages.

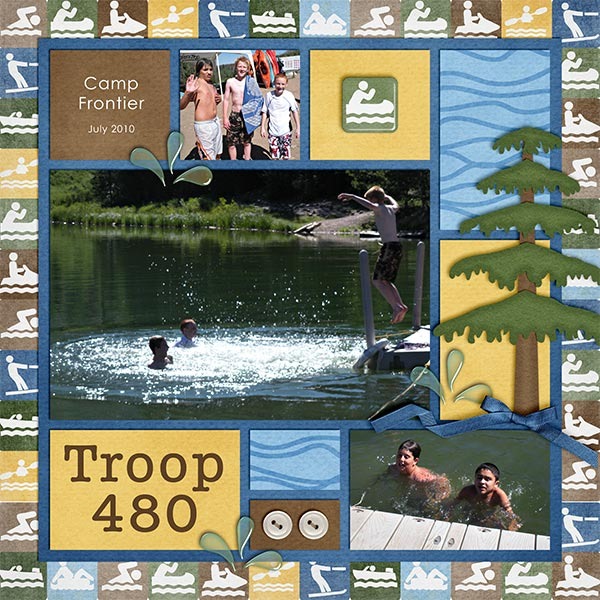
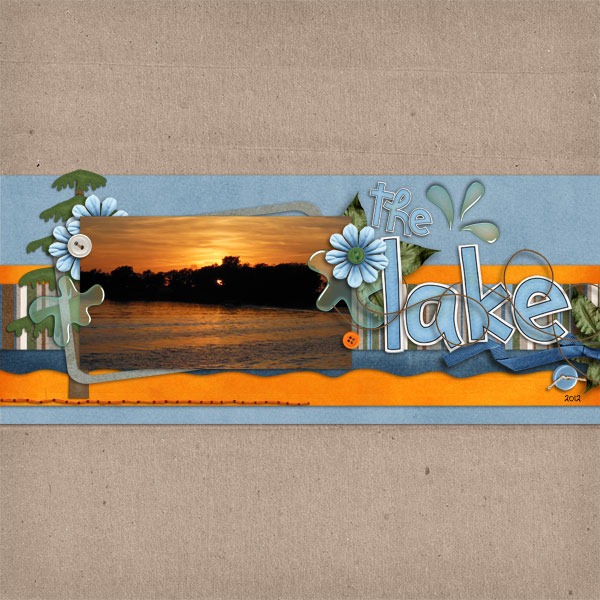
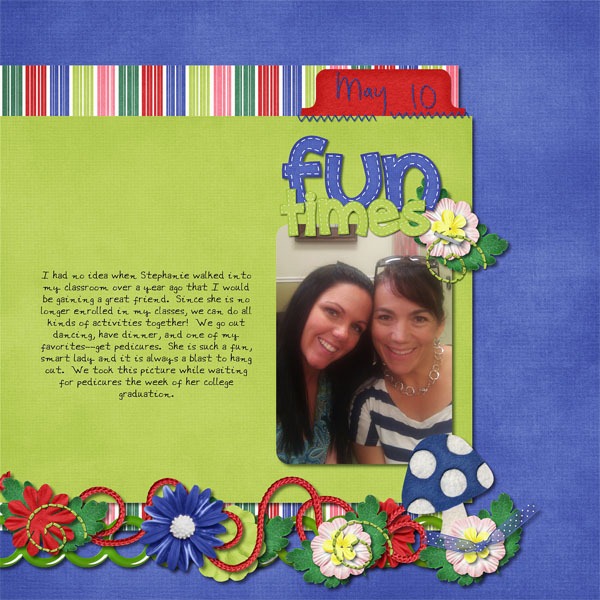
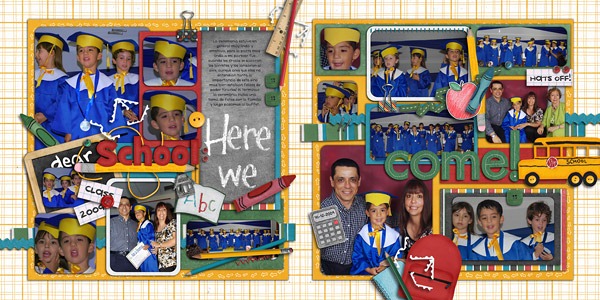
Kayla made a 2 page spread using the On the Water kit, the word art, and Chelle’s new Collage Templates (square). I love the blocked look of the templates and the background paper made of boating signs. KaylaLakesideAdventures_July10_wKaylaTroop480Lake_July10_web 
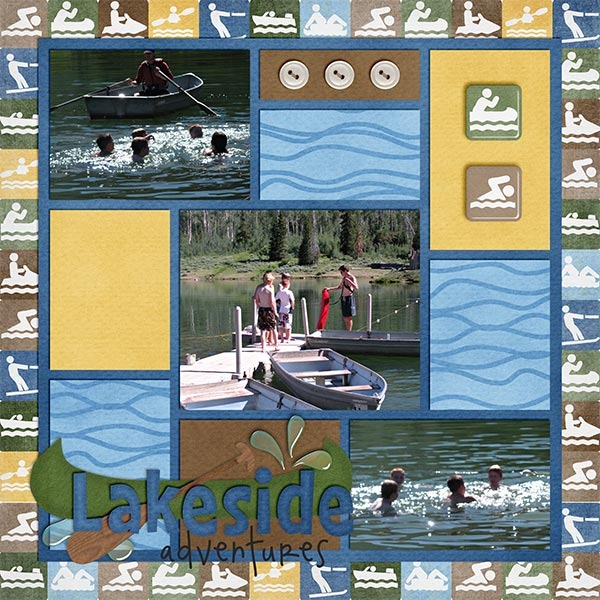
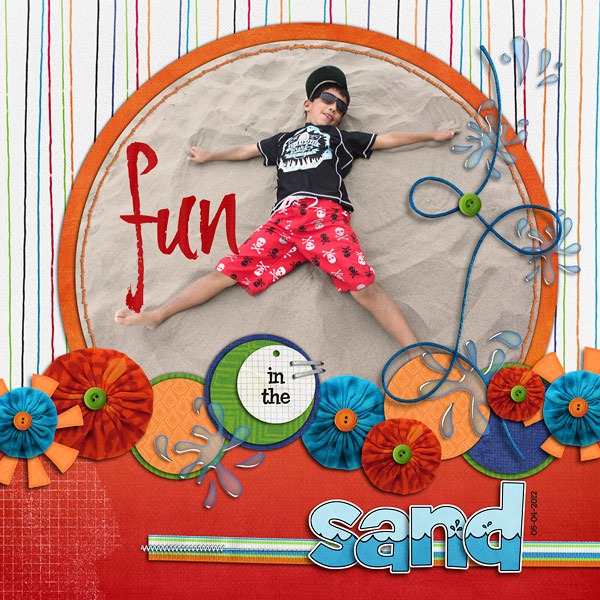
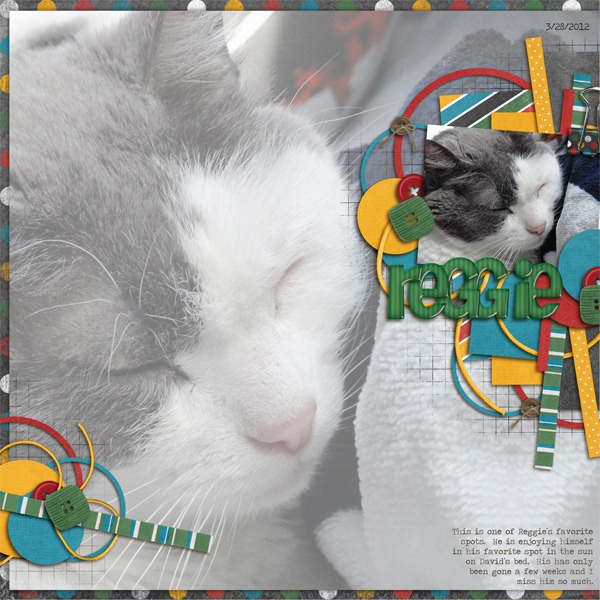
Next, Patty made a page of photos of her dogs playing at a special lakeside camp for dogs. Looks like her fur babies LOVED this vacation. I really like the way she placed the tree on the edge of the page, and I love her use of the water splash elements in clusters behind her photos. Patty_OnTheWater 
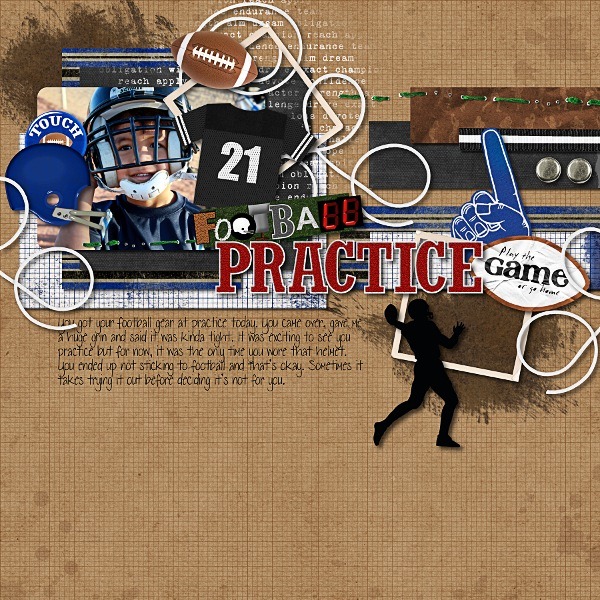
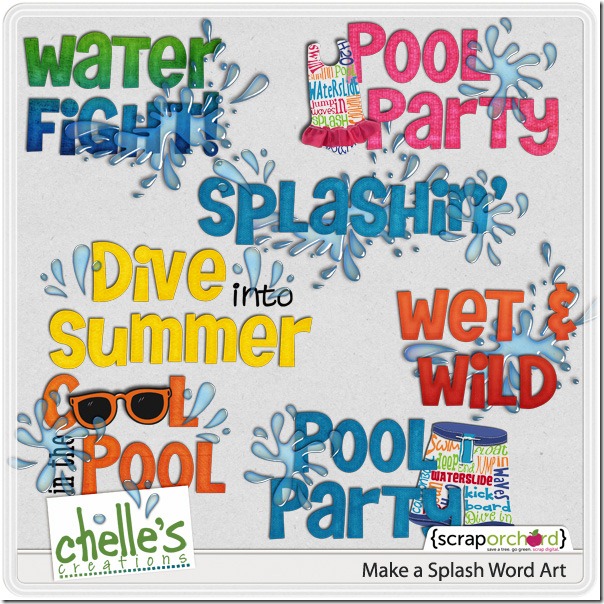
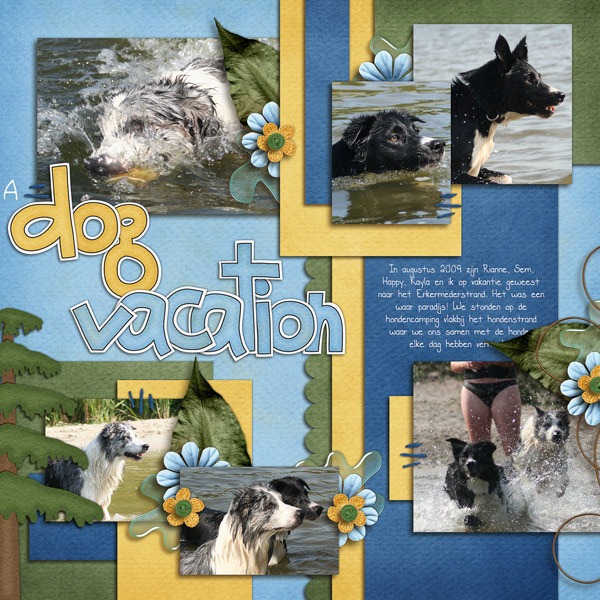
Finally, Ronnie made a page using the kit and word art, as well, but she altered the word art to fit her needs. The original word art has black letters for the phrase “Need for,” but Ronnie needed them to be white in order to be legible when placed on the photo. She also wanted to add the words “or not” after speed. She erased the black wording in the element and added her own text layer to read the way she wanted it, but the hard work of creating the title cluster was already done for her. That’s really the beauty of using the word art.Need for Speed

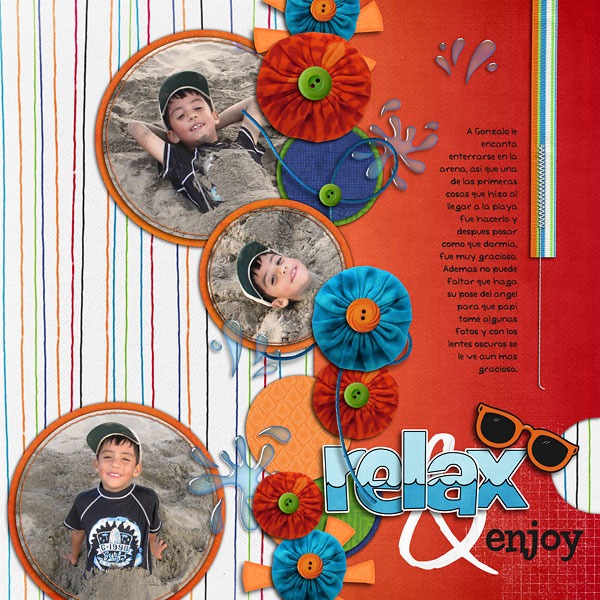
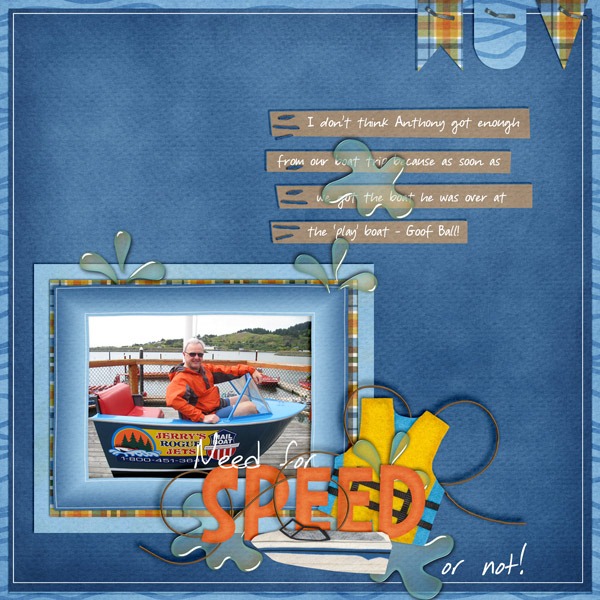
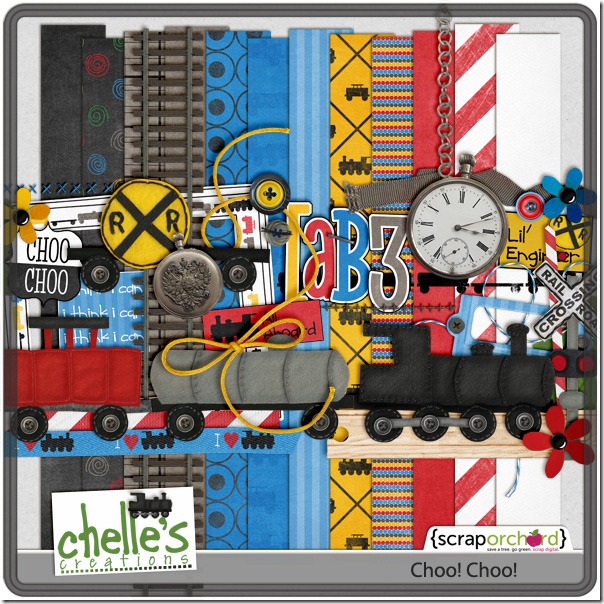
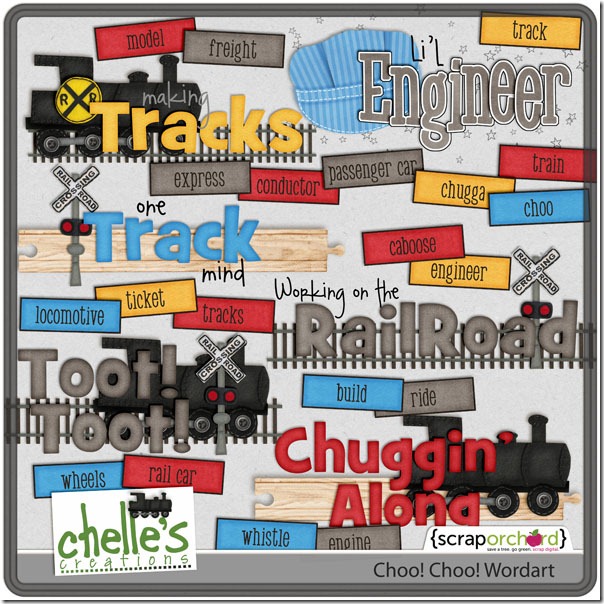
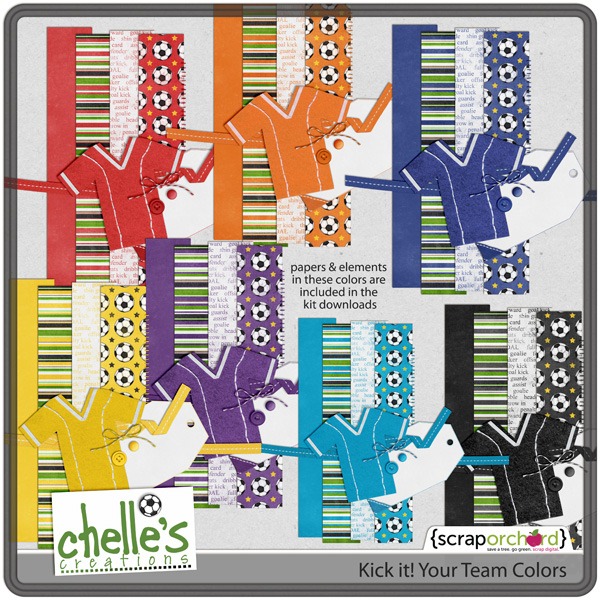
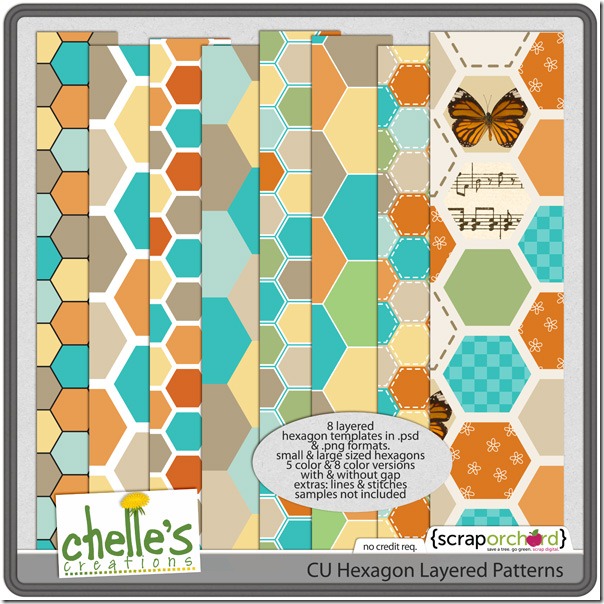
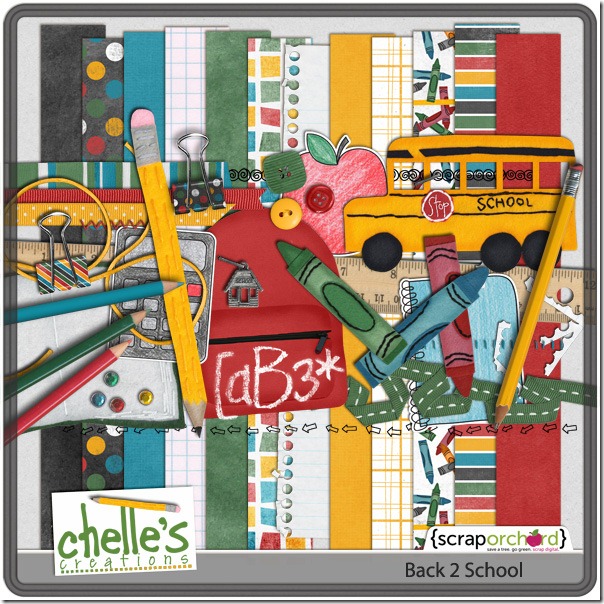
Here’s a closer look at the kit and the word art in the market. cc_onthewater_preview 2 post-01cc_onthewater_wordart_preview2post

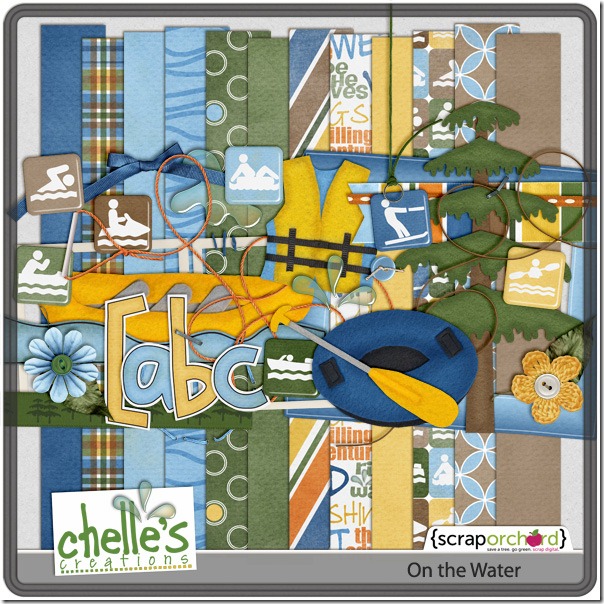
Stay cool this week!

6.27 Scrap Skills: Weaving elements

Hi friends! Cheryl here. I hope you’ve been following the digital scrapbooking tutorial videos Chelle makes from time to time. You can find them all on her YouTube channel, and they are all very helpful. I have learned everything from basic to advanced techniques from her. In fact, today, I would like to focus on two of her videos regarding weaving elements.

The first one called Linking Charms was released when her Graduation kit hit the market. The kit includes a sheet of year medallions that can be cut apart and attached to the tassels in the kit to personalize any graduation page you might be creating. Her video describes precisely how to accomplish that and make your shadows look realistic. It’s the best I’ve seen at describing how to do this. Chelle’s shadowing techniques are outstanding.

The second video I want to highlight is Weaving String Through Eyelets. If you’ve ever seen scrapbook pages in the galleries with string weaving in and out of banner shapes, looking very three dimensional, and wondered how they did that, then this is the video for you. But, even if you know how to do this already, I would encourage you to watch Chelle’s video because you might be surprised by what you could learn. For example, in this video, Chelle has a screen shot of her eyelets she created from simple, flat donut shapes with all her favorite effects layered with it. It isn’t the focus of the video, but it had some very helpful information for me!

Chelle’s creative team members often use this weaving technique on their pages. Cara had a gorgeous photo of a sunset at the lake she wanted to highlight on a page. She used a string element to weave in and out of the letters in the title. The effect of the weaving really adds to the title and is more interesting than merely having the string placed underneath the letters.Carathe-lakeOphelia also used this technique on her page. She wove the string in and around the frames on her page, and again, it adds more interest than simple layering. Ophelia2010-08-07-footballpractice_sm Finally, Kairyn made a double page layout and used this same weaving idea, but I want to show you each side of the layout individually to aid in viewing. On the left side (the first one you see), she used the red cord to weave around her title alpha, and on the right side, the same element is woven around the flowers. That curly cord is practically begging to be woven like she did, don’t you think? It’s a subtle detail, but it makes a large impact in the realism of each page. Kairyn2007-07-01ArtFun-L2007-07-01ArtFun-R

Did you know you can subscribe to Chelle’s YouTube channel? When you are looking at one of her vidoes on YouTube, there is a tab above the video that says, “Subscribe.” Click on that, and you can be the first to know when she adds a new tutorial.

Choo Choo | Digital Scrapbooking Classics

I have loved trains all my life and have spent a fair amount of time around them. I was born in Chattanooga, Tennessee, and trips to see the Choo Choo and the model railroad museum were regular events in my childhood. Even today, when I plan a vacation, I look for trains to ride – everything from day trip excursions to cross country trips. When I first saw Chelle’s Choo Choo kit in the market, I knew it was for me. After all, I have thousands of photos with my loved ones riding on trains or playing with toy trains! The Creative Team had some time to scrap their memories with this kit this week, and it seems several of them love trains as I do.

First, Heather used some of her pictures from a vacation to Disney World with Choo Choo to make this fabulous layout. I love that border made with the track and train cars.  Heatherrailroad09_600 Next, Erica made a page about her son’s first train ride. That’s definitely an event that needs its own page. I love the way she clustered the elements in groups around the page, and I love the photo of him looking out the train window. Even though I can’t see his face, I can tell he’s smiling from ear to ear. Can you see that? Choo- by Chelle's Creations Finally, Jenn is a real Disney fan, and this train at another location reminds her of her favorite place on earth. I love the title she made from one of the elements in the kit and the alpha. JennSrrcrossing

Here’s a closer look at the kit in the market and the coordinating word art package. cc_choochoo_previewcc_choochoo_wa_preview I hope you have this kit and plan to scrap with it soon!

6.13 Scrap Skills: Borders

Do you ever have a creative “block” when you want to make a new digital scrapbook page? One way to overcome is to start with a basic design element such as a border. A good border brings a strong visual anchor to your page and can give you a place to “attach” your photos. Chelle’s friends have been making pages with bold borders to show you some examples.

First, Jennifer made a page about a child’s first haircut, and she used the elements in the kit Mane Event to build her border. She layered a ribbon with rickrack and a comb horizontally across the page and then placed part of the title alpha on top. All her photos, elements, and journal spots are anchored to this border. This gives a calming, solid line that draws your eye to the “mane” event. web_first-hair-cutJennifer Next, Lynett also made a horizontal border of flowers and string and other embellishments from the Gnome Sweet Gnome kit. She made it lighter in appearance than Jennifer’s by giving the elements some space and allowing some of the background papers to show through. This type of border gives a more playful and dynamic feel and it compliments her layout perfectly while giving it a visual bottom to hold the reader’s attention toward the photo and journaling above. funtimesborderexampleLynett

Finally, Roxana made two pages with borders as major design elements. The first page has a strong horizontal border made with circular elements – flowers, paper circles, and buttons – and her large photo is also circular and anchored to the border. This gives the page movement much like the movement of waves crashing onto the beach.  22-angel-left-webRoxana Roxana’s second page has a similar border, but this time it is vertical on the page. While still being made with circular elements, this linear approach mimics the vertical lines on the background paper and the vertically striped ribbon stitched to the right side giving the page a downward flow toward the title “relax & enjoy.” The title here actually forms a secondary border that is horizontal and less structured than the vertical one. Notice how this vertical arrangement suggests movement toward the more calm horizontal resting place with the appropriate title. 23-enterrado-right-webRoxana Did you notice Chelle’s new Soaked alpha Roxana used on both her pages? Here’s a closer look at it in the market. cc_soaked

I hope I have given you some inspiration to begin your next page. You can make a border from almost anything in any kit you use, just as these ladies have, and you will be well on your way to making a visually interesting page to scrap your memories.

Make a Splash | Digital Scrapbooking Classics

Hooray for summer! It’s summertime in my neck of the woods, and I couldn’t be happier! I love everything about it: the break from school (which means more time for my favorite hobby – digital scrapbooking, of course!), the summer sun and heat, and the visits to local pools and waterparks for cooling off. I know I’ll take lots of photos at the pool and even in my own yard when we water the lawn and the neighborhood kids run through the sprinklers. Chelle’s Creations has the perfect kit for my photos – the classic Make A Splash. Chelle’s Creative Team members have been playing with this kit and have made some layouts to inspire you.

First, Ronnie had some older photos she hadn’t scrapped yet, and Chelle’s kit was her first choice for them. The bright colors of the kit match the bright colors of the swimsuits and water perfectly. I love the large photo filling half the page and the journal notes on top of the dark parts of the photo. BIG PHOTO
CVW_SupplyTracker
Layer 1
Layer 2
Layer 3
Layer 4
Layer 4 copy
Layer 4 copy 2
Layer 5
SMALL PHOTO 1
SMALL PHOTO 1 copy
SMALL PHOTO 2
aprilisa_PP10_template4
cc_mas_blue%20splash%20shadows
cc_mas_girl_suit
cc_mas_paper%2007
cc_mas_paper%2009
cc_mas_paper%2009 copy
cc_mas_paper%2015
cc_mas_paper%2017
cc_mas_paper%2017 copy
cc_mas_splash%202%20blue%20w%20shadow
cc_mas_splash1%20rotated
cc_mas_trunks
cc_mas_wa_splashing
curve
journal
paper 1
paper 2
paper block 1
paper block 2

Next, Shannon used the kit to scrap pictures of her daughter playing in the ocean waves. Notice how she used the word art with the water splashes to make part of her title – a helpful way to mix two alphas on a page. I love the water splash added behind the photos, too. 6-makeasplashShannon

Finally, Patty had some photos of a particular “struggle” for control of the sprinkler in the garden. Look familiar? It sure does to me! I love that she has used this kit for this subject and that she has the background papers arranged in a starburst pattern with the splash embellishments all around the border.  Patty_MakeASplash

Here’s a closer look at the kit and the word art in the market (images are linked): make a splash preview

make a splash wa preview

Time for me to go outside and tend to my flowers with a little water. Maybe I’ll take my camera, too, and get this kit ready to go for a page for today. Come join me in the fun!

5.30 Using 2 Alphas in a Title

Sometimes choosing the right title on a page in a digital scrapbooking project takes me as much time as making the entire rest of the layout. I know that a good title will grab the reader’s attention and make him want to linger on my page a little longer, so I struggle with finding the perfect words. And, then when I finally have the perfect phrase for a heading, I place it on the page only to discover that it lost some of its appeal somehow. I have learned from the experts on Chelle’s Creations creative team that I can “highlight” a major word in the title by using a second alpha, and my title will go from getting the job done to being worthy of a Gallery Standout  with just that little bit of help. Check out these examples:

Mary made a page with Chelle’s latest freebie kit iOnline. She used a combination of a small block alpha with a larger felt alpha making the main word much larger in the felt alpha. She chose a neutral color for one alpha and a bold, bright color for the main word alpha. Doing so created a visual line across the top, almost like a border, and it is obvious what subject the writing will address. I hope you will read her story – it’s an awesome look back at her first use of the internet.internetbyuappMary


Ophelia also used 2 alphas on her page. She has used the black alpha from the Kick it! kit, the kit she chose for her entire page, and then she has augmented this with the Wet Paint Alpha. The white letters stand out on the page, and it’s the first thing I noticed when I saw her page. No doubt about the subject of this page, right?  2009-10-23-soccerpractice_smOphelia

Often, digital scrapbooking kits include alphas, but rarely have I seen one with two alphas included, so choosing a coordinating alpha can be a bit tricky. Thankfully, Chelle has created several multipurpose alphas that are staples in my stash. The Wet Paint Alpha is one of those, but she also has the Marker Alpha and the Darling Stitched-a-bet alphas. Look around in Chelle’s Gallery at Scrap Orchard and you will see many more examples of using two or more alphas to make a good title look great.

Kick it! | Digital Scrapbooking Classics

Hello, Chelle’s Creations fans! That title “Kick it!” is not a command for you to take out your aggression on your computer that’s lagging, but rather it’s the title of one of Chelle’s classic digital scrapbooking kits with a soccer theme. The parts and pieces come in 8 different colors, so it should be easy to match it to all your team colors. But, even if you aren’t a fútbol fan, this kit is very versatile and could be used for a variety of layouts.

Let’s take a look at some pages the Creative Team has made. First, Carol had some terrific pictures of her little guy playing soccer. Look at his enthusiastic expression! And, I love that cluster of the soccer ball and buttons on top of the ric rac wrapping the page. CarolJ_kickIt

Here’s a page you might have seen before. Kairyn used some of the blues in the kit to make her page about a soccer game, and I love how she used the photos in circle shapes. I also like how she colored the silhouette to match her background.

Jenn took a different approach and used the greens in the kit to scrap a St. Patrick’s Day layout. She also used one of Chelle’s new In the Pocket templates. She used one of the full size square templates but made it smaller to create pockets on her page, and it gives the page a very tactile look. SOCCKickItPocketsPeaGfndNoodSt-LJennM

Let’s take a closer look at the kit in the store. The image is linked to the kit at Scrap Orchard. cc_kickit_preview_2post And, here’s a look at the team colors included free in the kit. cc_kickit_YTC_preview_2post Have you scrapped a page today? If not, maybe you can pick up this kit and kick a layout into shape.

5.16 Scrap Skills: Hexagons

Have you seen all the hexagons everywhere? I did a quick search for hexagons on Pinterest because I had noticed in the digital scrapbooking community that I was seeing a lot of them. They’re everywhere! My Pinterest search turned up hundreds of pins in everything from home décor to board games to quilting, and of course, there were dozens of scrapbook pages that used them. Chelle’s Creations has a great CU item in the market that has lots of hexagon patterns that are extremely versatile. cc_CU_HexagonLayeredPatternsThe kit has 8 layered templates, with small and large sized hexagons, some with spaces, and some without. It even includes the lines and stitches that can be used to enhance the patterns. In addition to the PSD files, it includes PNG files of each pattern, which makes it easy for users of SBC+ to add to their pages. It truly should be a staple for your stash of supplies, especially considering how popular hexagons are right now. If there isn’t a hexagon in the kits you are using, you can clip your papers to the templates in Chelle’s CU Hexagon Layered Patterns. Chelle’s Creative Team has been playing with this item so that you can see what I mean.

Patty made a page to showcase her photos she took at a zoo recently. She used some of the layers of the hexagons and clipped papers from the Zoopendous kit to the layers. It makes a perfect background for her photos.ZooPatty

Ronnie also used the Hexagon patterns, but she took it a few steps further making a very intricate and interesting pattern. She made a  patterned paper with the Hexagons. To have even more hexagons, she used a template with hexagons which cut the Big City kit papers into hexagons thus having hexagons within hexagons. Big_City_Ronnie_May_blog_post_600

Another CT member, Ophelia, used a template from Fiddle-Dee-Dee Designs to make her page that has a building theme. Hexagon shapes are perfect for this page, and she has filled some of the shapes with papers and some with her photos. Look at how well the road signs blend in with the geometric shapes on the page. 102509buildingacity_smOphelia Cheryl of Fiddle-Dee-DeeDesigns originally made this set of templates for her Facebook fans, but if you missed it on Facebook, you can find it in the market at Scrap Orchard. The image is linked. fdd_ffNothingSweeter_previe I hope you’ve found your inspiration here for getting your memories and precious photos preserved for future generations. Try using the popular hexagons, and see how easily they can be used to make a big visual impact.

Back 2 School | DIgital Scrapbooking Classics

It’s graduation time! Hooray for the end of a school year and the beginning of new opportunities! I have just returned from my daughter’s college graduation, and I have begun the process of editing my photos from the big event because I really need to use my digital scrapbooking skills to show my love to her. My daughter even lamented the fact that she has lots of photos on social media sites but very few photos in print, so I am going to help her remedy that situation. I am looking at Chelle’s Back2School kit to help me with that project. It’s one of her classics, and although you might think of it for the beginning of school, I think it will be perfect for graduation photos, as well. Roxana thought so, too, and she made this marvelous double page spread of her child’s kindergarten graduation. I love that school bus and the different alphas used for the large title. The various buttons and clips used to “stick” the journal strips to the page really emphasize that this indeed was a tactile learning environment, full of wonderful memories.42-43-graduation-webRoxana

Melissa used the kit to commemorate her son’s 2nd grade year in school. The cluster of school elements – the locker, ruler, pencil, composition notebook, and backpack  – are appropriate here for a young child but would also work on a page for a high school student, as well. Look at his sweet smile! Grade-2Melissa

The primary colors in the kit make it coordinate with many of our daily pictures as well as school photos. Karen made a beautiful page about her cat Reggie, and the bright, bold colors make me think of many happy times I’m sure she had with her fur baby. Her large photo blend on the grid paper is outstanding, and the cluster of paper pieces under the smaller photo draw my eye to his sweet, peaceful face. Reggie2Karen

Here’s a closer look at the kit in the market (the image is linked to the store): cc_back2school_preview_2_post

Now, I need to get busy scrapping some memories of my daughter’s graduation. See you back here soon!

5.2 Scrap Skills: Using Banners

I love banners, don’t you? For me, they evoke feelings of celebration and joy and accomplishment because in real life, I see banners at birthday parties, holiday celebrations, and even at the finish line of every race. Lots of Chelle’s digital scrapbooking kits come with banners in them, and Chelle even has a couple of kits available here and here to make your own banners from papers you already own. Today, Chelle’s Creative Team members want to show you some ways to use banners on your pages and creative ways to make your own banners.

First, Heather made a double page layout of her experience seeing Michelle Kwan inducted into the Hall of Fame. Notice how the banner is used on the right half of the layout to hold part of the title letters, and the banner shadowing is so realistic it appears to pop off the page.

mkhof_onice_cc_2pg_600Heather

Next, Patty used the banner in Chelle’s brand new Hole In One Collection to help frame the entire page for her photos of her favorite guys at the driving range.  Patty-HoleInOneBundle Mary also used the same kit, but she used only one banner pennant for a journal spot to include the date on her layout. It highlights the date, and that is sometimes the most difficult thing to place on a page. minigolf2Mary Next, JennS used tickets from the Ticket to Ride kit and some stitches to make a banner across the bottom of her page in a border fashion. It is the perfect complement to her page. rockbottomplungeJennS Finally, Jennifer also made a banner from stitches, but then she used word strips instead of banner pennants. It’s an original way to make the journaling fun to read, don’t you think?  web_fun-in-the-snowJennifer Now that I’ve seen these awesome ideas from the team, I am inspired to use a banner on my next page, and if my kit doesn’t have a banner, I see there are many ways to make them and bring a fun and unique look to my creations.