


Hi Everyone! I’m Jenn, or jk703 in the forums. I’m a self taught Photoshop girl, and like to share what I’ve learned with easy tutorials! Hope you enjoy this one!
We are going to manually blur the background of an image to bring the focus onto one subject/object in your photo. Many times when we take pictures, we use the “Auto” settings, and nowadays, many of our photos are taken using cell phones. These pictures are great, and keep taking them! At times though, you might have a busy but crisp background, and that is because when taking the photo you opted or couldn’t change the aperture. To give a bit of depth, and to be able to choose your image’s focus, follow along with the Tutorial: Adding Depth of Field for the simple workaround!
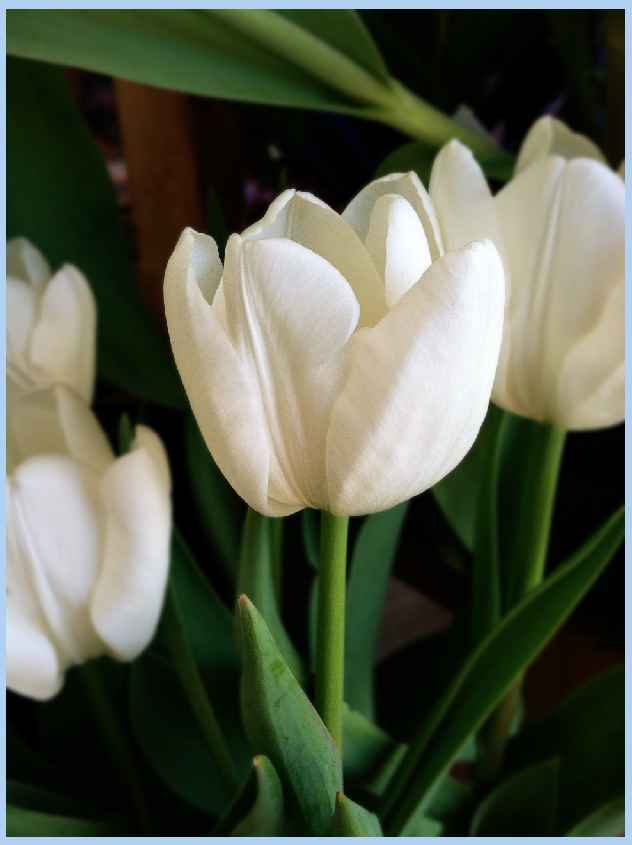
Here is my original image, using my cell phone.

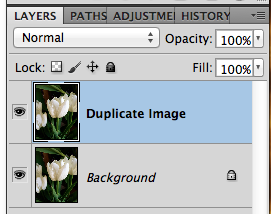
First, duplicate your image.
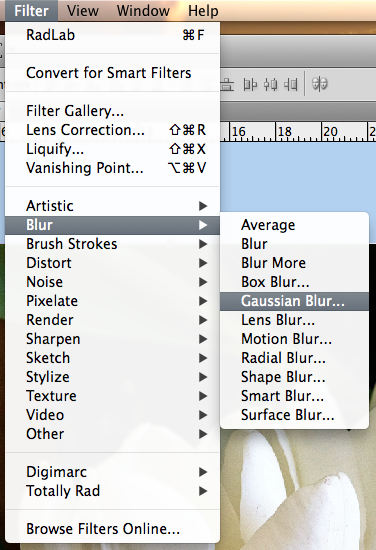
Next, with the duplicate layer selected in the Layers Palette, you will go to Filter > Blur > Gaussian.
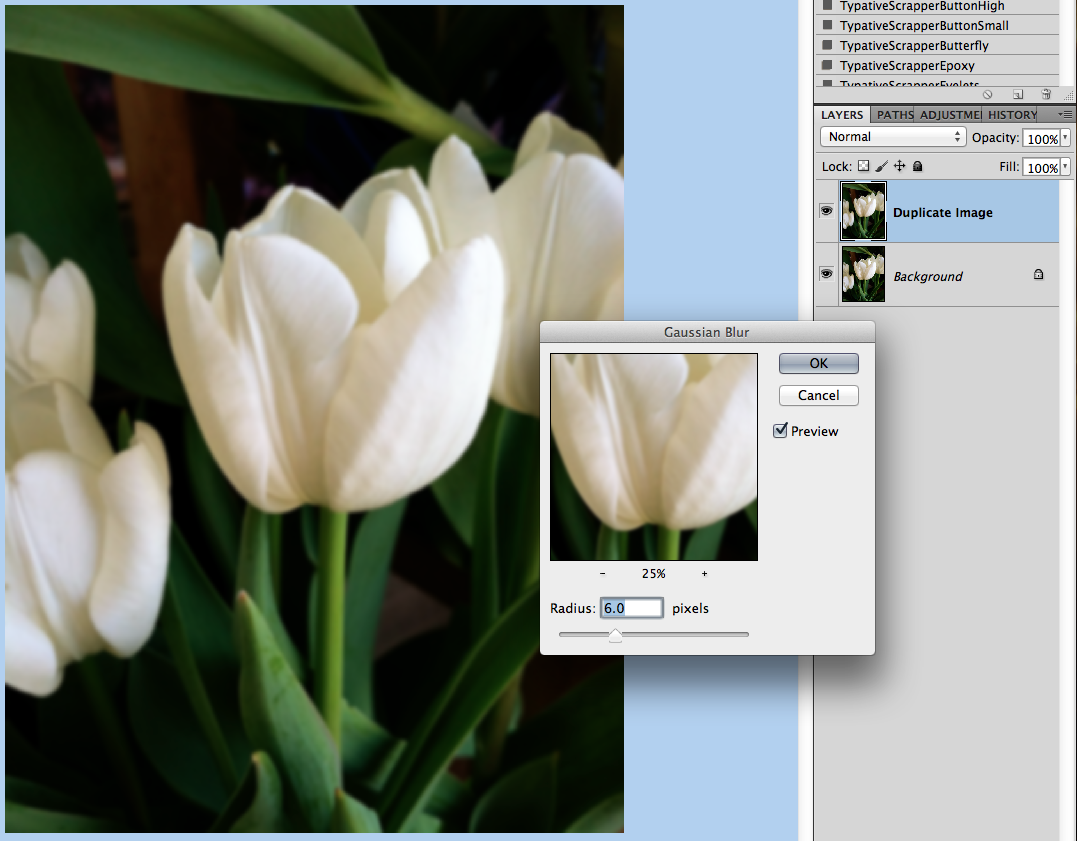
Look at the area that you want to blur, and move the slider until it is blurry enough that you like the look. Don’t worry about the part that you want to stay in focus at this point. Mine is at 6 pixels for now.
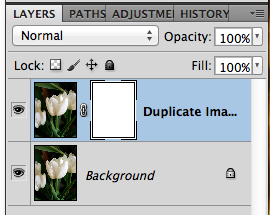
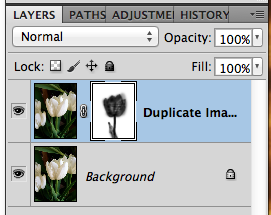
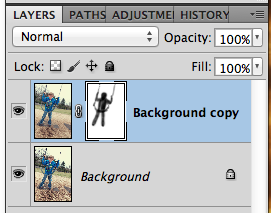
Next, still with the duplicate layer selected, you will click the square with a circle in it on the bottom of the Layers Palette. This is what I call the Mask Maker. 
![]()
Your layer will get a white box next to your image. Click on this white box so you see the corners with double lines. This means the mask is selected.
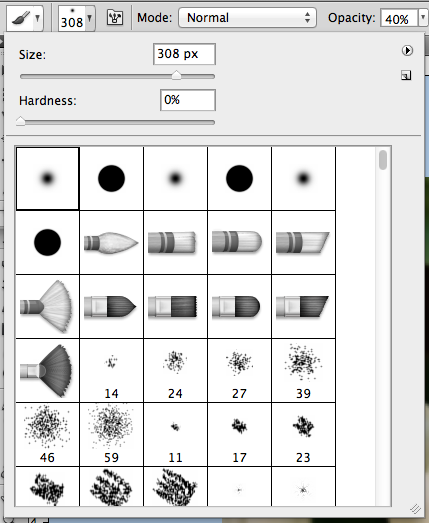
You want to have black in the Foreground Color for painting on the mask. Next, click on the Brush Tool. Use a soft black brush. Mine is set at around 300 pixels, soft, and 40% opacity.
Using the brush, paint over the area that you want to bring into focus. You can see my mask here, painted black and almost in the shape of the single tulip.
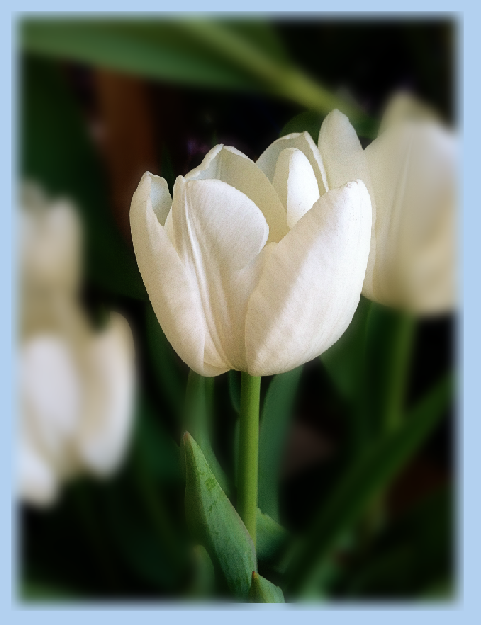
Here is the tulip image. This one is at a 6 pixel blur. Just a little blur for the background and other flower parts.
Jumping to an 8.8 pixel blur and the same tulip in focus would make it look extra soft. Almost like the retro photos that had the softness on people’s faces.
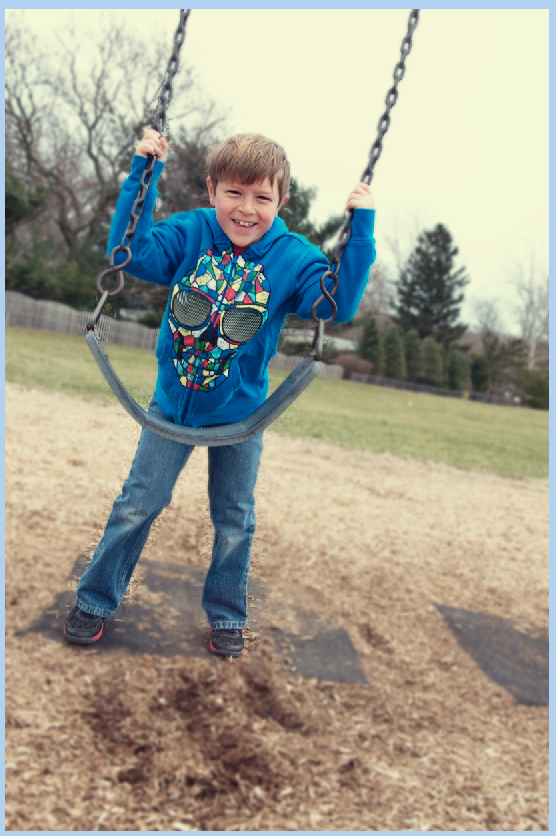
Here is another image of my son, at the park. I wanted to focus on just him, and a bit more blur on the trees and surroundings.
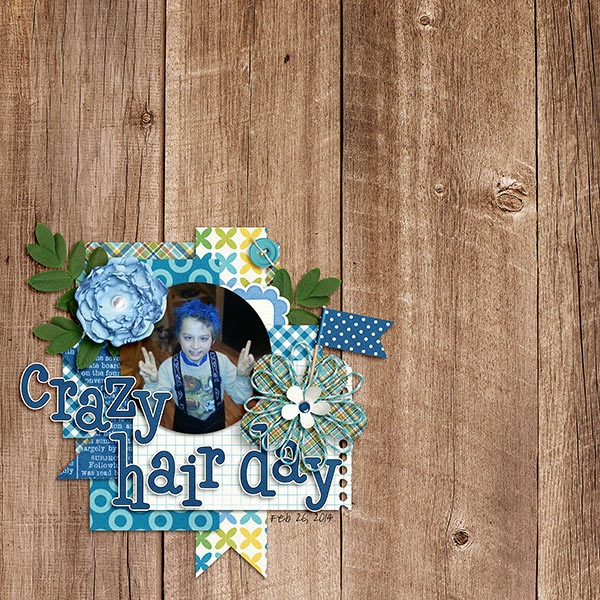
Here is what the CT came up with for this tutorial!
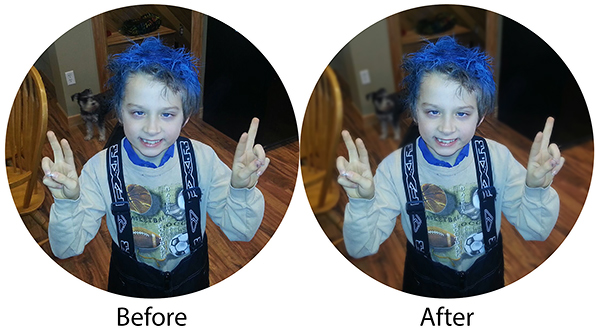
Jennifer (jmljensen) created this fun layout of her son – she used Chelle’s Bluebird on My Shoulder and About a Boy (template – Watering Hole freebie template by LGFD). She already knew what I was going to post, so she was able to give me a before and after of the photo itself!
Jen (supergirljennie) created her layout using Fleur de Violette. She shoots in manual mode, and had the settings at f/2.5, 1/2500sec, 200 ISO. 
Super simple, and a fun technique. It will work great on photos that you have a lot going on in the background. You can easily provide focus on what you would like to stand out. Can’t wait to see what you create using this tutorial. Now, go add some depth of field, lol.
Thanks for visiting!


 Hi! I'm Chelle: a 40 something mom of 7. My husband & I live in a rural community in the rocky mountains with our 4 children still at home. In the winters we enjoy sledding & snuggling by the fire. I the cool fall evenings we love relaxing around the campfire & meeting friends at the county fair. Admiring the stars


Another great tip. So easy to follow with grey results
Thank you. I missed the step of duplicating the original that I didn’t want to blur. Makes it a great improvement over what I’ve done before.