


Hi, I’m Leslie and I’m a guest Creative Team member for Chelle’s Creations this month. I can’t tell you how exciting it’s been to be a part of such a great group of women, getting to know them and Chelle, and getting lots of pages done for my digital scrapbook in the process using great Chelle’s Creations kits! And for her readers, I have a little freebie cluster at the bottom.
I use Creative Memories’ Storybook Creator Plus (SBC+) for my scrapbooking in addition to Photoshop Elements (PSE). For those of you with PSE, you have lots and lots of templates out there that you can use that are already in Photoshop format. SBC+ uses a propitiatory file type, and we have to do a little bit of work to get png and jpg files into our program to use as templates*.
I work behind the scenes making page files for another designer on Scrap Orchard, and as such have made many many page files from pngs. I hope that my work flow can help others who use SBC+ make their own pages. These directions will be shown on SBC3.0, but the same workflow works in 4.0, with a few steps made easier, which I’ll explain. I’ll be using Chelle’s Askew Templates which can be found here Chelle’s Askew Templates
First, I open a project that’s the same size as the Photoshop template, which is usually 12×12. Whether you do this as part of a Storybook or as a Page Print doesn’t matter.
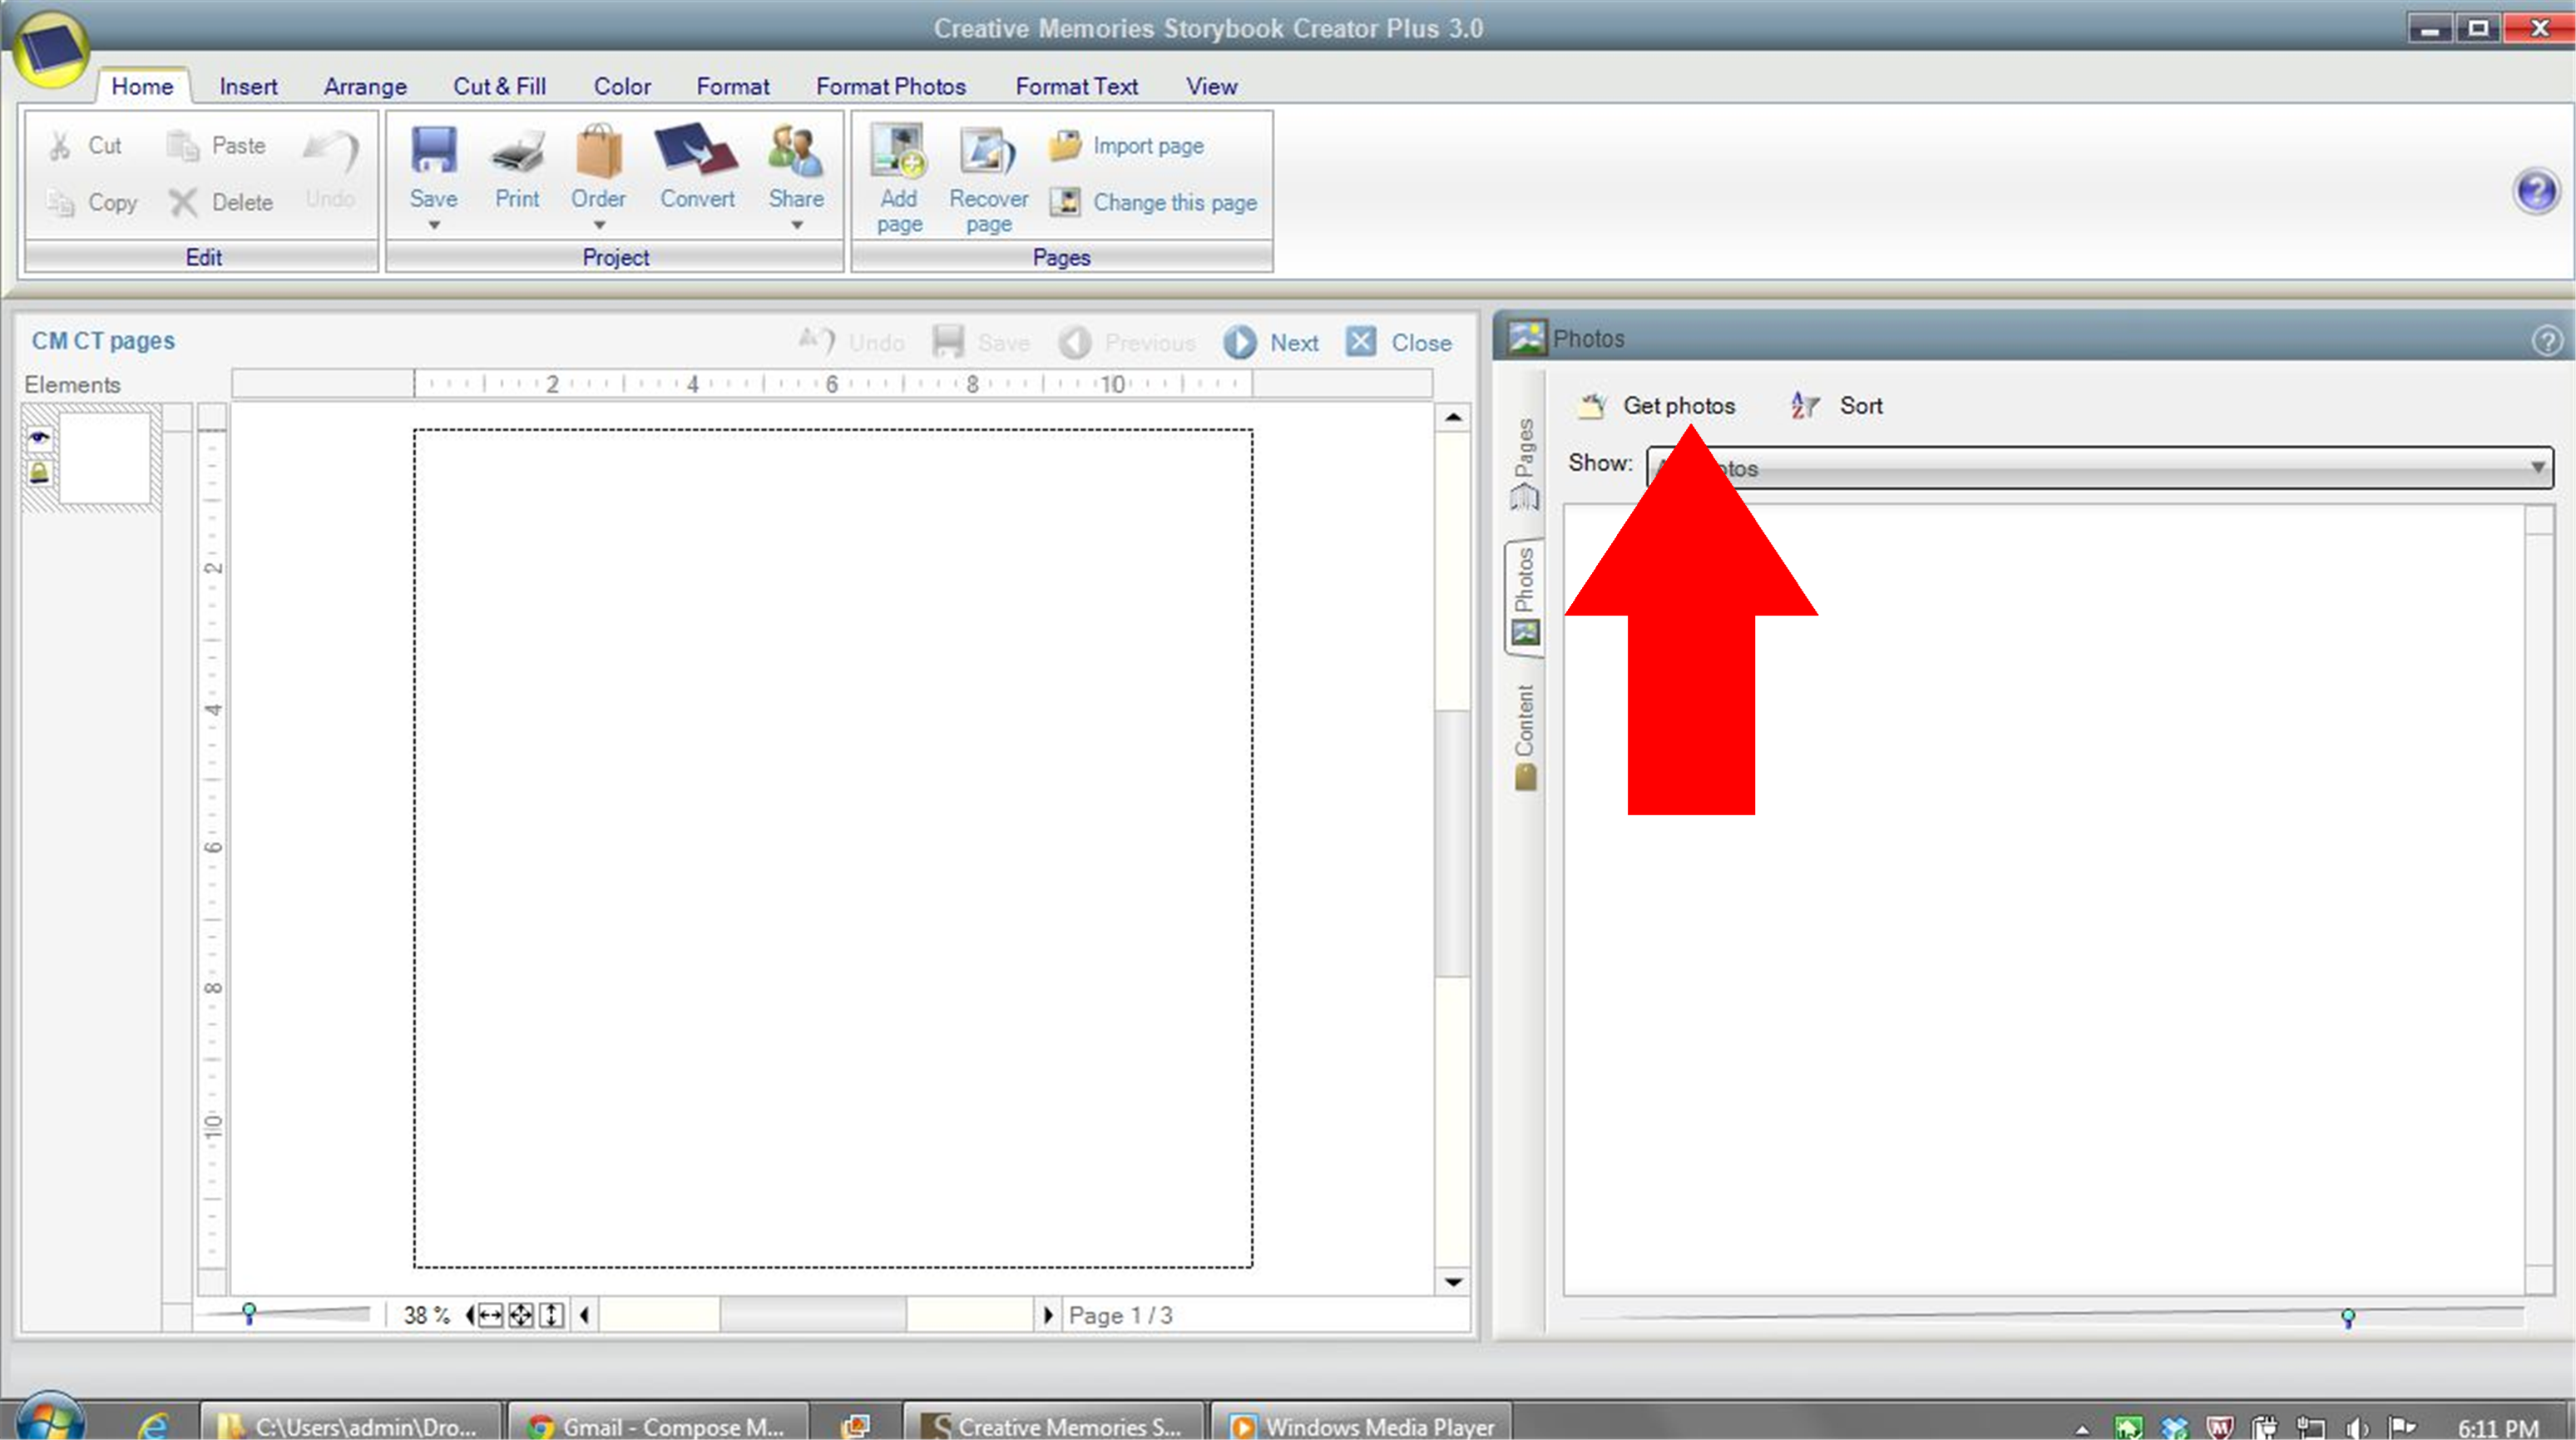
Then, I go to the right hand side and select “Photos” and then “Get Photos”.
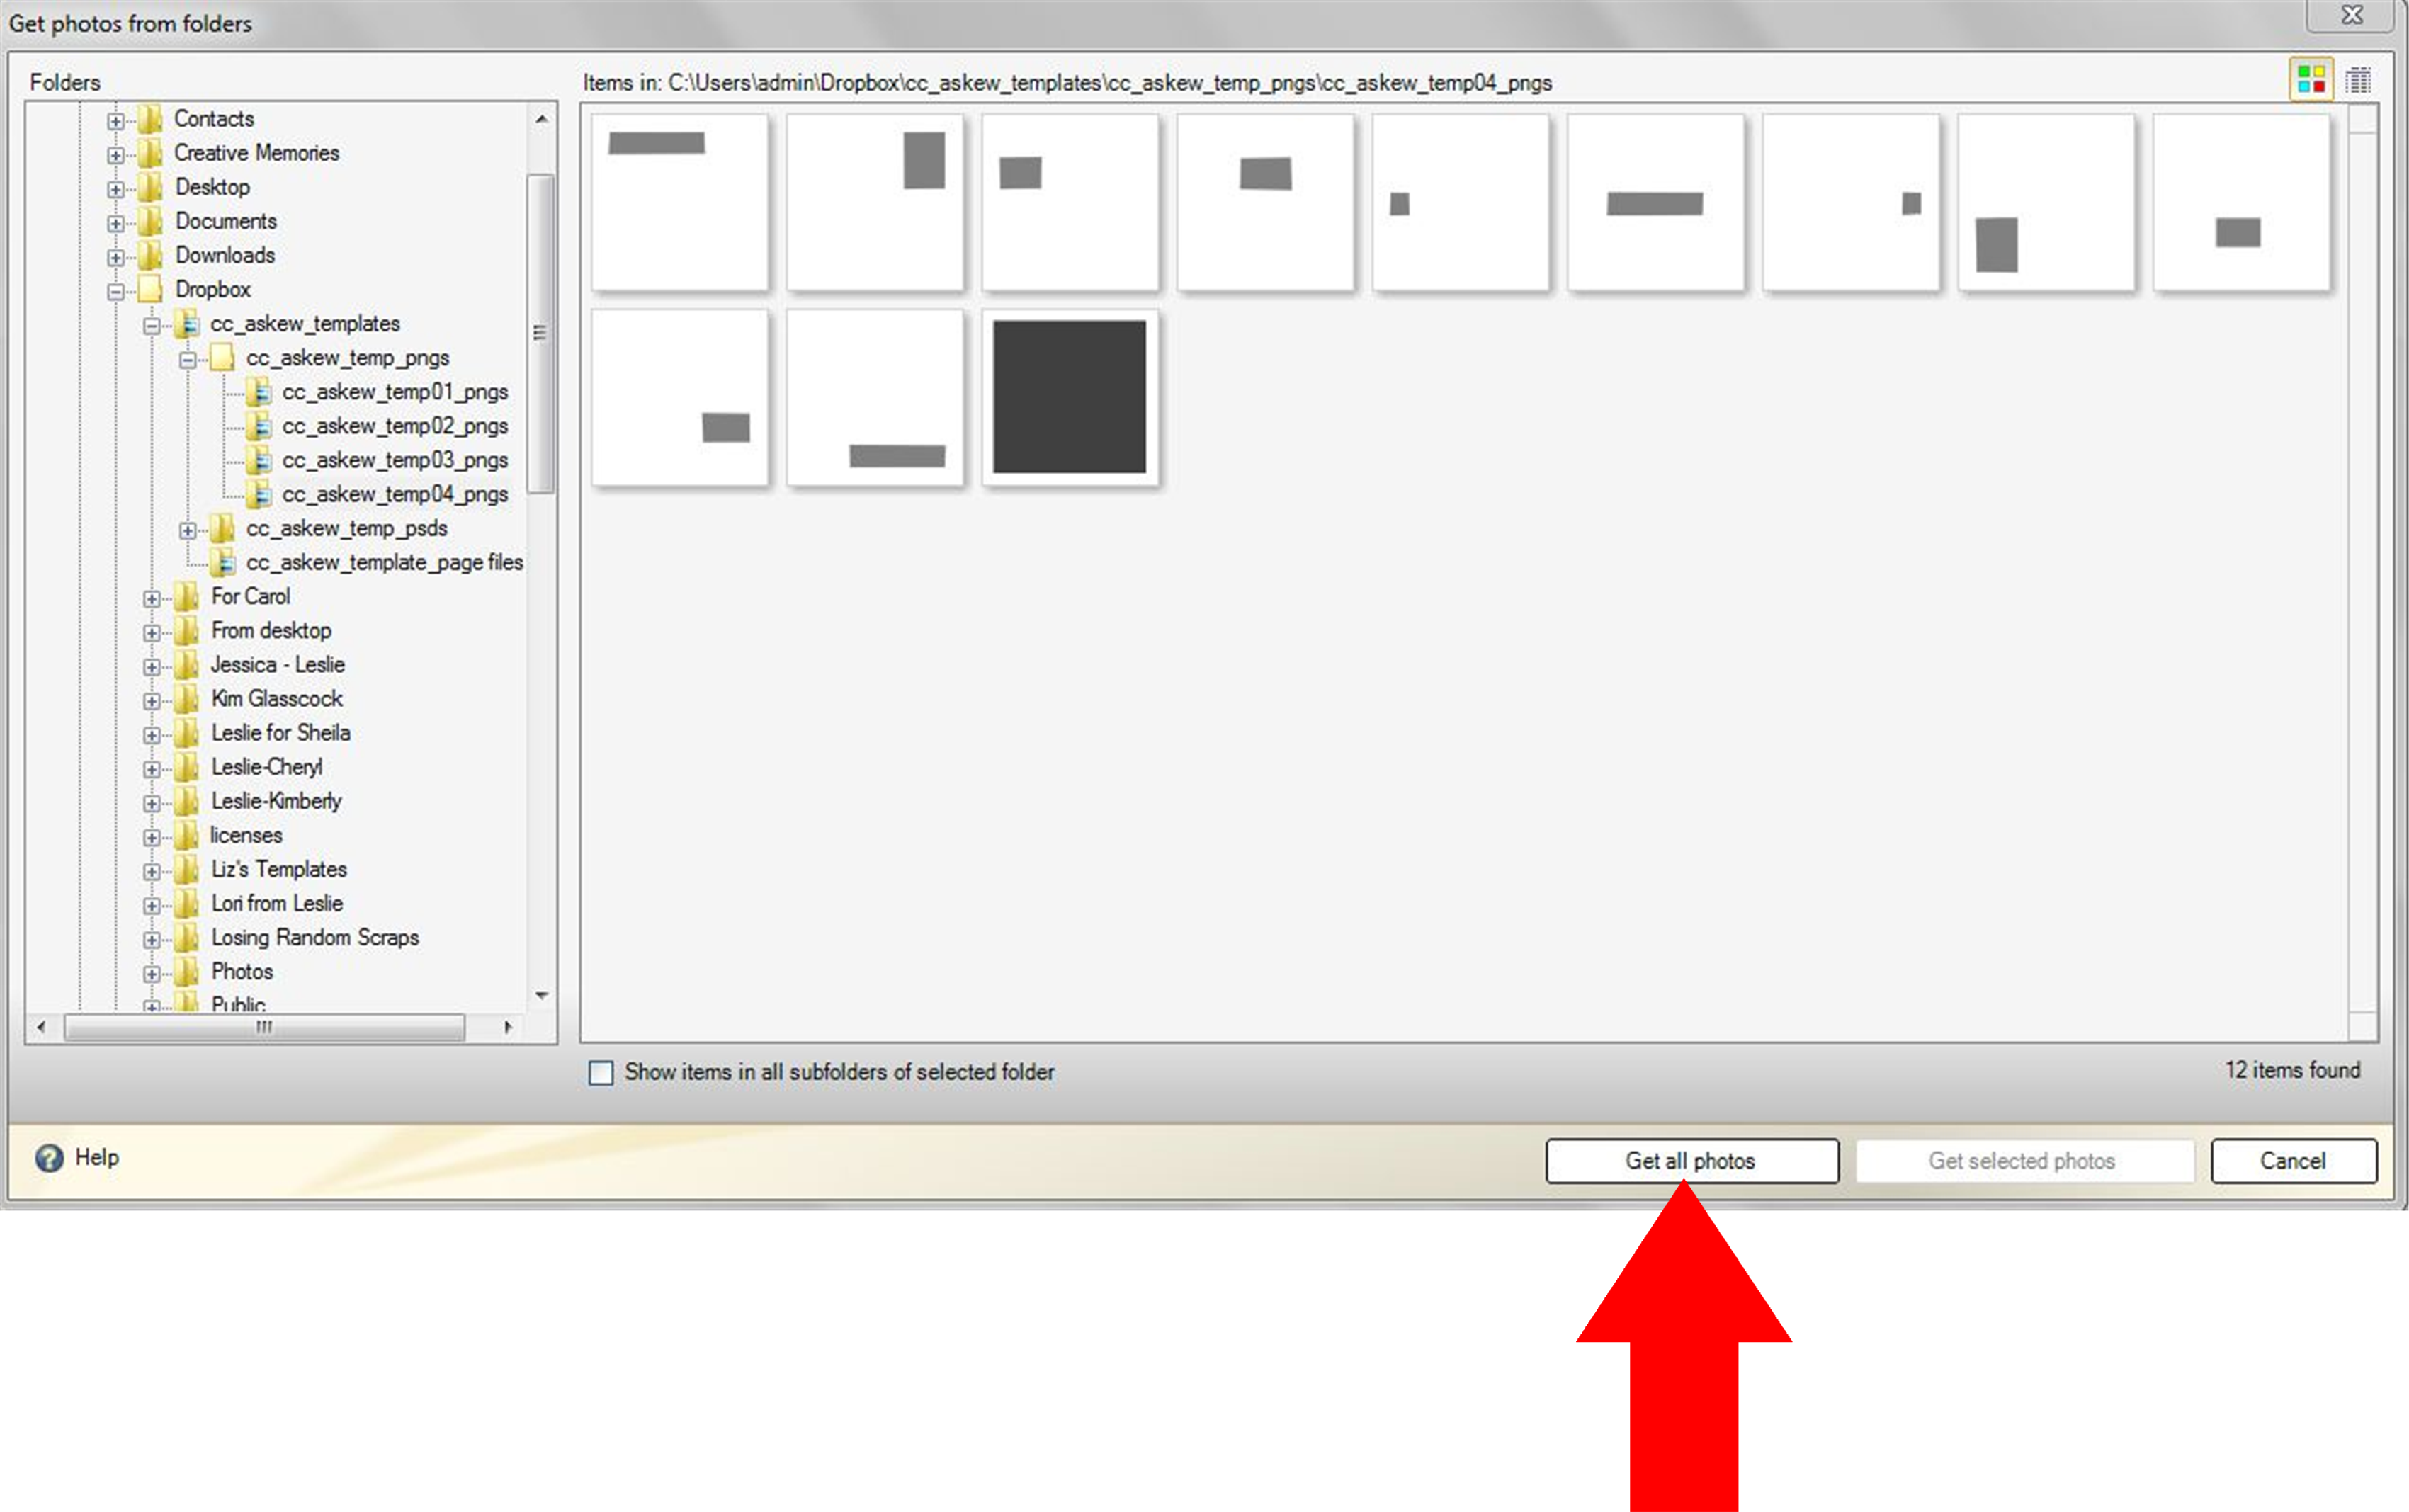
I navigate to where the PNG folder is and get all the photos.
So now, they’re all in the program stored under photos. Then, I start at the bottom of the stack and work up inserting things into the page. Go to the last photo in the list and double click on it. That will bring in that photo to the bottom layer. Then go to Arrange–>Flatten and flatten the image (if the layer is, as shown, filling up the whole screen, you don’t have to flatten it and then you can fill it like you would a photo holder).
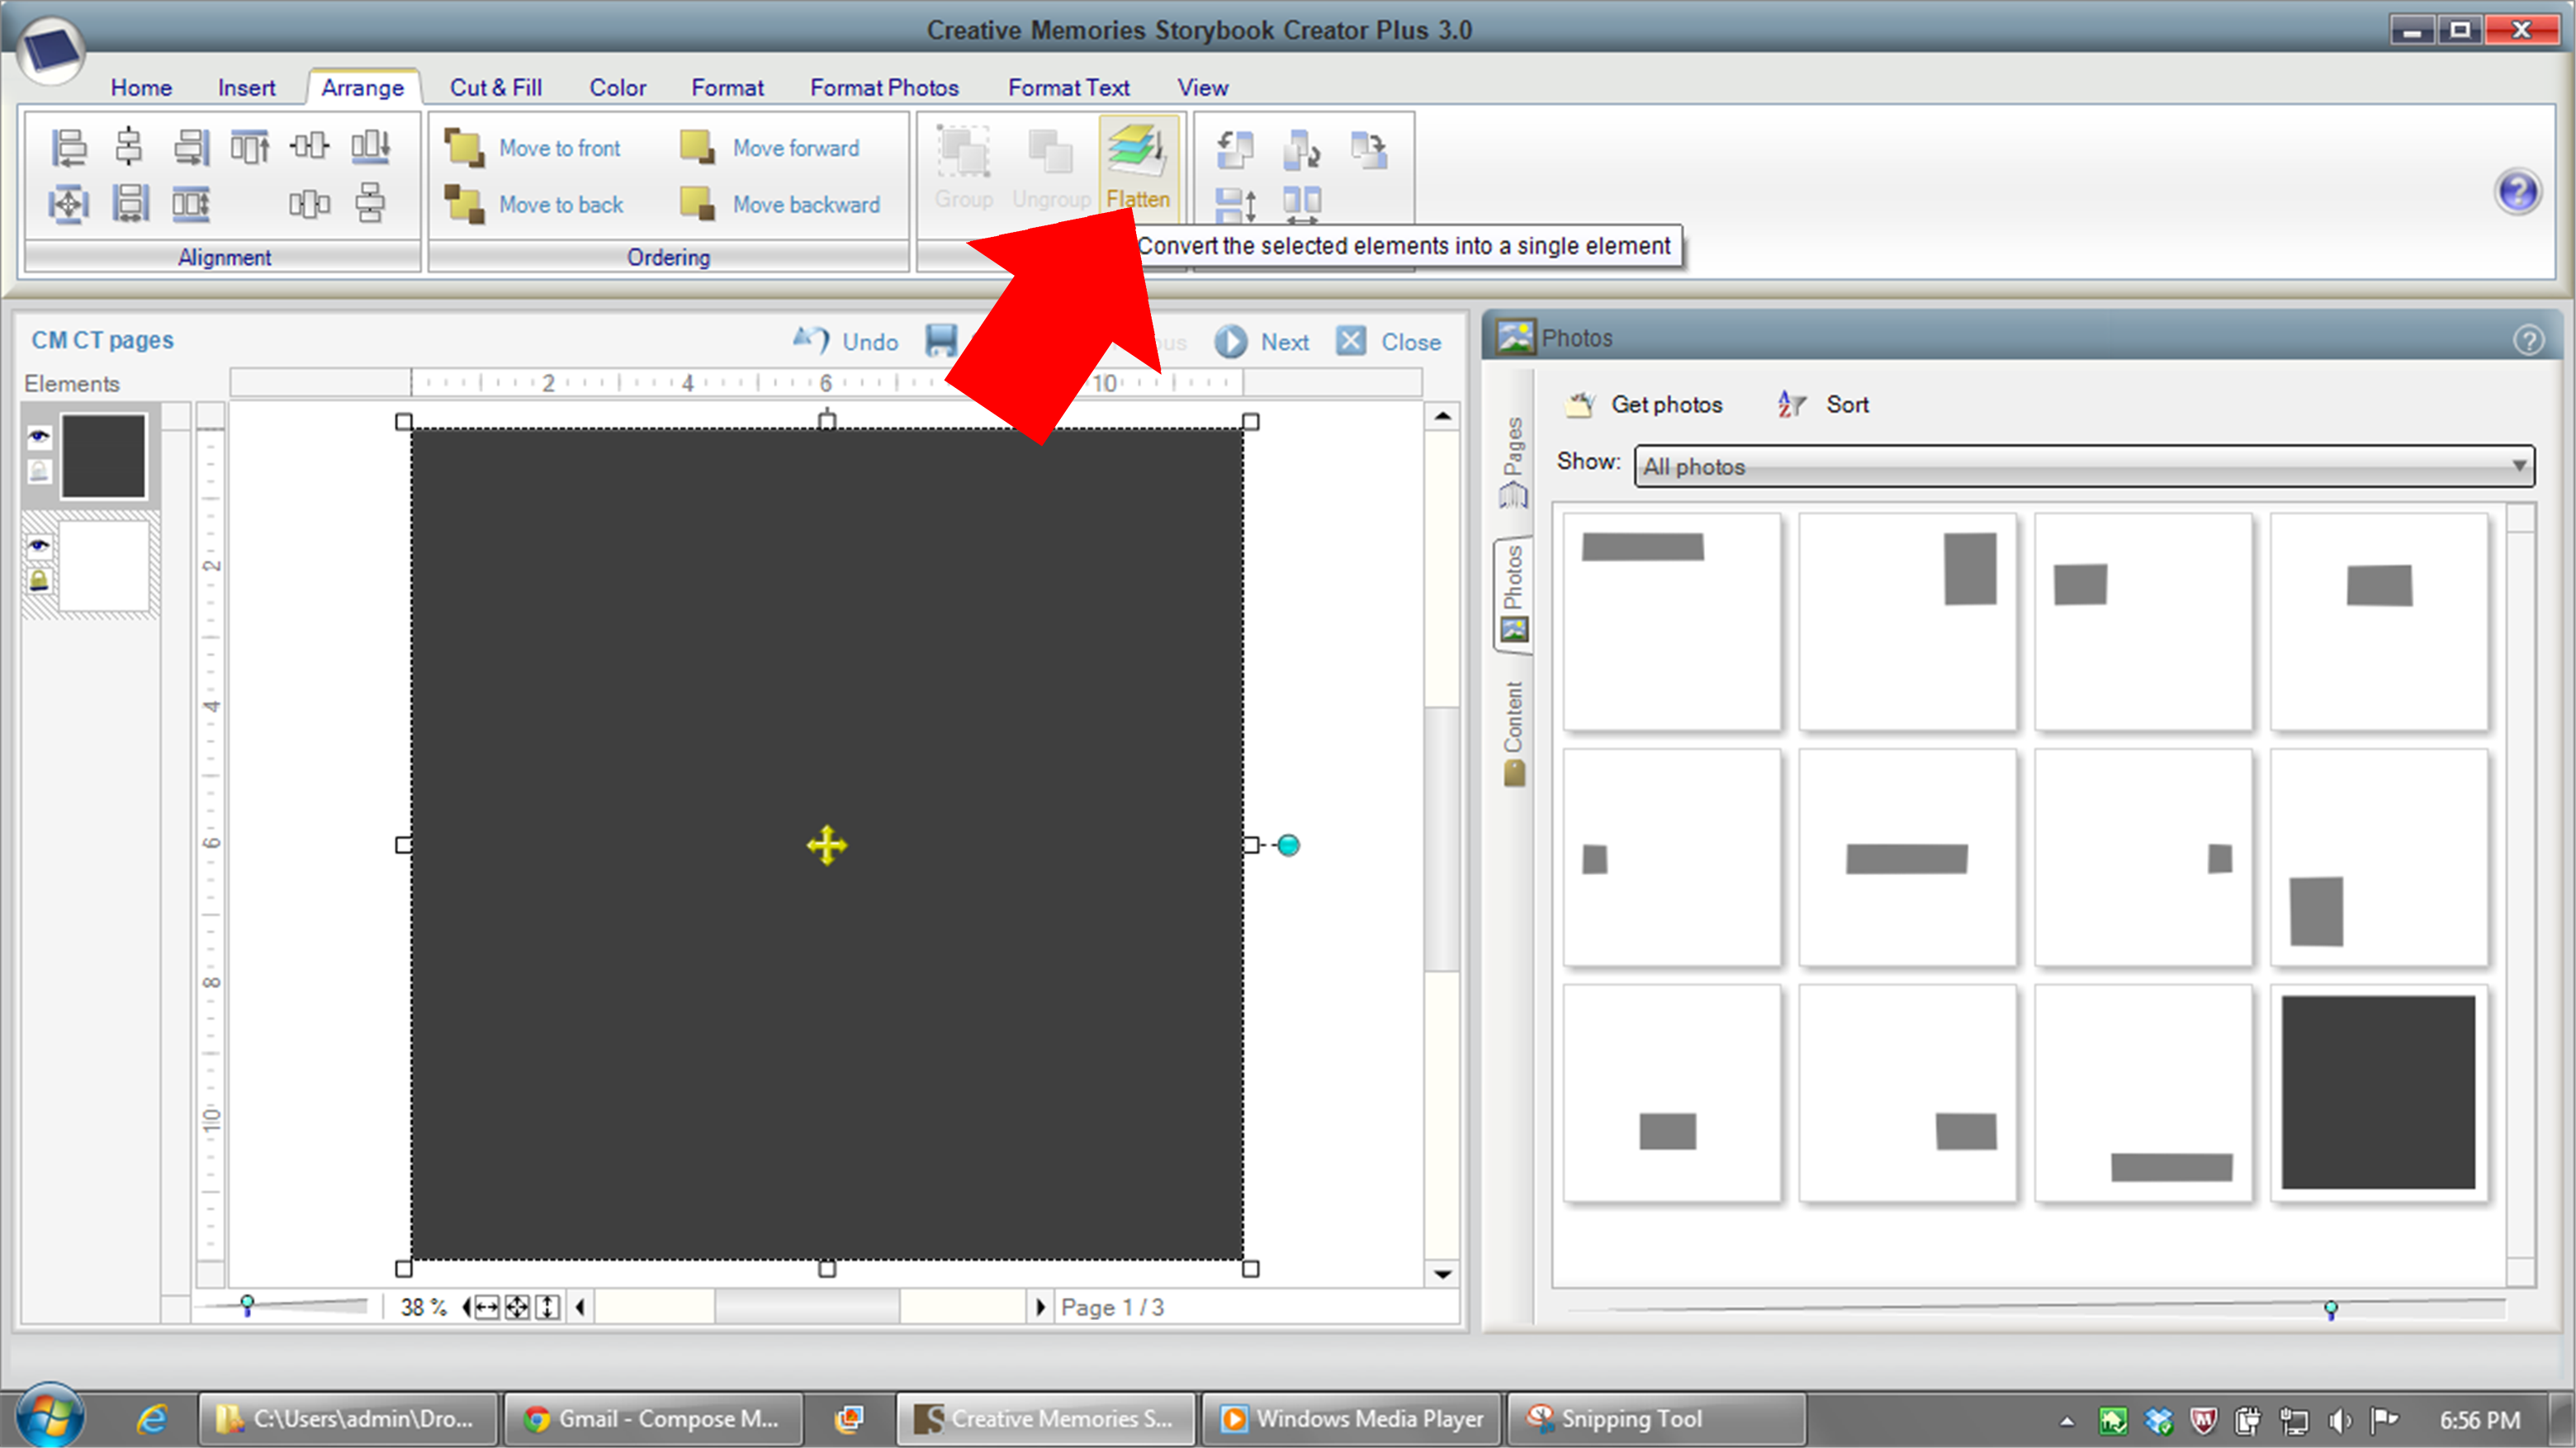
Work your way up the layer stack, inserting images into your project and flattening them.
When you’re done bringing in all the photos and flattening them, you can remove those photos from the photos list.
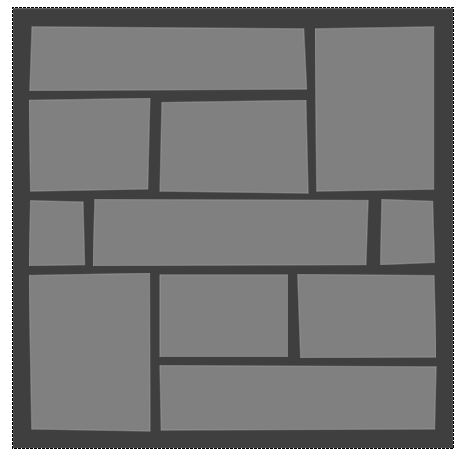
For wonky shapes, like the ones in Chelle’s template I used as an example, it’s a bit more advanced than the scope of this tutorial can get into. But what I do do is make custom shapes for each of the askew shapes and before inserting the shapes into my project, I say, “Save this shape as content”. I now can insert a photo holder and use the Mat function to shape the photo holder like my custom shape. I do this for all the shapes on the page, and voila, a template you can use again and again!
I hope you’ve learned a little something here and if you have questions, make comments on the blog. But in the meantime, enjoy this little Christmas freebie I made for you! A little return address label sized for Avery labels 5155. Just add the text as needed for your family in your favorite scrapbooking program and save it to a JPG and then use it in your favorite word processing program formatted for Avery Labels 5155. Just right click on the image and save to your computer. It’s full size right here!


 Hi! I'm Chelle: a 40 something mom of 7. My husband & I live in a rural community in the rocky mountains with our 4 children still at home. In the winters we enjoy sledding & snuggling by the fire. I the cool fall evenings we love relaxing around the campfire & meeting friends at the county fair. Admiring the stars


Thanks! That was very helpful to me! And, thanks for the Avery label freebie – a unique and useful gift, for sure!
Great job Leslie!