


Hi Everyone! How are you all out there in digiland?! Hope your week is off to a great start! I’m Jenn, aka jk703, here to bring you today’s post. I decided to share a bunch of clever tips that you can use when scrapping, which in turn will help you scrap smart and quick! The wonderful CT also made layouts and shared some of their favorite tips too! Wait till you see this list! It is chock full of super tips! I
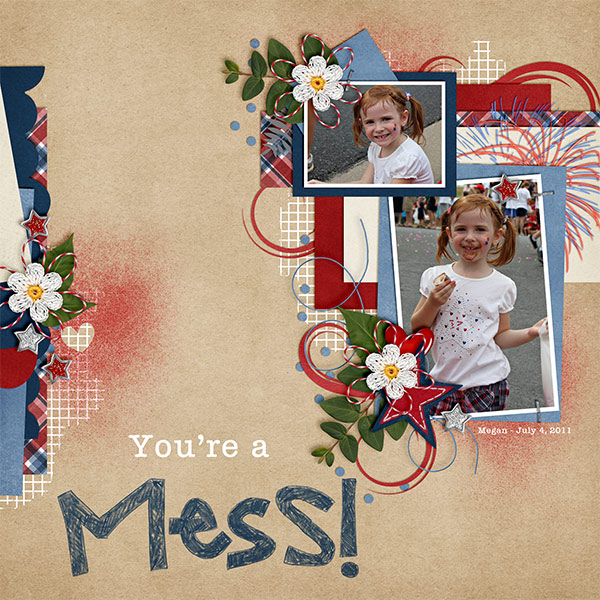
I’ve written about 21 tips and then Kayla (keepscrappin) and Kairyn (KairynLisa) both gave me a tip or two to share too! First, check out Kayla’s layout, where she used a whole bunch of products – Fill Me In Bundle, Fireworks, Ladybug Hugs, and Apple of My Eye.
Kayla shared a super easy tip to Defog Photos. In PSE, choose Enhance from the menu bar, then choose Unsharp Mask. From the Pop Up Menu, the amount slider can be changed to 20%, the radius 60 pixels or so. Click ok. Ta Da! She also shared how to clip a paper to an alpha to easily expand your stash by re-coloring. In PSE, merge all of the letter layers in your title into to one layer. Next, insert a paper above that title or alpha layer in your Layers Palette. Clip the paper to the Alpha by pressing Control + G while the paper layer is selected! So easy!
Here is Kairyn’s layout, and she uses a mixture of goodies too – Yeehaw Bundle, In the Pockets Small, and the Fill Me In Marker Alpha. For the tag in the upper right corner, she clipped a mask to it and then used the blending mode “Overlay” at 33% opacity – this is herfavorite way to take something from plain to perfect!
She likes to make her pages full of elements and photos, and many times she wants a certain element on the page to stand out. On this page she wanted to add a strok around the water spray. She thought if she didn’t it would’ve been completely lost on the page.
She has always wanted to have the stroking feature on SBC+, but it has never been put into any of the updates or upgrades. But after talking with other SBC+ users Jan came up with her own way of doing it using the glow feature of the program. There may be another way to do it, but here’s what she figured out.
1. Select element and resize to desired size. Go to > format > glow > select a custom glow.
2. The setting you choose will decide the width of the stroking/outline. Set > Softness at 0 (zero) and Expansion anywhere up to 1. I find that settings beyond 1 are too large, but it all depends upon what you are looking for. Select color of outline.
Now, since this is technically a shadow you will need to make it more dense. Once she has the stroking as she wants it, she copies and pastes three additional copies of the stroked element (you will now have four of them on the page), lines them up on top of each other, then flattens. This will make the stroking completely opaque. (The fourth one I keep as a reference in case I choose to make changes or layer the element, shadowed, on top of the stroked one.)
You can also clip a paper to the flattened element if you’d like. Just layer the original element back on top of it when you’re done. Here is her page with the stroked water spray.
Here are the rest of the Tips and Tricks for Photoshop! I’d love to know your favorites! There are so many things in Photoshop that I love, but I find I always play with Blend Modes, the D, and so many more!
1. Hold down the Command + Alt key and drag any layer to make an on-the-spot copy!
2. Press I (as in Igloo) to activate the Eyedropper Tool. Click on a color and it will become the foreground color. Press the Alt Key and then click on any color in your image. This color will now be the background color.
3. When using brushes, you can change the size of the brush by pressing the right bracket ( [ ) to increase the size or the left bracket ( ] ) to decrease the size.
4. When the move Tool is selected, you can use your arrow keys to nudge 1 pixel. By pressing the Shift and then the arrow, your image will now nudge 10 pixels. Super Nudge!
5. When the Move Tool is selected, click on the “Auto-Select” option. Make sure that option drop down is set to Layer. This will allow you to click on your image, and the layer will automatically be selected in the Layers Palette.
6. If you hold down the Command (Control) key, and then click on the thumbnail of a layer, you will create a selection (see the marching ants) based on the layer that you clicked.
7. Pressing “D” resets your foreground colors to black and white. Pressing the “X” will make them switch back and forth.
8. When you have a selection made or a layer chosen, you can fill the layer by pressing the Option + Delete. The fill color is the foreground color.
9. When looking at Blend Modes, use the Shift key plus the + or – keys to “scroll” through the different looks.
10. When using Type you can add a Faux Bold, press Command + Shift + B, or a Faux Italic Command + Shift + I. If your font has a bold or italic weight, it will use the font’s bold weight. Otherwise, it will add a faux weight style to your font.
11. Command + Enter = Commit is a great tip for when you don’t want to click on that little check mark in the top. This works for the Type Tool, as well as when you move or transform items.
12. With the Type layer selected, you can scroll through the fonts by clicking within the Font Name setting, and using the arrow keys up and down. You will see that layer’s font change as you scroll through different fonts.
13. Merge lots of layers up by selecting the layers in the Layers Palette, and then press Command + E. This is useful because the layers do not have to be next to each other.
14. Command + 0 will fit your image to your screen. Command + 1 will zoom to view the actual pixels.
15. In the Layers Palette, if you press the Option key and then click and drag a layer style to another layer. This will duplicate your layer style from layer to layer. If you only want to copy one particular style (like Drop Shadow or Outer Glow) from one layer to another, click the name of the effect and Option + drag that effect over to the layer.
16. Press the Shift Key when re-sizing items. It will constrain the proportions, and you will never have skewed or distorted images.
17. When working and you need a little more space, press the Tab key. Your Tools and Palettes will disappear. When you need them again, press the Tab key one more time.
18. When zoomed in and you don’t want to zoom out, press the space bar, and the Hand Tool will appear. You can move the screen and pan around. When you are done, let go of the space bar.
19. When you have the Marquee Tool selected, and you have made a selection on your layer – but in the wrong location! Don’t let go of your mouse, press the space bar, and them move your selection to the correct location.
20. To help you align things, you can create guides. With the rulers showing in your workspace, you simply, click and drag from teh top or left side ruler to where you would like a guide to be.
21. Double click the Background Layer to convert it to an editable layer.
Hope you learned something new with all this info! Have a great week! Thanks for stopping by!


 Hi! I'm Chelle: a 40 something mom of 7. My husband & I live in a rural community in the rocky mountains with our 4 children still at home. In the winters we enjoy sledding & snuggling by the fire. I the cool fall evenings we love relaxing around the campfire & meeting friends at the county fair. Admiring the stars


Fantastic tips! Some of these I knew, but many I didn’t. I’m always happy to learn new tricks to make PS easier to use. Thanks!
My best tip is to lock your bottom layer (usually your background paper). It makes it easier to grab ellies instead accidentally moving the background paper.