


Hey Everyone – hope you are having a great week! I’m Jenn, aka jk703, here for some Cell Phone Photo Tips. Many people nowadays have phones that have a multitude of functions, and one of them is taking pictures. While taking pictures with your phone is a great idea, it made me wonder about the picture quality and if I could use them on my layouts. The short answer – YES! We can use our cell phone pictures for our layouts, but should watch the sizing/quality of the photo if you will be printing your pages. This will be pretty straight forward, and easy to follow.
Here are my Top 5 Tips of taking photos with your cell phones…
1. Good Light
2. Get Close and Closer
3. Don’t Zoom
4. Take Lots of Pictures, Keep Them All, and Edit Later
5. Stay Still
Go Toward the Light!
Get as much light as you can when taking pictures with your cell phones. The sensors on our phones are smaller than regular cameras so the more light the better. Natural light is better, and most times you want the light in back of you or from the side. If your phone has optional flash, give both a try on and off. Sometimes when using my phone, I find that my editing can help a little with the lighting. I also usually tend to avoid direct sunlight, as the camera cannot focus well. Another feature that some phones come with is Adjustable White Balance. If your phone has this, experiment with it. It allows for changing or modifying the color balance.
Up Close and Personal
I’ve taken pictures and then looked at them, and thought I was a lot closer than the image portrayed. Phone cameras don’t blur backgrounds, and that can be done later on. So, with that in mind, you may want to fill your frame with your subject, and get closer than you normally would or think you should.
No Zoom, Zoom
Right now there is a feature on most phone cameras that allows you to zoom in closer, without you being physically closer. Digital Zoom. Avoid this option. Basically, your images will lose quality, and become increasingly pixelated if you use this function. If you take your picture, you can zoom in later on when editing. If your camera is newer, or has the Optical Zoom feature, then you can zoom – as Optical Zoom doesn’t enlarge your image by enlarging the pixels.
Mistakes?! Keep Them!
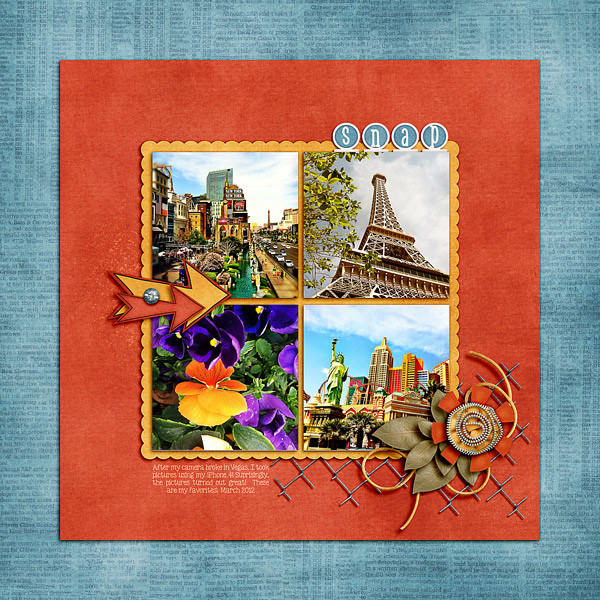
Take lots and lots of pictures and keep them all. You never know when a mistake will be salvagable or fixed with a little editing. Plus, you’re looking at your images on an extra small screen, so wait to check them out on your computer later on. There have been times that I’ve taken pictures and I know it looks horrible on my screen, but when looking at the bigger picture, it is workable. Case in point is one of the photos in my layout below – the Statue of Liberty had a paper blocking the lens. Keep any and all photos until you’ve seen them on your computer. With this in mind, also make sure that your phone isn’t too stuffed with apps, and other things and there is room for your pictures.
The Hard Part – Stay Still!
Cell phones have slow shutter speeds, mostly. So, try to have a steady hand when taking your photos to prevent blurriness. While you want to have the highest setting for resolution set on your phone, a lot of times, you can improve the shot by just staying still. As much as possible…. this is especially important in low light settings. A quick and handy tip is to rest your hand taking the shot against a non-moving solid item. By this, I mean a wall, tree, table, anything that is solid, and still. Also, when taking a photo, let the camera finish before you move your hand. You wouldn’t want the blurry shot of the ground because you moved your hand too early. The slow shutter speed causes a lag, so let the camera finish it’s work.
Now… I have an iPhone 4, which has a 5 MP camera. Excellent quality for a printed photo is 300 dpi, while 200 dpi is ok, but you would never want to go lower. With my specific phone, I could have prints made up to 8.5 x 6.5 approx! That is perfect for scrapping. Yes, I might not be able to cover a whole 12×12 page with my cell photo, but that is a pretty large size of space it could cover.
To test out your phone and print qualities before printing layouts, try getting separate orders of phone image prints made and naming your image with the size and dpi. Most places put the image name on the back of your photo when printing. Depending on your phone’s megapixels – here is a approximate reference:
2 MP – 300 dpi size 5 x 4, 200 dpi size 8 x 6
3.2MP – 300 dpi size 6.5 x 5, 200 dpi size 10 x 7.5
5MP – 300 dpi size 8.5 x 6.5, 200 dpi size 12.75 x 9.5
8MP – 300 dpi size 10.5 x 8, 200 dpi size 16 x 12
Now… onto the good parts… Layouts using cell phone photos. First, is my layout from Vegas last March. My dSLR camera fell and my lens broke on the last day. I subsituted my cell phone to take pictures and was quite surprised with the great pictures I got after I uploaded and did a little editing. The statue of liberty was greyed out some in the corner. For this layout, I used Chelle’s Big City kit.
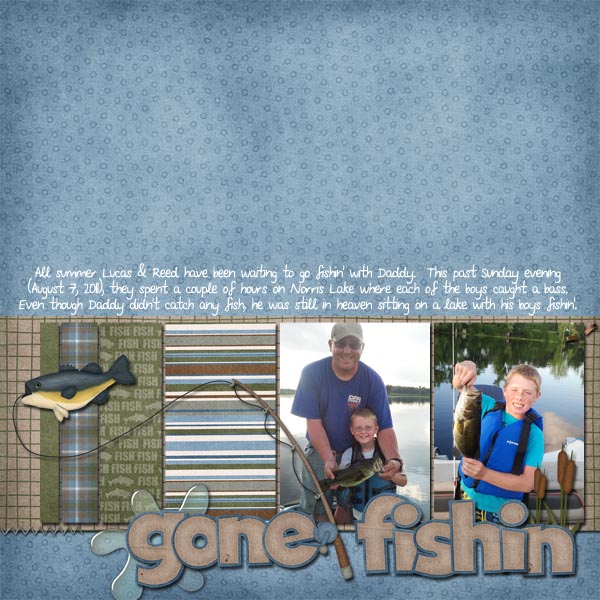
Jennifer (jmljensen) made this fun outdoor page using her cell pictures! Gone Fishin’ was used for her layout.
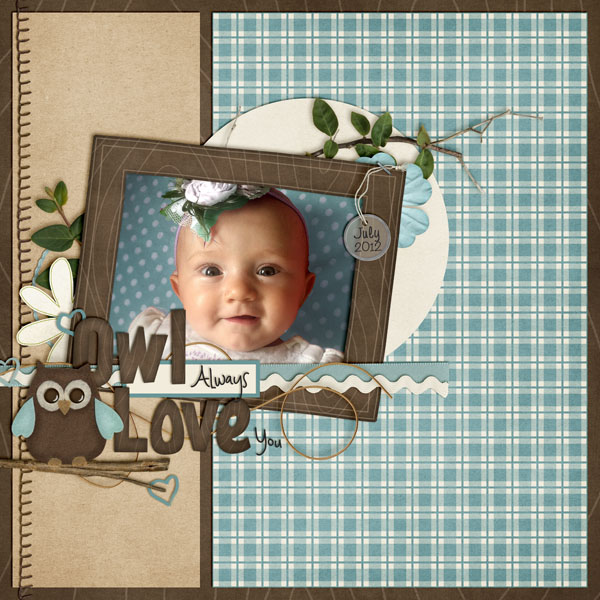
Kassie made this wonderful layout with a cell phone photo – and it turned out beautifully. She scrapped using the Apple of My Eye kit.
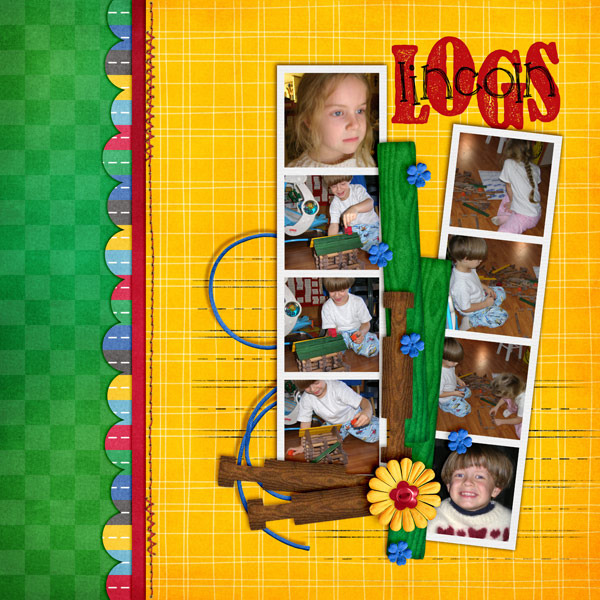
Lastly, Kairyn made this fun layout using a lot of her cell phone photos! So many things to see! She used the Primarily Mini Kit and Build It for her layout.
There you have it… some easy to follow tips for cell phone photos! So… go get started and give it a try! Thanks for visiting and we hope you come back again soon!


 Hi! I'm Chelle: a 40 something mom of 7. My husband & I live in a rural community in the rocky mountains with our 4 children still at home. In the winters we enjoy sledding & snuggling by the fire. I the cool fall evenings we love relaxing around the campfire & meeting friends at the county fair. Admiring the stars


Great post! I love scrapping my cell phone pictures and am slightly obssessed with collecting my family’s pictures off their phones. I love that I get more of a slice of life feel with the different pictures I take.