


Hi Everyone! It’s Jenn, aka jk703 here to share a fun tutorial that I use all the time. Custom shapes are a fun tool in Photoshop. They can help make fun layers, photo mats, and even custom text paths. I tend to use them mostly for all of those reasons, lol! You can apply special effects and cool styles to create even more shapes and fun things for your scrapbook layouts! The pre-drawn images that you will find already loaded in the software have lots of stars, circles, arrows, and decorative shapes. But, the best part is the fact that you can actually create your own shapes and save them too! Today, I’m going to focus on actually making a shaped paper mat (or photo mat).
Here is a quick tutorial to add a custom shape layer to your layout. For my example, I’ve used the newest kit from Chelle’s Creations, The Mane Event Bundle, as well as a splatter from Chelle’s Spic n Span kit and my picture uses Worn Pieces by Happy Scrap Girl. My fonts are The Chuck Wearer by Heather Hess and LDJ Thankful.
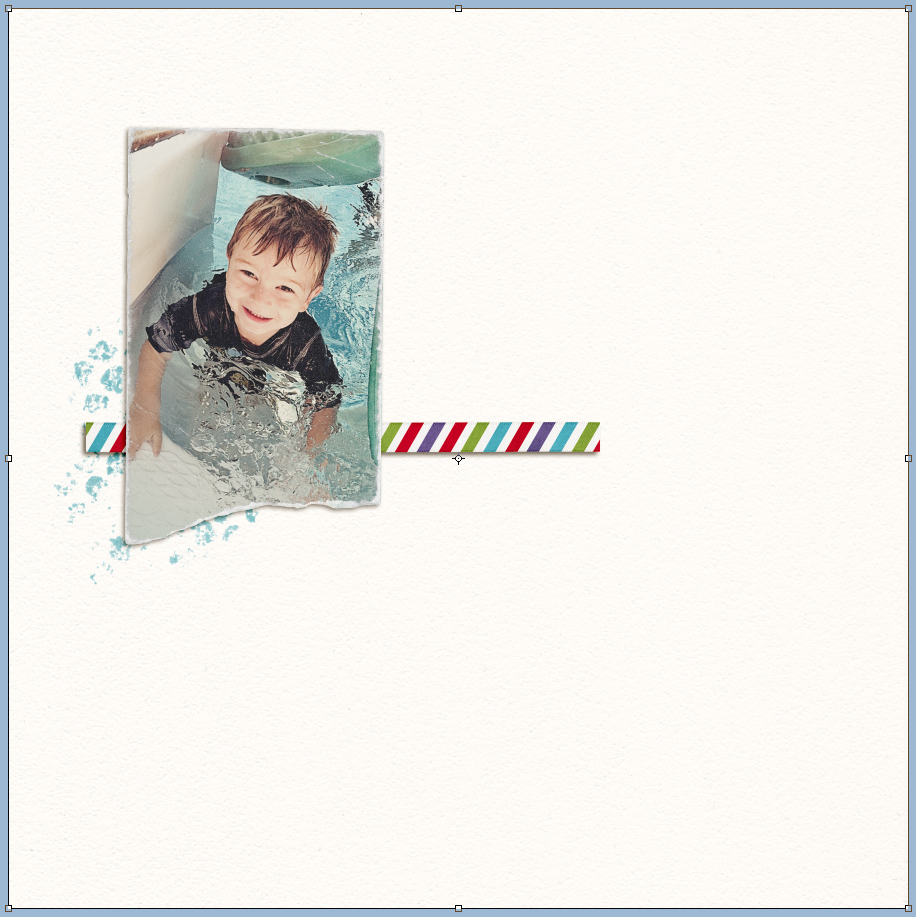
Here is my layout with my son, Colin. I’ve started the layers, but I want to add a couple of shapes to clip my papers to behind the photo.
Choose the Custom Shape Tool in the Tool Menu, by clicking on it or by pressing the “U.” Tip – to rotate between the different shape tools, press the “U” again along with the Shift key.
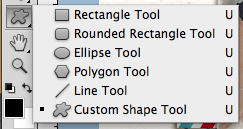
From the top menu bar, click on the small arrow next to the star, and a whole menu will appear with shapes that you can choose from. Pick your shape.

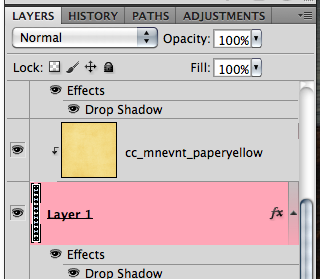
In your Layers Palette, we are going to add a blank layer. Note that the new layer inserts above the layer you have selected in the Layers Palette. Now, look towards the bottom there is a small square with a corned folded over. Click that once.
Now, with that new layer selected and your custom shape tool active, click on your layout and drag your shape to the size that you want. When you let go of the mouse button, the shape will fill with the foreground color.
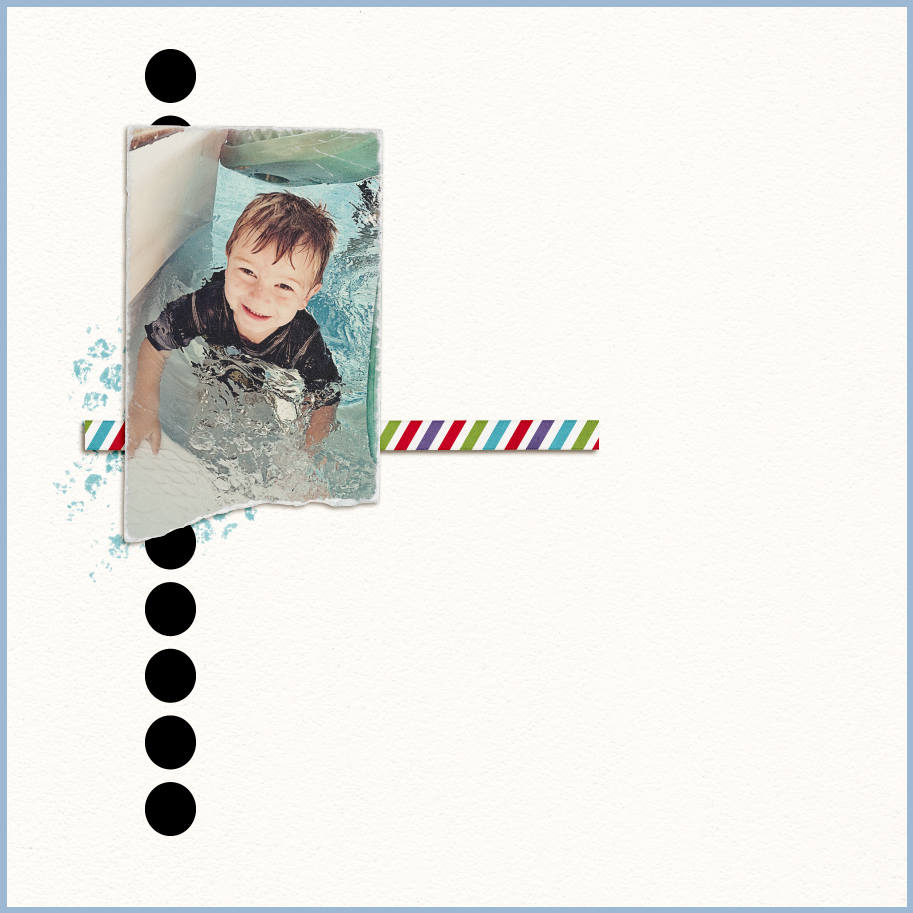
Next, I clipped my paper to the shape, and added my shadow to the shape layer. Here is my Layers Palette and how it looks on my layout.
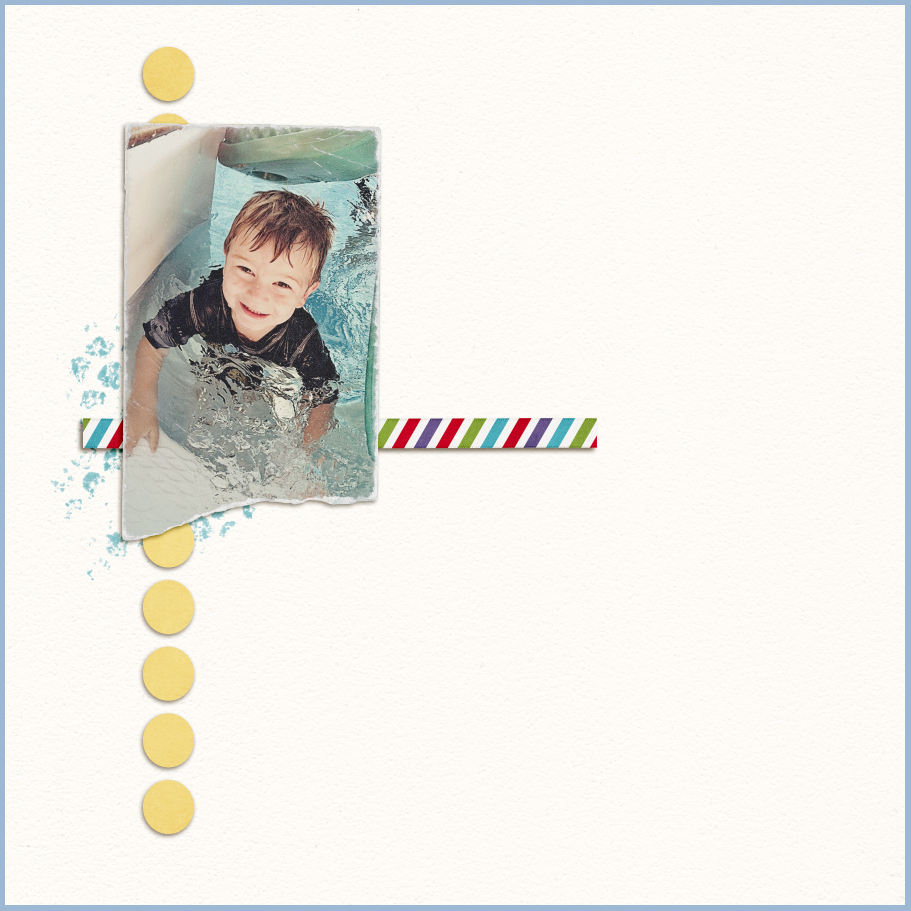
After that circle shape, I decided to add one more star-ish shape mat. To finish off my layout, I also decided to use a shape to make a text path for my journaling – so it would fit exactly under my star shape. Here is my final layout.

Here is some more inspiration when using the shape tool:
By Shannell
She used shapes to make the paper mats on her page. She also mentioned that if she didn’t start with a template, she turns to the shape tool – which helps her get started on her layout.

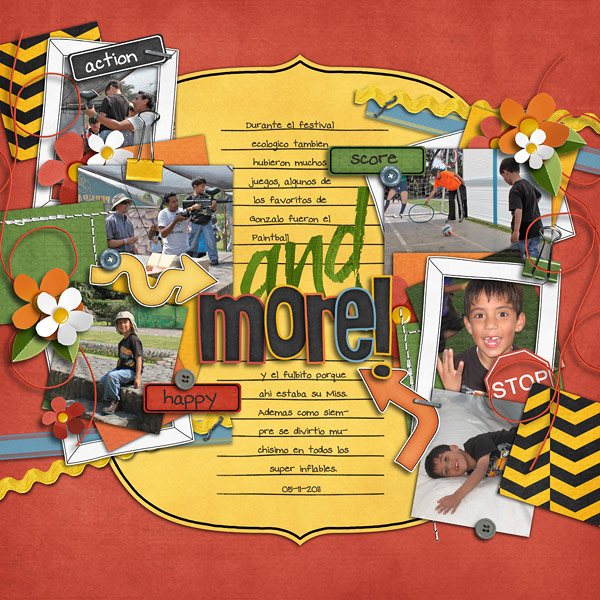
By Roxana
Roxana used her shape tool to highlight her title and journaling. The yellow bracket shape really pops off the red.
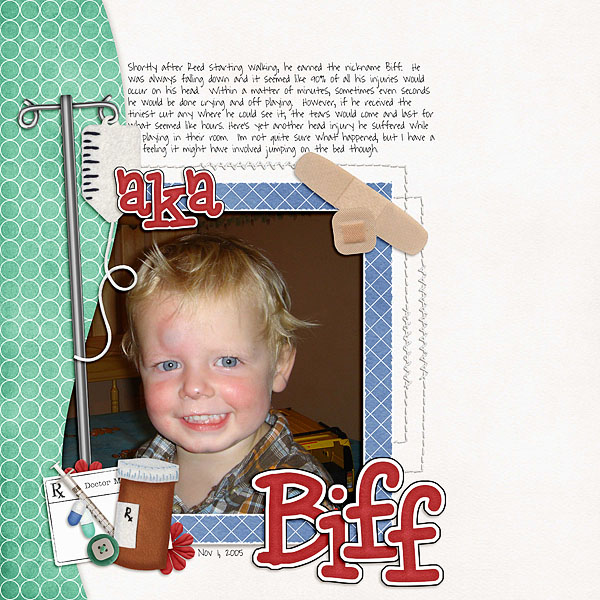
By Jennifer
She used the custom shape tool (sign #4) which looks like a highway road sign to create the border. I made it extra large and clipped a paper to it. Awesome curve add so much to the design of the layout!
Hope that you enjoyed this tutorial!
Thanks for visiting and come again soon!


 Hi! I'm Chelle: a 40 something mom of 7. My husband & I live in a rural community in the rocky mountains with our 4 children still at home. In the winters we enjoy sledding & snuggling by the fire. I the cool fall evenings we love relaxing around the campfire & meeting friends at the county fair. Admiring the stars


Great idea! Thanks for the tutorial.
Hi Jenn..Thanks for a great tutorial…May I ask a question?? When you did the circles how did you get them all the same size and distance apart?