


Hey Everyone! It’s Jenn, aka jk703 here for a tutorial for you! Yay! I love learning new things about my software, as well as showing people a couple of new techniques! Today, I’m going to do a quick but easy blending technique.
I’ve used Chelle’s Spic n’ Span, along with some added items from the Rainbow Collection for my example, and a template from Scrapping with Liz. The picture from a cruise vacation my family went on in 2007. It is a favorite sunset – and I love taking pictures of nature and landscapes. Here is my photo on top of a paper.
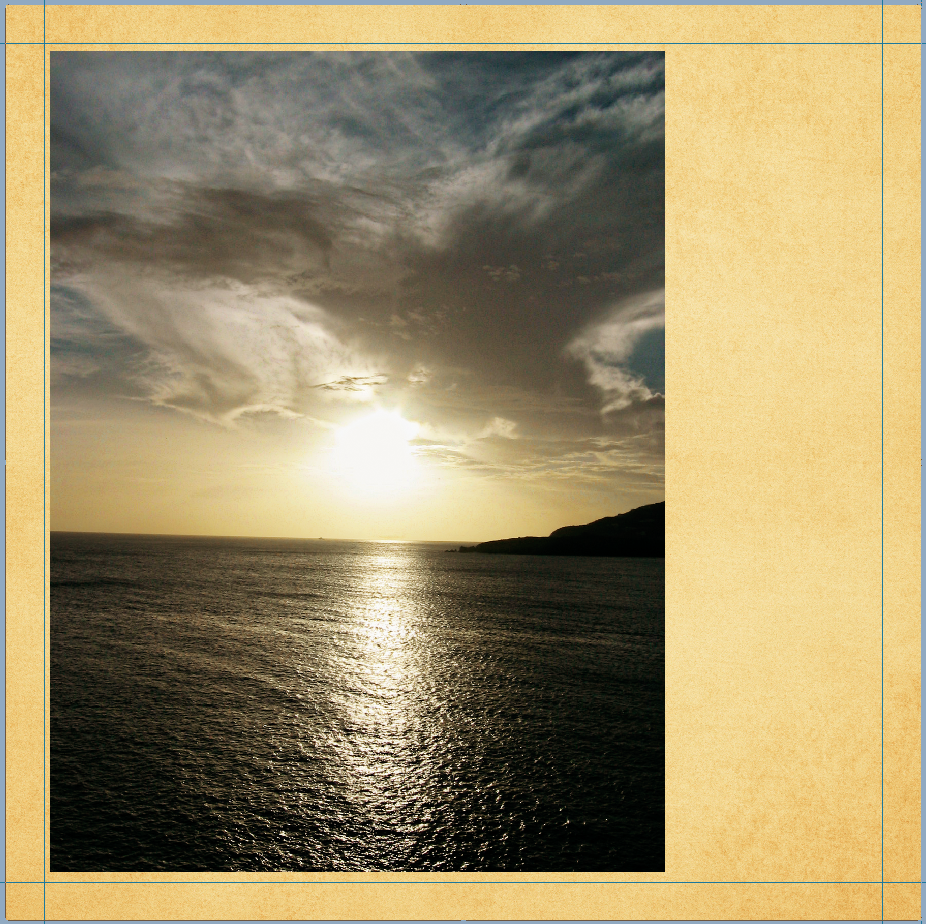
Remember, place your background paper, and then the photo on top. When placing your photo, place it where you would like the main part of the image to remain.
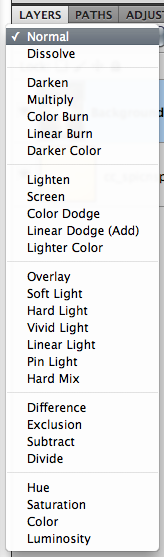
Next, within the Layers Palette, and the photo selected, you can scroll through the different Blend Modes that are available to you in PS or PSE.
To “see” what all the blend modes look like with your picture is to do this: Choose the layer that will be blended in the Layers palette. Now, press the Shift key, and use your + and – keys to “scroll” through the different blend modes. How easy and cool is that?!
Next, there are two ways to go about blending. Either erasing first or erasing second. For this example, I am erasing first – but you can choose to flip flop the next few steps.
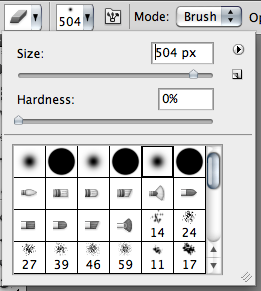
Choosing the Eraser Tool from the Tool Menus, you will choose a large soft brush. You can change your opacity and flow to dictate how much you will erase, and how drastic it will be with each brush stroke. I lower mine to about 25% when first erasing. But, with digital scrapbooking, there is always the Undo button, so I am usually not too worried about mistake brush strokes.
Erase away at the edges. Remove the blunt corners, and slowly make the shape that you want to show off from your photo. This may take multiple steps and different opacities while erasing.
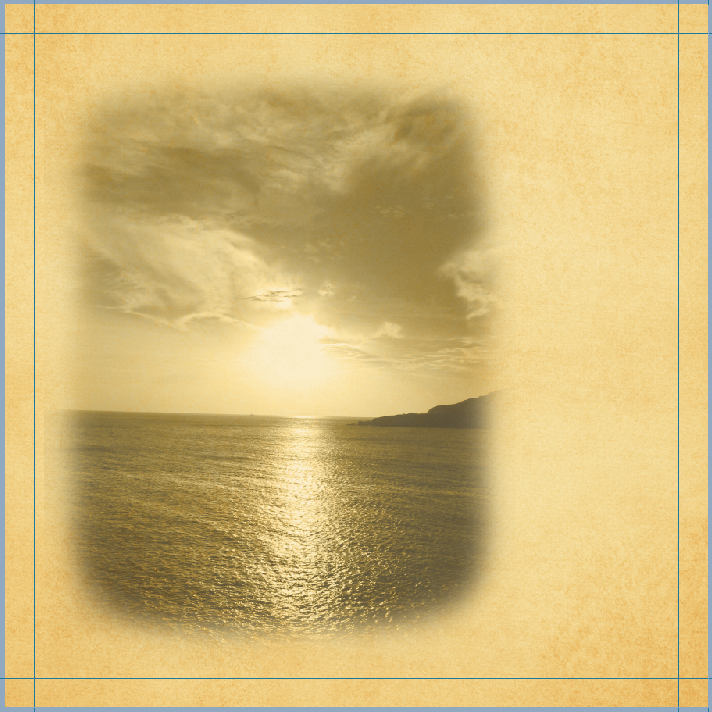
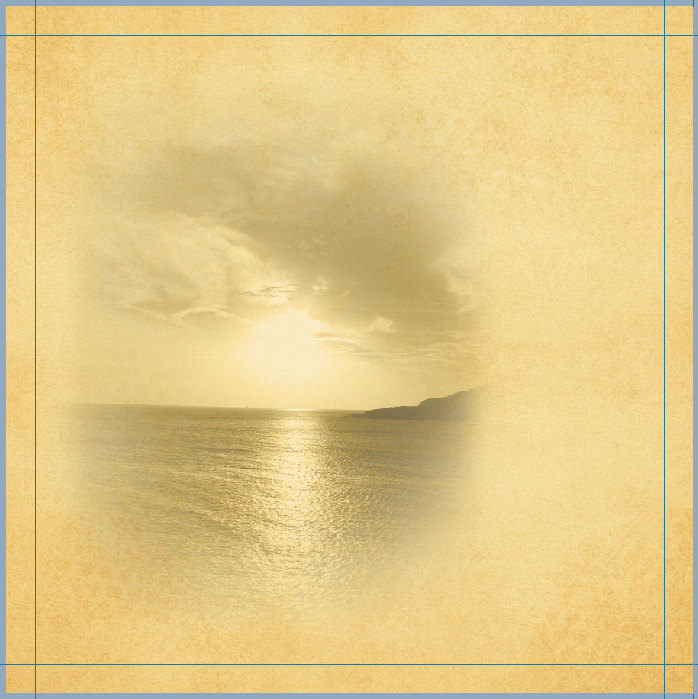
I still think the erasing needs work, and the opacity seems harsh to me. So, I will keep erasing and working on my blend at this point. After some more brush work, and playing with the blend modes, here is my photo blend.
I really liked the Luminosity blend mode and I also liked the Linear Burn, and Multiply. Look at them all though – each picture will have a different effect determined by the background paper you choose as well as the picture itself. Here is the Luminosity blend mode:
At this point, I will duplicate my photo and background paper onto my layout. To do that, all you have to do is highlight both layers in the Layers Palette, and right click. Choose Duplicate Layers, and copy them to the layout that you are working on!
Another fun idea is to combine the blends. Try duplicating the blended photo, and change each layer’s blend mode. You might be surprised what your blended photos look like when mixed with different blend modes!
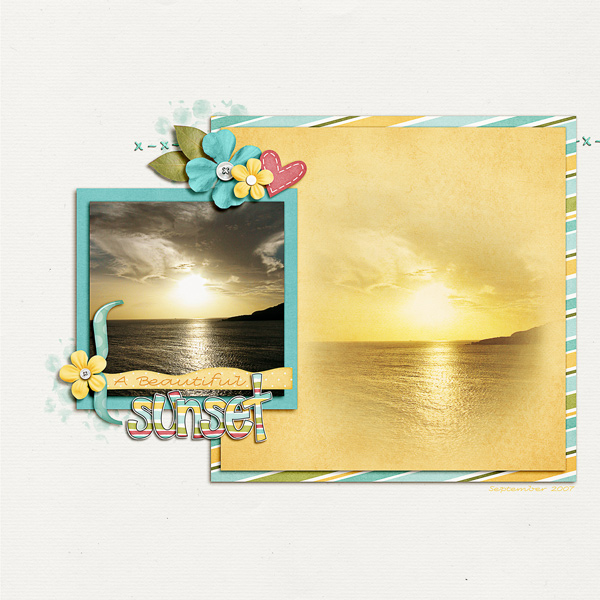
I ended up layering it, and showing off the original with the blend. I also switched my blend mode. I love this photo and love how the blend really pops with the original photo next to it!


 Hi! I'm Chelle: a 40 something mom of 7. My husband & I live in a rural community in the rocky mountains with our 4 children still at home. In the winters we enjoy sledding & snuggling by the fire. I the cool fall evenings we love relaxing around the campfire & meeting friends at the county fair. Admiring the stars


