


Hello everyone! I’m Jenn, aka jk703 here to bring you a tutorial today! We are going to look at paint and splatters, and how to change their colors! I’ll give you three ways to do it, though there are so many more ways, these are simple and really quick! Perfect way to match the paint you want to use to the colors of the kits!
For my examples, I’m using the bubble wrap paint from Chelle’s Spic and Span kit – one of my personal favorites for the colors!  You can use this for splatters, smears, paint, and many other items. Here is the pale teal bubble wrap, I’m going to change that paint color:
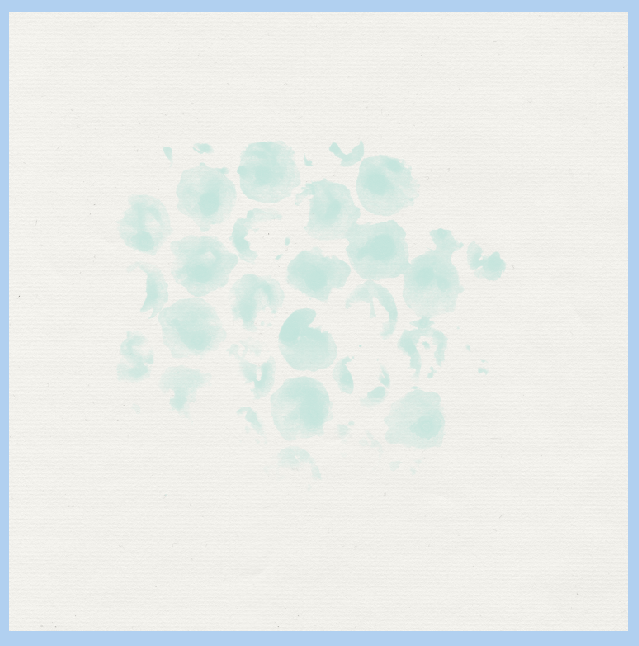
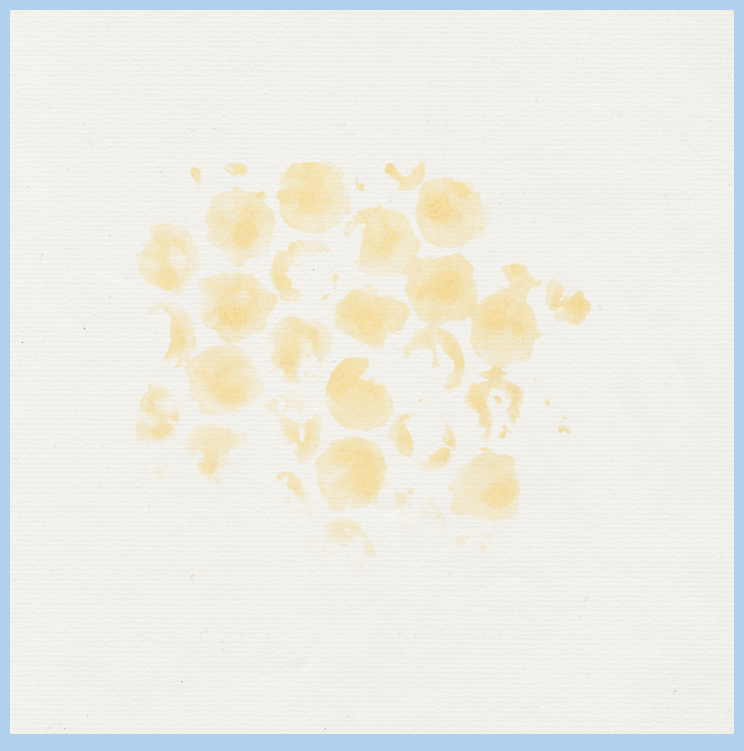
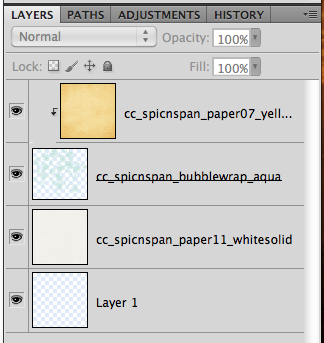
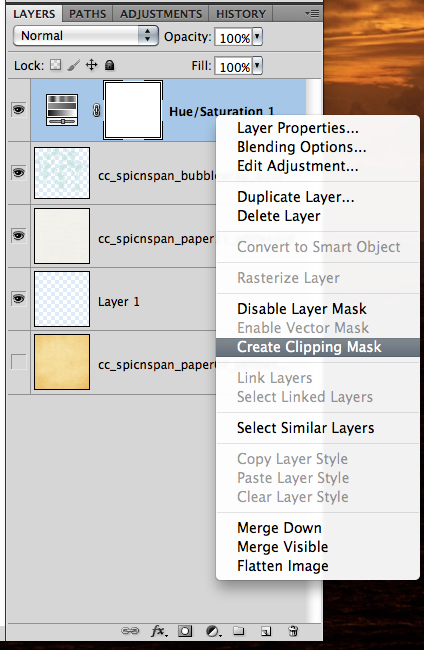
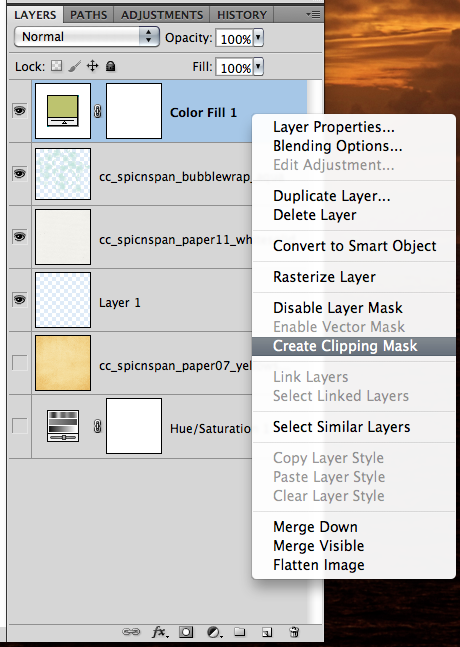
Now, the easiest way to change the color is to place a paper above the bubble wrap layer. Right click on the bubble wrap layer, and choose Create Clipping Mask. Then your bubble wrap will take on the color of the paper you clipped to it. Super, super easy.
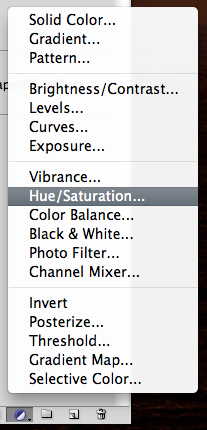
Next, you can use an Adjustment Layer – specifically the Hue/Saturation. With your bubble wrap layer chosen in the Layers Palette, click on the little circle half white and half black (or I call the Black and White Cookie) and choose Hue/Saturation. A menu will appear and you can move the sliders and play with the coloring. Don’t worry if it appears as if the whole layer is changing color.
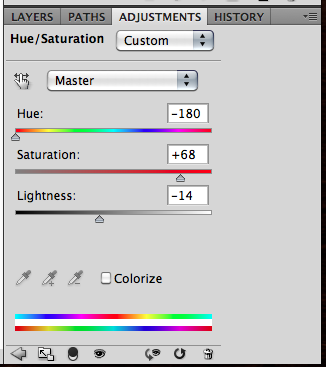
Once you find the color you want – I chose pink – click back to your Layers Palette. Right click on the Adjustment Layer, and choose Create Clipping Mask. The adjustment will then only be on the bubble wrap. Super easy, right?!
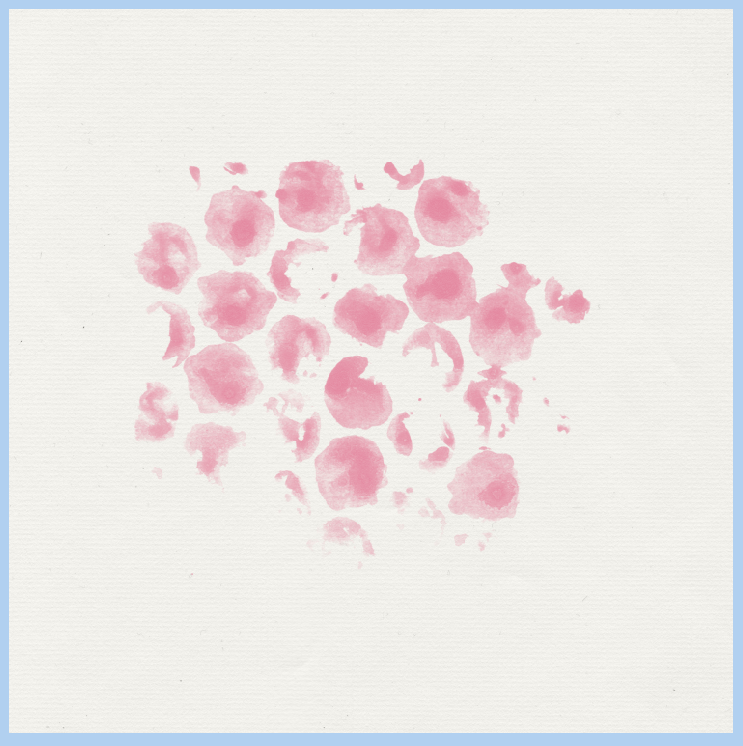
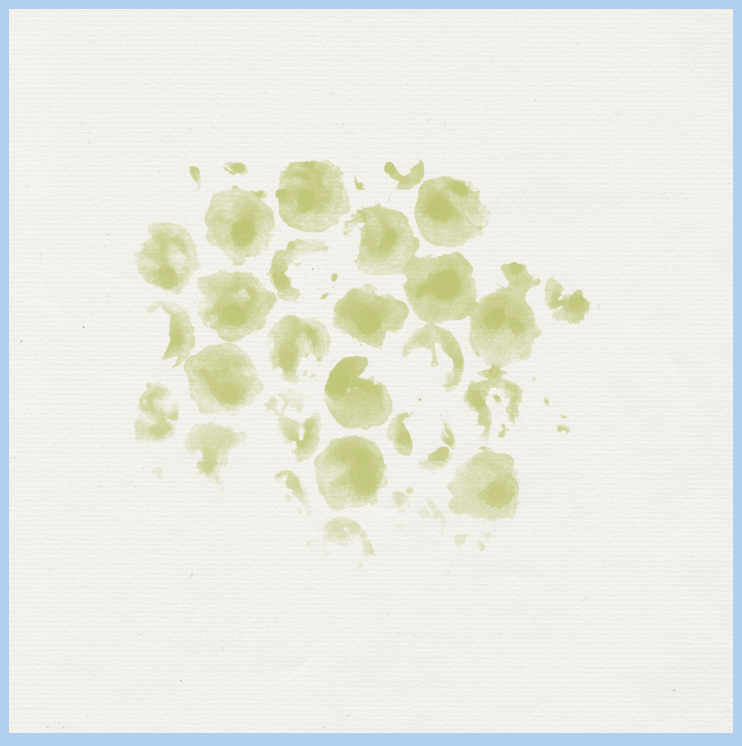
Here is how my pink turned out:
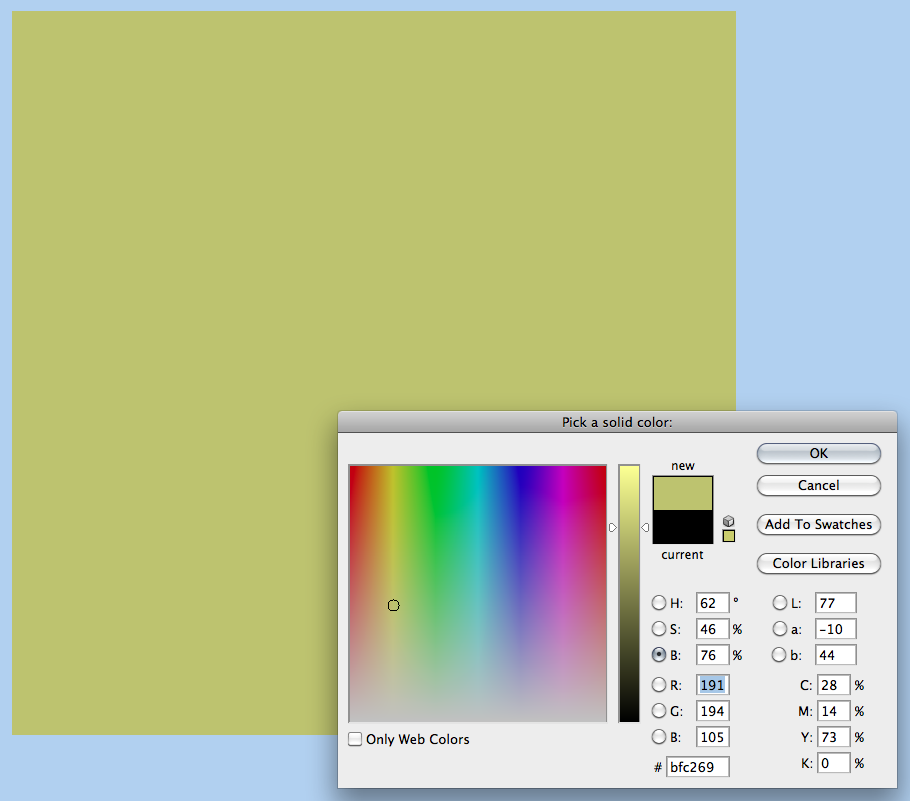
Here is one more way to change the color. With the bubble wrap chosen in the Layers Palette, choose the cookie (black and white circle on the bottom) and choose Solid Color.
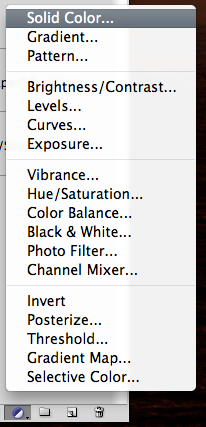
Your bubble wrap will go black – it’s ok! Next, choose the color, with the color picker that you want your bubble wrap to be. The whole area will then turn to that color. Click ok.
Click back to your Layer’s Palette. With the solid color adjustment layer chosen, right click and choose Create Clipping Mask. Your bubble wrap will now be that chosen color.
Pretty simple and very fast! Makes for a great paint, splatter or bubble wrap that will match any kit or paper. Here is what the CT made – some super super awesome pages!
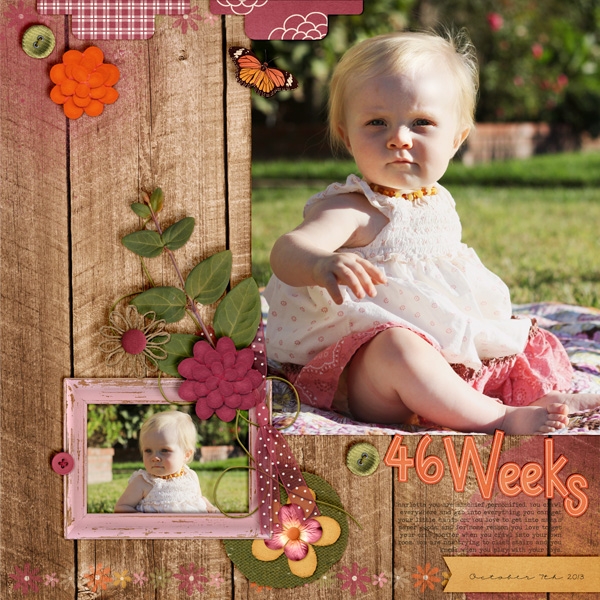
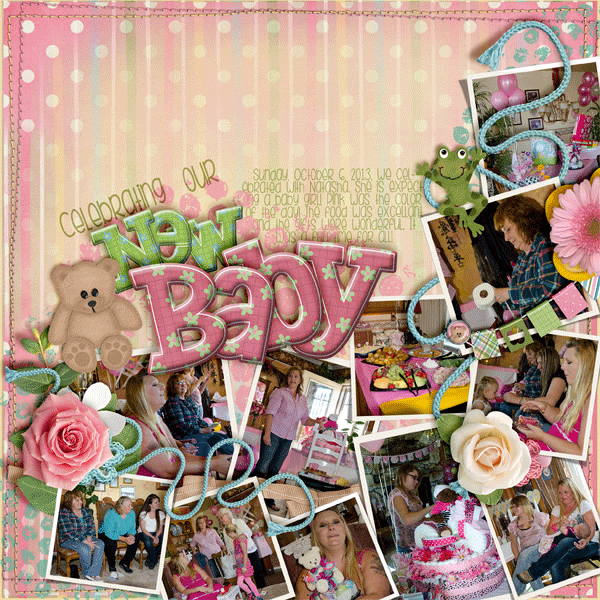
Jen made this gorgeous page of her daughter – so cute! She used Indian Summer, Indian Summer Plaids, and Apple of My Eye {painted} for her layout. She started with clipping papers and then added a blend more for a little extra paint look.
Next, Leah used Chelle’s Tea for Two for her layout – look at all those photos! She used the Hue Slider for re-coloring.
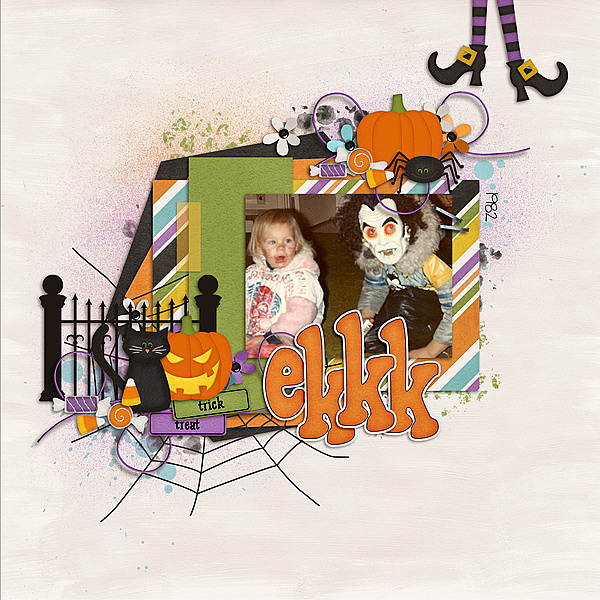
Melissa used re-colored bubble wrap from Spic n Span, re-colored the splats from Apple of my Eye, re-coloured the spritz paint from About a Boy, and the kit Eeeeek! Melissa clipped papers to the paints for re-coloring.
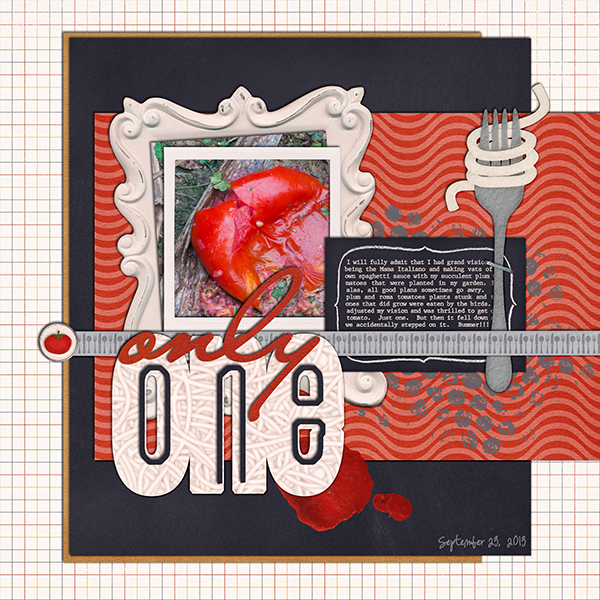
Lastly, Jenn used Pasta La Festa and Pizza Amore and the Hue Slider to change the Bubble Wrap. (I’m hungry now!)
There you go! Changing paint colors is super easy and fast! Hope you learned something new! Have a great week!


 Hi! I'm Chelle: a 40 something mom of 7. My husband & I live in a rural community in the rocky mountains with our 4 children still at home. In the winters we enjoy sledding & snuggling by the fire. I the cool fall evenings we love relaxing around the campfire & meeting friends at the county fair. Admiring the stars


Great and very useful info…thanks.