


Hello Scrappers! Leslie (lab130) here and I have a tutorial for you! Last month Jenn (aka JK703) did a great tutorial that taught PS users how to make text go around or in a shape. This month I want to let PSE users in on the action. This tutorial uses PSE 11, but PSE 10 can do these things, too; though the selection of shapes it can put text within is more limited.
Ok, so let’s go! Refer to the image below for reference!

Text around a shape
PSE only has the ability to write text inside a few of its default shapes, so I’m going to select a few of the simpler ones.
Get your project ready and go to the shape tool. In PSE 11, it’s in the ‘DRAW’ section of tools to the right of the eye dropper (1) . Here, I’ve selected a custom shape, which looks a bit like a blob (2). Once you select it, select your crop shape (3). I have “All Elements Shapes” selected (4). Did you know you had all those shapes at your disposal? PSE only has the ability to write text inside a few of its default shapes, so I’m going to select a few of the simpler ones.
Draw your shape. When drawing your shapes, if you want to keep the aspect ratio the same as in the example (keep a circle circular, for example), hold down the shift key as you draw. Don’t simplify your shape yet! If you have, just undo!
Make sure your shape is selected in the Layers panel. Now, select the Text tool. Take your mouse and over over the edge. Did you see the icon change? It looks like an I-beam with a wavy line going through it.
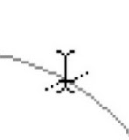
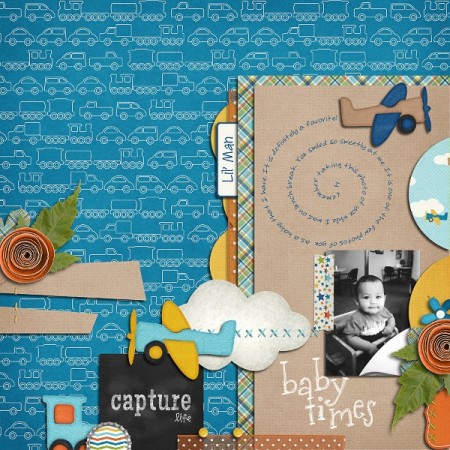
If you click on the shape, you can now type around the shape! If you don’t like where the text starts or stops, or if you want the text on the outside of your shape, go and select the Shape Selection tool (4). Drag your text to the outside of the shape, or drag the little circle that was created at the beginning of your text path to get the text where you want it. Give it a try!


Text within a Shape
Again, draw a shape, or use the same one you used previously. Again, don’t simplify the shape. Select your text tool and drag the cursor inside the shape. It should change to an I-beam with a dotted circle around it.
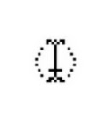
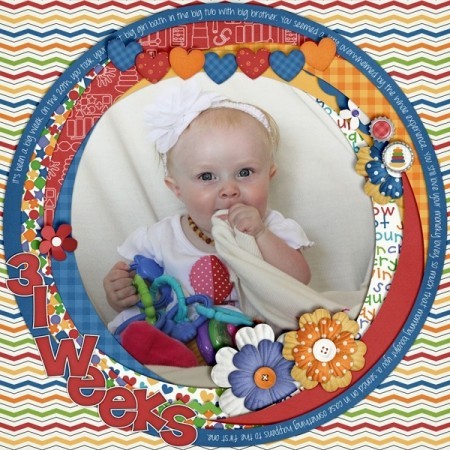
Click in the shape and start typing your text! (HINT: If you don’t want your text to quite come as close to the edge as it does by default, select your text layer after having committed the text. Then hold down the ALT key while dragging one of the corner grips in. That will resize the text box from the center and make sure that it stays nice and centered within your shape!).


I hope you find lots of fun and creative uses for text in and on a shape on your scrapbook pages!


 Hi! I'm Chelle: a 40 something mom of 7. My husband & I live in a rural community in the rocky mountains with our 4 children still at home. In the winters we enjoy sledding & snuggling by the fire. I the cool fall evenings we love relaxing around the campfire & meeting friends at the county fair. Admiring the stars


Way cool, I will have to give this a try.
Thanks for the tutorial, I’ve been trying to figure out how to do this.
Oh, and I know what a carriage return is, too, so you can’t be THAT old!