


Hi Everyone! I’m Jenn, aka jk703, here to bring you today’s tutorial from a snowy NJ! I think we are forecasted to get about 10-12+ inches, and let me tell you – I’m ready for summer! So, for today’s Tutorial: Highlighting Titles with Paint, I’ve used a summer photo and tried to re-live that wonderful season!  So, let’s get to that text!
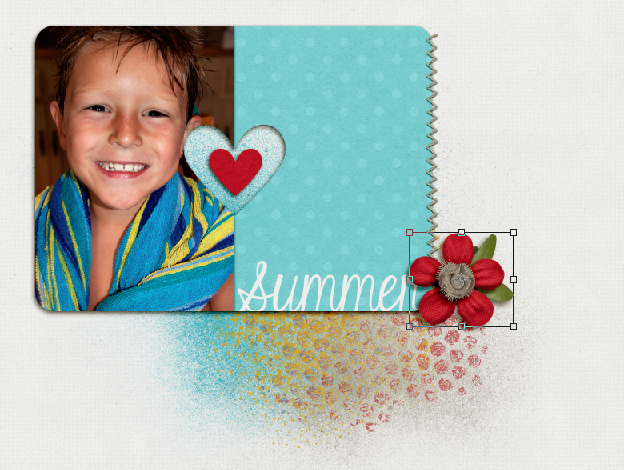
For my layout, I’ve used Chelle’s At The Beach Kit, CU Texturizing Brushes Vol 2, CU Bubble Wrap Brushes, as well as Scrapping with Liz’s In Love Journal Cards. Ok. This is my layout so far. I wanted to add a little oomph for the title but was stumped. So, I decided to use splatters and colors to make the title stand out. You will want to add text to your layout above the background layer.
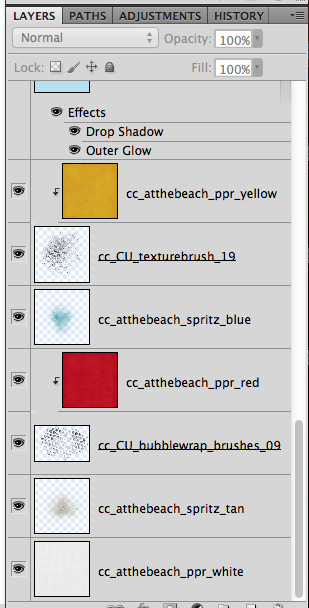
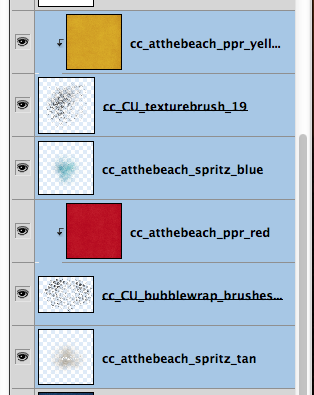
Here is an image of my layers palette, and how I have the layers set up for color, and splatters. It’s a mix of splatters from the kit, and added splatter/texture brushes from Chelle’s CU stash of goodies. My text will be above that yellow paper.
A quick tip…just to give you options for the next part of the tutorial.
All the splatter layers and papers – You could either combine all your splatter layers to one layer, or keep them separated. You will be deleting from these layers, and it might be a little quicker to combine them. I prefer to leave the layers and delete from each layer, because if I don’t like how it turns out I can easily fix that layer or if I want to keep one color un-deleted, I can. Just my opinion.
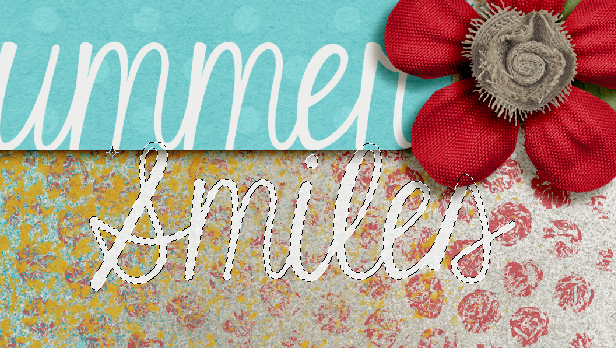
Ok, once you have your text in the location and correct spot in the layers palette, you’re ready to start. Here is my text:
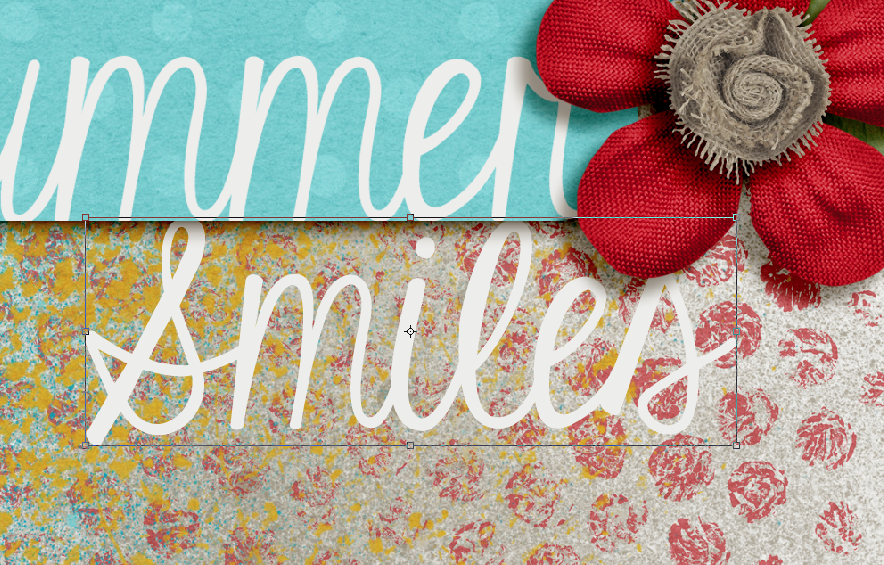
I’ve double clicked on the layer thumbnail in the layers palette for the text. When you do this, you should get marching ants.
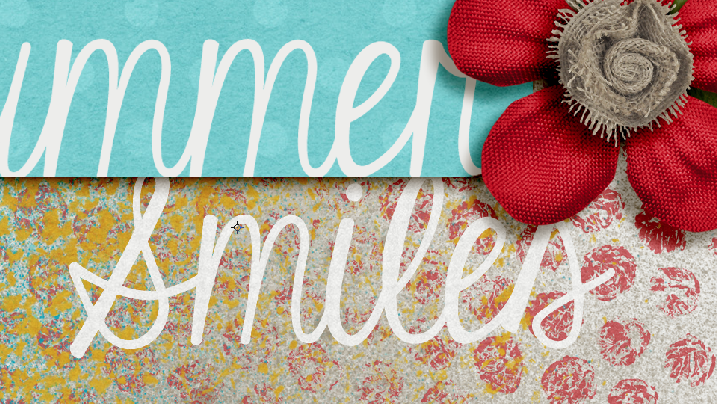
Now, you will click onto every splatter/texture/bubble wrap layer (one at a time, or all depending on the above tip) and press delete. Then turn off your visibility for the text layer. Your paper should show through the splatters. Here is mine (not the best example with white, but you can see different texture).
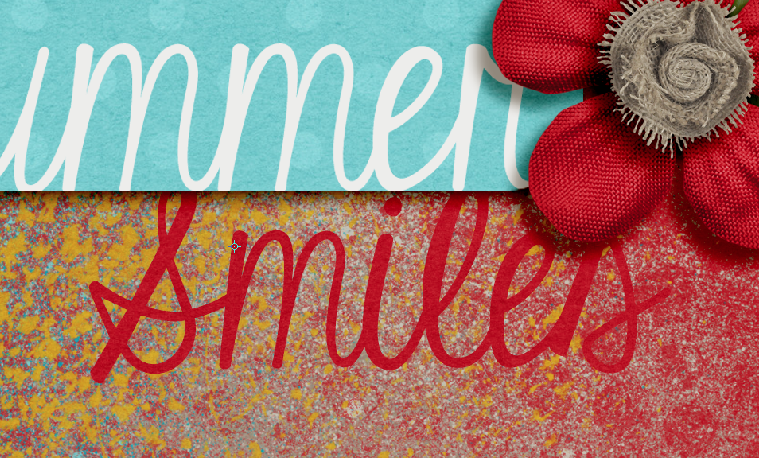
Here is another example using a red background:
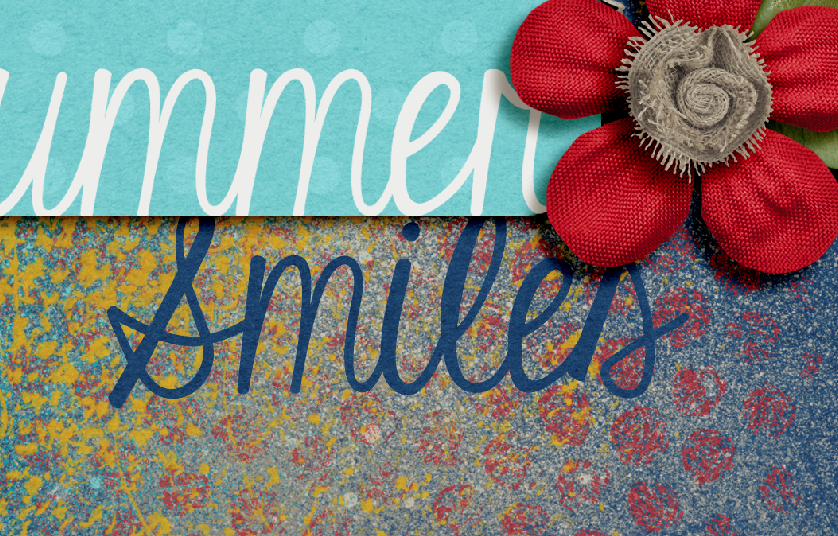
Here is the same example using a blue background:
Here is my white background page:
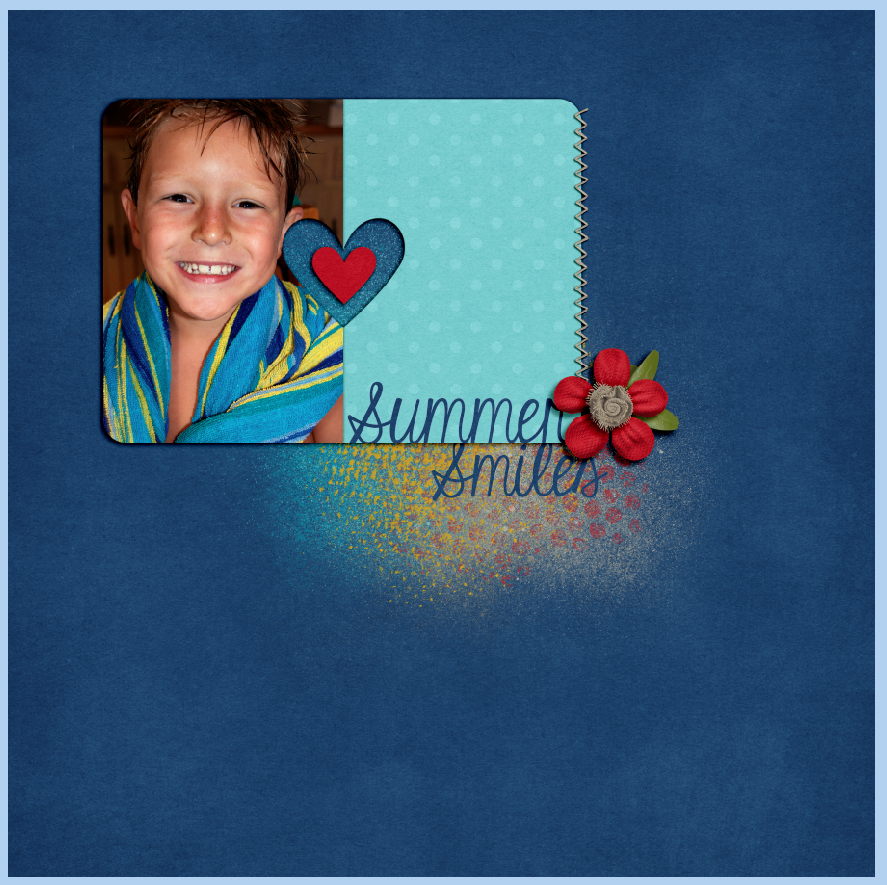
Here is the blue background page:
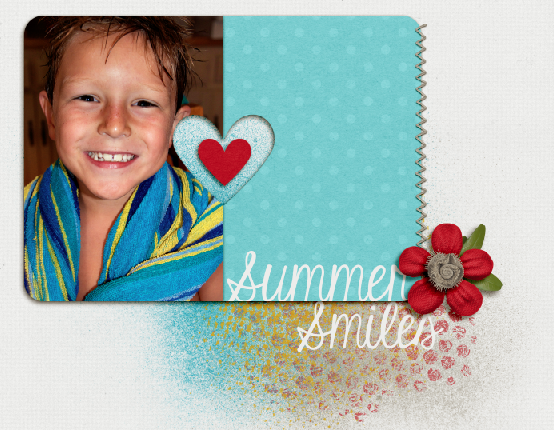
My preference was the white background, and here is my completed page.

Ok. Let’s see what the CT came up with for this post: Highlighting Titles with Paint! There are some awesome layouts!
Roxana (roxanamdm) used this tutorial for her page, and then made it her own. Products: Traveler Bundle, CU Spritzes, and CU Bubble Wrap Brushes. She said she kept adding brushes, then added the dark brown paper from the kit on top of the blue. She used the blend mode – luminosity with a 40% opacity. This allowed the background a little darker. She also used the tutorial tomake the stitches in the border too, the template had that brushed border so just clipped a light paper and it worked perfectly.
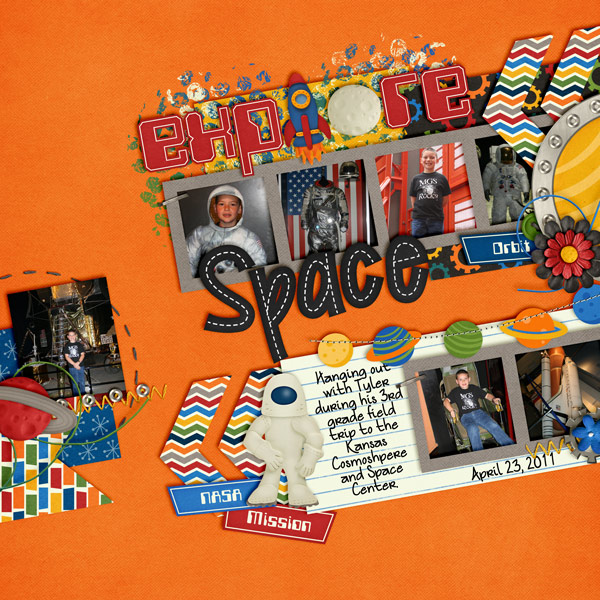
Mel (KSCroppyChick) made her page and highlighted the title by putting the paint splatters behind the title, on the background paper. She used Out Of This World, Basic Black Stitched Alpha, and a Little Green Frog Designs Template.
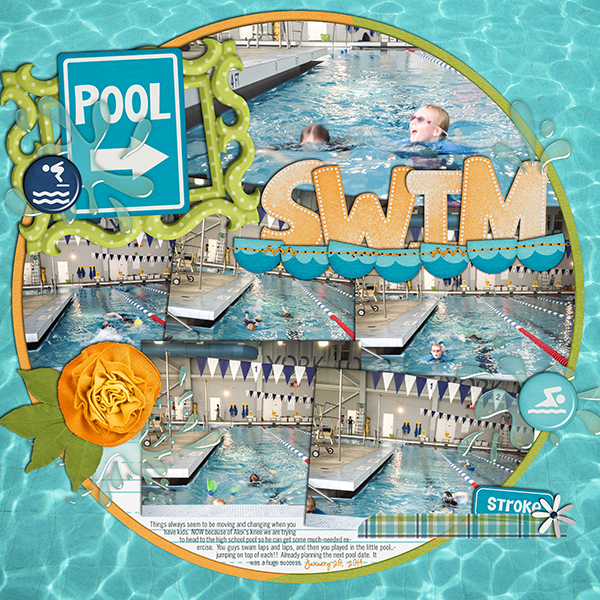
Jenn (jennv) created this summer themed page using Chelle’s In The Pool Kit. She said that she used paint splatters to clip to her title alpha. She was looking to make it stand out a bit more – she wanted it a bit more white-ish!!! Pretty Clever!
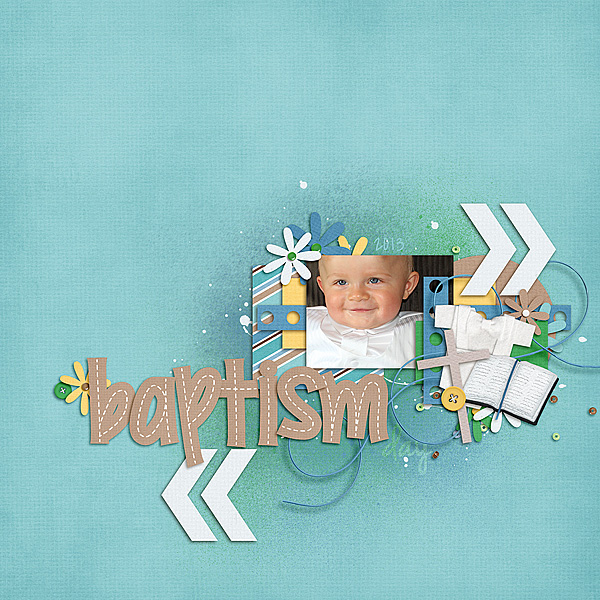
Melissa (prettypeaches) created this adorable page using Chelle’s Choose The Right {Baptism Kit} and a Little Green Frog Designs Template. She wanted a muted look to add to her title and page, and this tutorial was perfect. She even did the date too.
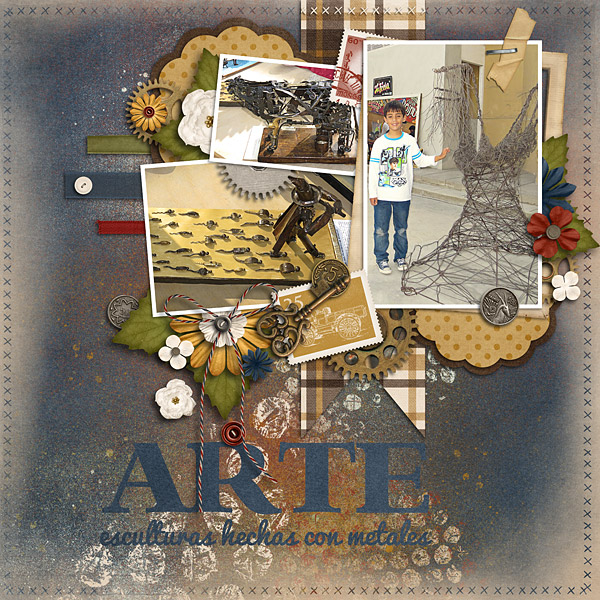
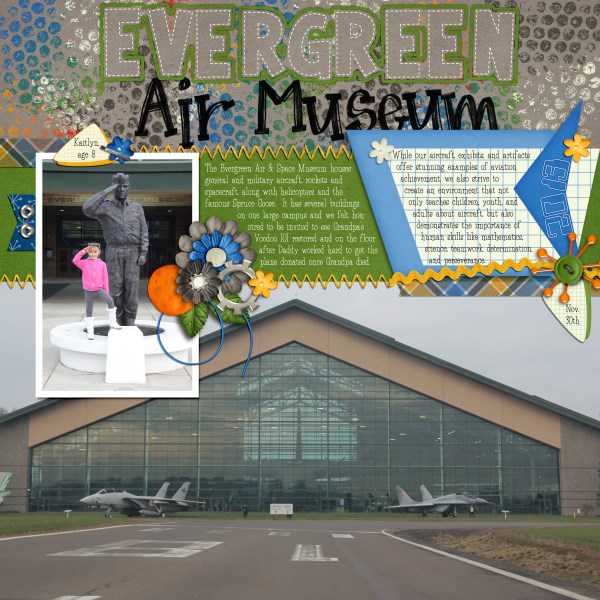
Lisa (kelseyll) created this cool page. She said she used the paint in the Out of this World kit. Then she clustered and merged them together. She then used the CU Dandy alpha to erase out the “Evergreen” lettering, but used the dashed lines to see the letters better. She decided to also make a thin line paper outline in green to further help it stand out.
Lastly Leah (Cat Lady) created a double! She used Chelle’s Out of this World kit, Riveted Alpha (Previous Blog Freebie) and a Little Green Frog Designs Template.

Cool pages, ladies! I love what they came up with and how creative they were. Hoping you enjoyed this post, and you will try out the Tutorial: Highlighting Titles with Paint for your next page!
Thanks for visiting!


 Hi! I'm Chelle: a 40 something mom of 7. My husband & I live in a rural community in the rocky mountains with our 4 children still at home. In the winters we enjoy sledding & snuggling by the fire. I the cool fall evenings we love relaxing around the campfire & meeting friends at the county fair. Admiring the stars


Pingback: Using Paint Splats - Chelle's Creations | Chelle's Creations