


Hi Everyone! Welcome to 2014! I’m Jenn, aka j703, and I’m excited to start the year fresh and enjoy it! Let’s get to today’s Tutorial: Folded Corners!
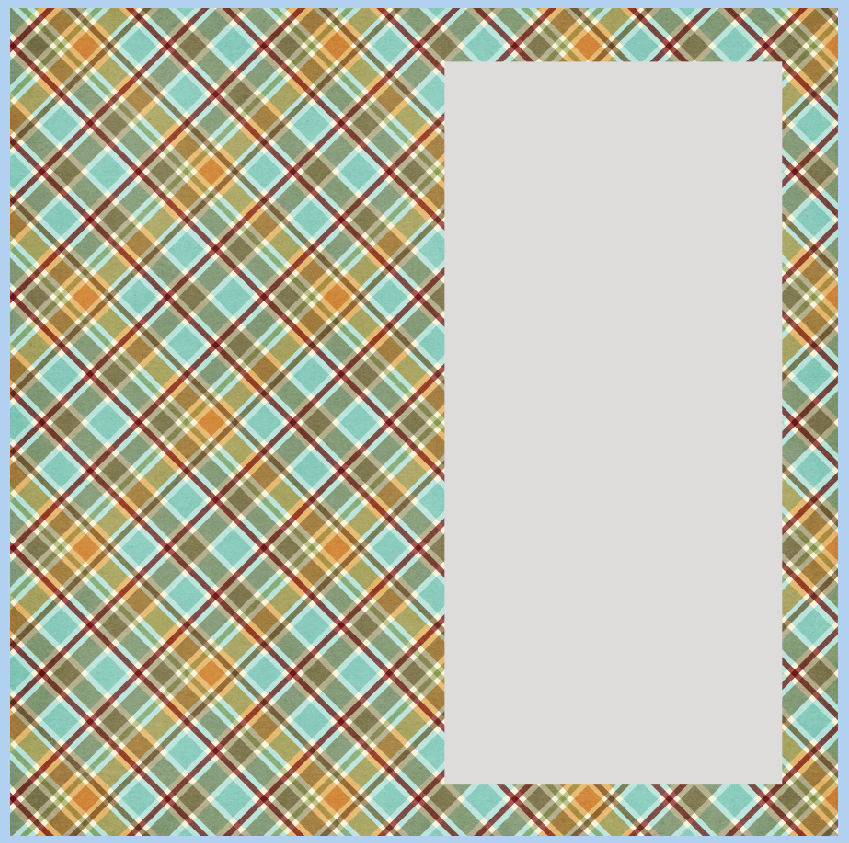
Begin your layout with a background paper, and a shape on top. For the tutorial, you will want a straight shape to easily try it out. I’ve chosen a rectangle – you can also try a circle or square. My examples uses Chelle’s Winter Woodlands kit.
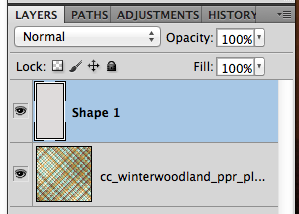
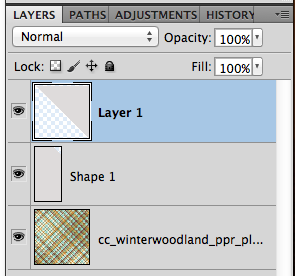
This is what my Layer’s Palette looks like:
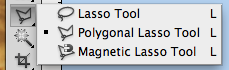
Next, choose the Polygonal Lasso Tool. Click an hold the Lasso tool to get to the other tool options.
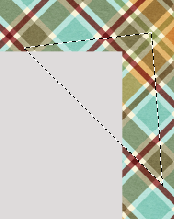
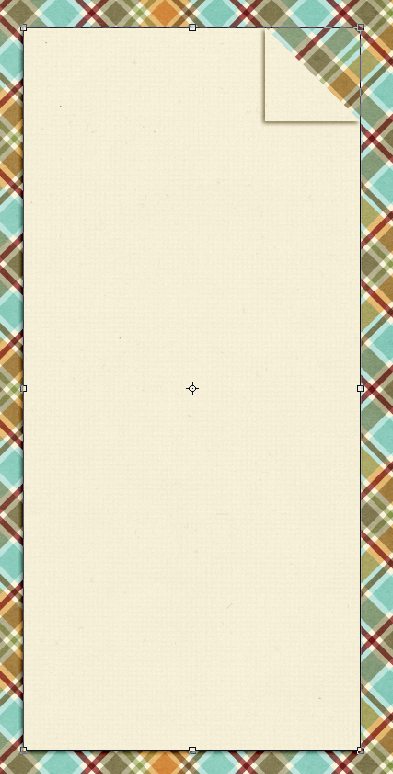
Once you have the Polygonal Lasso Tool selected, and the shape layer selected, click on the corner that you want to “flip.” I’ve created a triangular area that I will flip over, and once I connected all the points, the marching ants create the selection.
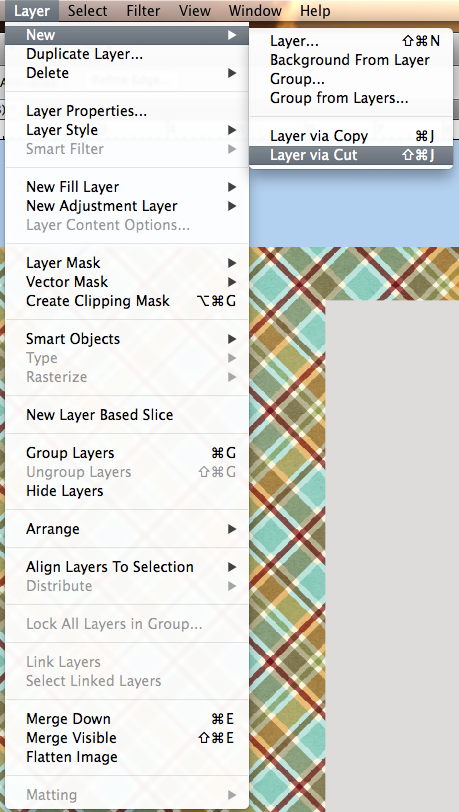
With the selection still marching, click on Layer > New > Layer Via Cut. This will cut the section out and put it on it’s own layer.
Here is what my Layers Palette looks like now. (If the ants are still marching, just press Command + D)
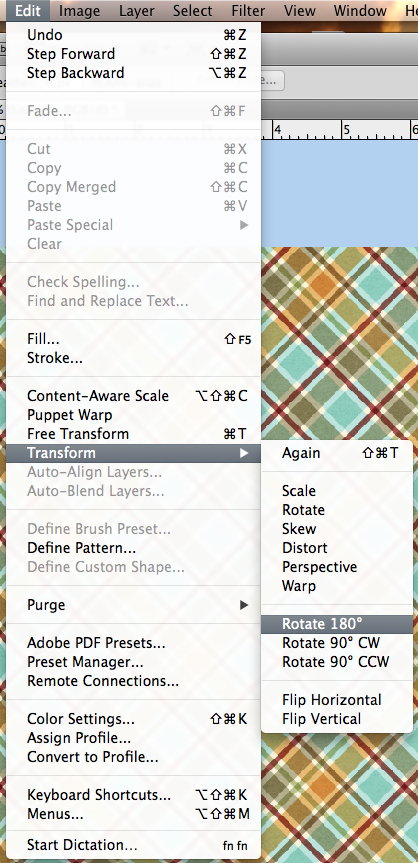
Now, with the new layer selected, choose Edit > Transform > Rotate 180*. Your shape should twist and not really be visible.
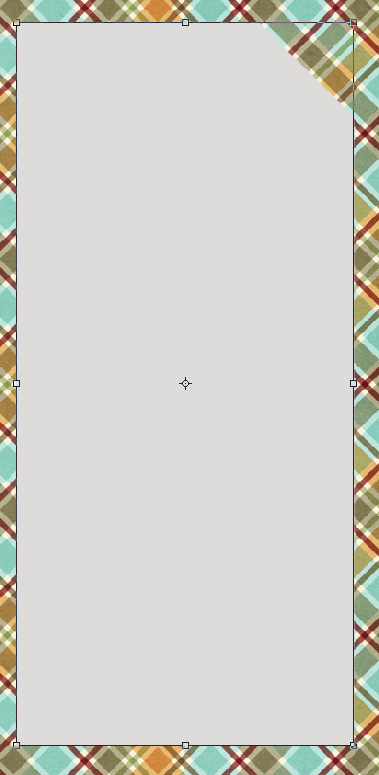
Here is what my shape looks like:
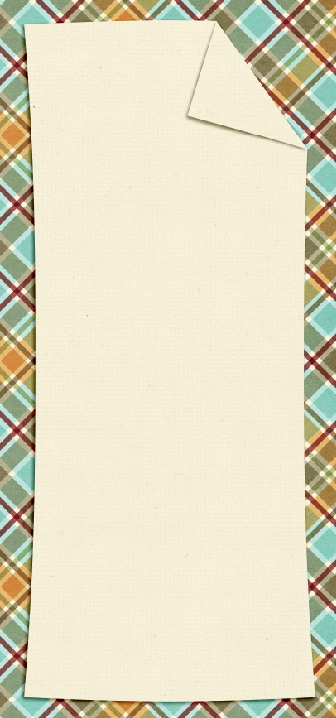
Add Shadows to all layers:

Add papers to all layers:
Here is another example of a irregular shape. It’s a bit more tedious to get the edges/corners to line up. You may also want to warp the shadows a little using Edit > Transform > Warp. Irregular shapes are do-able, but take more time, and effort to get the same look.
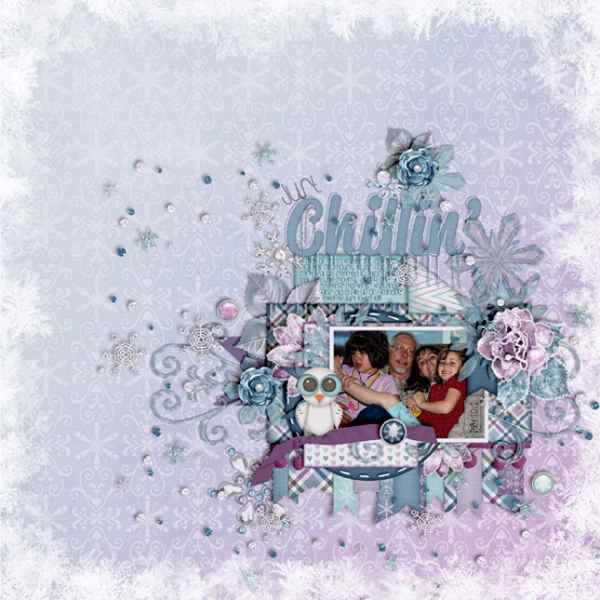
 Here is the layout that I made:
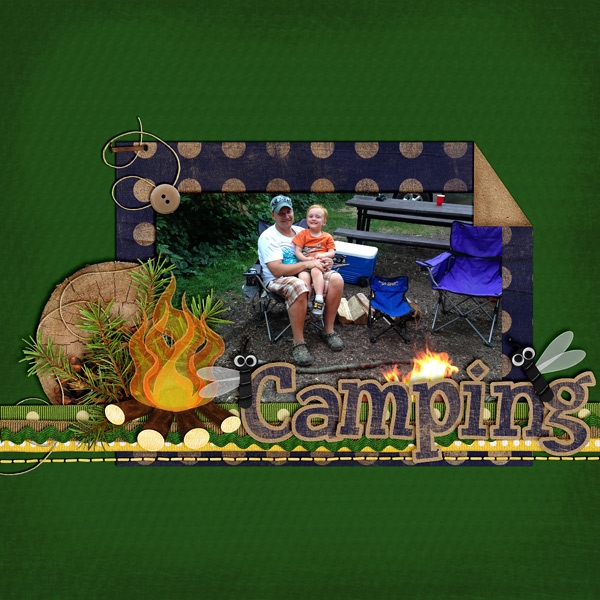
Here is a layout by Jenny (jenn18) that uses Let’s Camp S’more. I think the fire looks awesome!
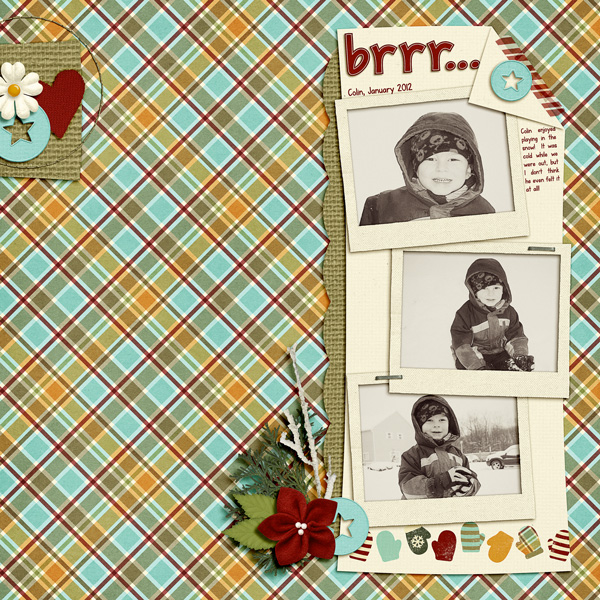
Leah (Cat Lady) used Snowlandia for her layout. So pretty!
Not too hard – so give it a shot! Add a little twist to your page using a folded corner! Have fun and thanks for visiting!


 Hi! I'm Chelle: a 40 something mom of 7. My husband & I live in a rural community in the rocky mountains with our 4 children still at home. In the winters we enjoy sledding & snuggling by the fire. I the cool fall evenings we love relaxing around the campfire & meeting friends at the county fair. Admiring the stars


