


Hi Everyone! It’s Thursday, and for me one day closer to the weekend! This is Jenn, aka jk703, and I’m bringing you a quick post today. I get to showcase layouts from CT members along with some information they have provided for our Tips: Starting a Layout post. When I first started digital scrapbooking, I came from a paper background. I literally stared at PSE and had no clue what to do! It was very daunting. Plus, I hadn’t been aware of templates at that point either! lol!
Here are a few tips for starting a layout that I learned when I started:
- Know that there isn’t a single way to start a layout. You will figure out over time how you like to start or what inspires you to create. Start with what you are comfortable with – photos, kit, template, even the title or journaling.
- Remember to work how you like – from the top layer down, bottom layer up, or a random order to your creations. It doesn’t matter if you like to place the background papers, and then go to frames. If it is working for you – that’s a good thing!
- Relax… you don’t have to conform to a style or template. Scrap how you like. You will like your pages better, and you will scrap faster. If a template has too many layers, but you love the basic design, delete those extra layers. If a template doesn’t have enough layers, add more. Templates are a starting point. It doesn’t matter if you twist, turn, shrink, flip or duplicate – as long as you like what you are creating!
- Add more, then delete. If you like something on your page, leave it. You can always remove or hide it later.
- Proofread your journaling. (I am horrible at this, and must listen to my own words of advice!)
- Lastly, remember this is a creative process and you are doing it for fun. While it is important for the memories to be recorded, you have to want to do that. When it becomes more “work,” it loses it’s appeal. So, have FUN!
Ok, I’m up first! (gulp!)
For me, my CT work kinda elbows me in the side to scrap. Most of my layouts are for CT duties – as the deadlines, schedule, and expectation gets me to scrap. lol! I scrap for my designers, but my pages have to be useful for me too! My albums are all double pages, and when I scrap a single page, I will eventually add another for my album. If not, I’m saving random pages to print together in a Remember that time when…. album.
Most times, I start from the bottom paper and work up into my layers. I usually choose two templates, and work them into my double layout – 12×24. I copy all the layers of each template into my “Working Copy,” and save as I go. Once the templates and layout basics figured out, I jump to photo selection. I scrap a certain year, but jump around within that year. This way my pictures work for various kits, and I’m continuously working on my yearly album, If I don’t have the right themed pictures, I look for color. After my pictures are selected, I start with the papers, elements, and all the little extras. I add my shadows after most of my elements are placed. This makes my layout pop to me. I then add journaling, and picking a font usually takes me a LONG time, lol! I have a love of fonts! After the journaling is done, I settle on my title. Every one my pages have at least something written about the picture, and/or at least the date. After all the details are noted, I save both an album copy and a web copy to post around in digiland.
Here is a page I made for this post. I used Chelle’s Zoo Crew Safari and Jungle kits, as well as a new product that Liz has this week. I have a tendency to use things – just not always as they are intended.  Once I got my basic layout ready, I choose the photo of the giraffe and edited it. (I use RadLab – which just might be discussed later on this month!) Once the photo was ready, I added the papers, and started building up my cluster. I added my photo. My layout was coming along nicely, so I added all my shadows and did some tweaking. Next, font selection and journaling. Since this page started out with a journal card template (enlarged), I was basically making up my locations for clusters, journaling and title work. It took me a while to figure out the journaling and title placement for this layout. For a bit, I was just moving things around until it looked right to me. Once done, I ran a “Save” action and saved for my album and for web posting. Here is my layout:

Jenny/supergirljennie
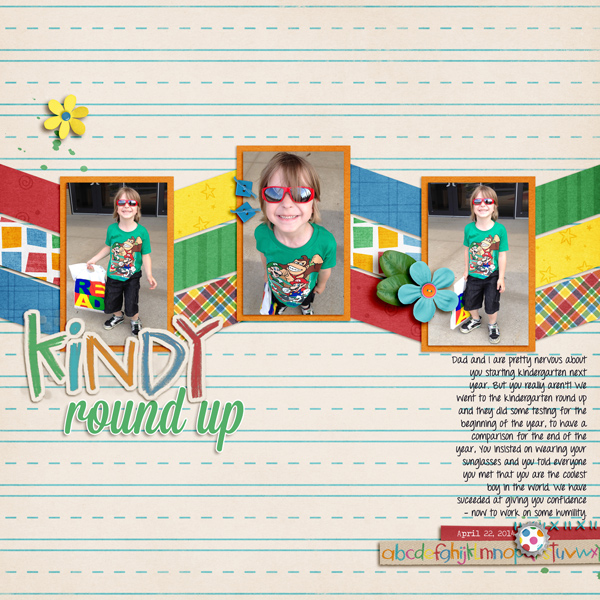
For me, when I scrap for myself and not for CT duties, 90% of the time I start with the photos. I knew I wanted to scrap these photos of my son’s kindergarten round up, and I wanted them in a series. So I went in search of the right template. I chose this one from Scrapping with Liz’s Recyclables 31 because it had the flow I was looking for. Then I selected the perfect bundle – Street Smarts, for the primary color scheme, the lined paper, and how it matched the photo colors. I also really like the crayon alpha (which I turned into a sticker for the title). I add all the papers first, then the elements, then the title. Last comes journaling and the date. Finally I flatten and save as jpg. I always have another look at the journaling on the jpg to check for spelling mistakes and typos before I back it up and post it around digi-land!
Krista/kc71595
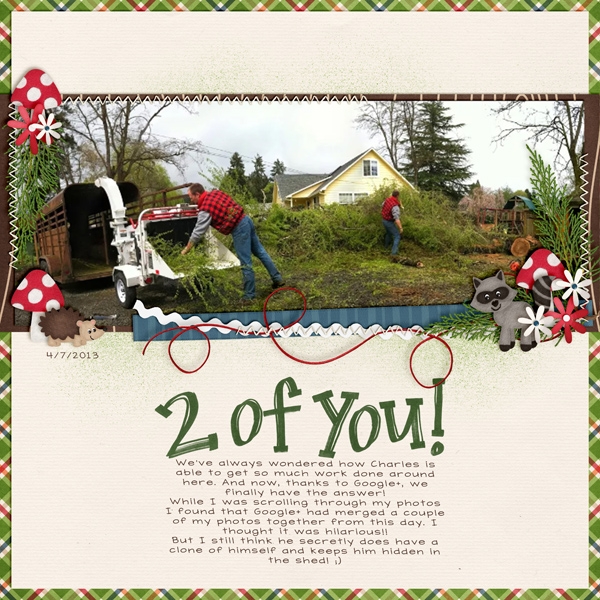
It seems for me I am inspired by any number of things; kits, templates, photos or a story to tell. But, here is an example of a page I did that was first inspired by the photo. The story is in the journaling on the page. I used In The Forest and Marker Alpha.
Cami/camijo
I knew I had alot of photos so I started out with a template that holds more photos. I used Little Green Frogs Simply Block V then I started plugging in pictures. Then I added the papers, and elements. I used Zoo Crew {jungle} and the WordArt.

There you have it. Some ideas on how to start your layouts, and a glimpse of how a few of us start ours! Hoping this post will help you when starting a layout! Thanks for stopping by and see you later this month!


 Hi! I'm Chelle: a 40 something mom of 7. My husband & I live in a rural community in the rocky mountains with our 4 children still at home. In the winters we enjoy sledding & snuggling by the fire. I the cool fall evenings we love relaxing around the campfire & meeting friends at the county fair. Admiring the stars


