Hybrid highlightS

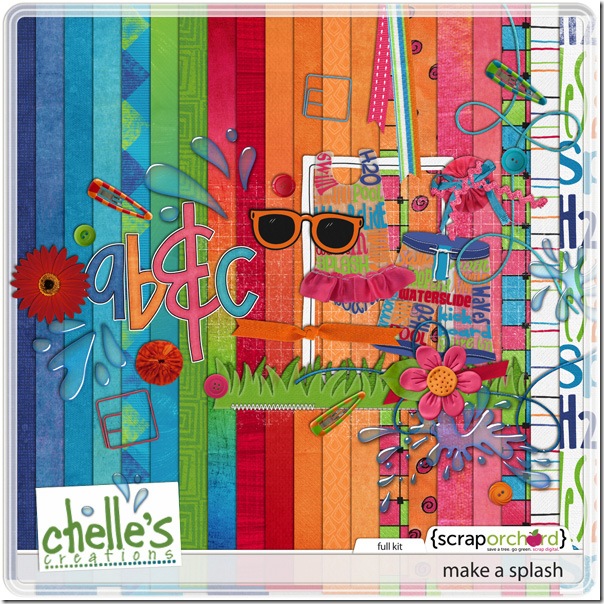
With summer coming to a close I thought I would highlight a couple hybrid projects I did with one of my favorite summer kits – Make a Splash.
make%20a%20splash%20preview

These are some projects I created with it – so much fun!

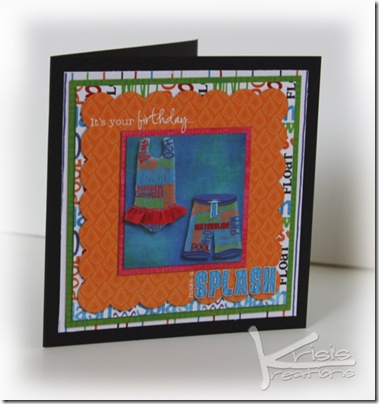
A Birthday card:
bdaysplash

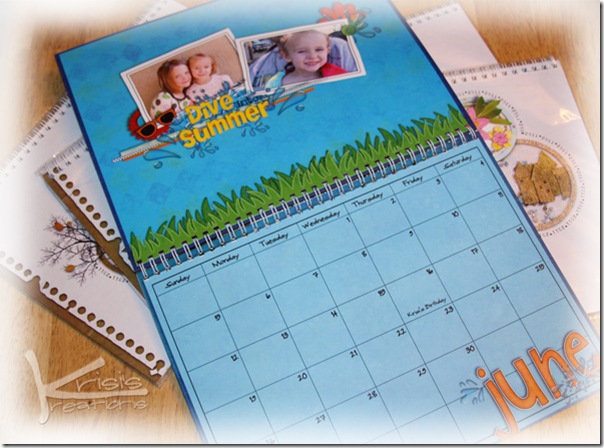
Calendar pages:
calendar2011

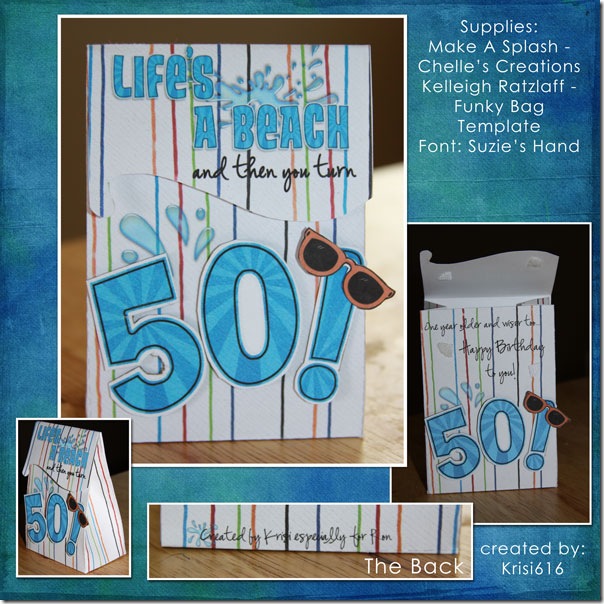
A gift bag:Gift-Bag

Hope this inspires you to go create with Make a Splash – not only is is great for layouts but super fun for hybrid projects as well!

9.23 Tip: Creative Ways to Use Stacks

9.23 Tip: Creative Ways to Use Stacks

Wondering what to do with Digital Scrapbook Stacks? (Besides adding your pics/title/journaling…they look great just as they are) Strech your stash and create those trendy off-set style layouts speedy quick with stacks:

CREATIVE WAYS TO USE STACKS

Want to know when I create new video tutorials? Subscribe to my You-tube channel. (click on the link and look under the title for a box marked SUBSCRIBE)
CLICK HERE to view in YouTube. (& to Subscribe to my Digital Scrapbook & Design Videos)

Prehistoric and All Hallows Eve Playdate | Digital Scrapbooking Inspiration

Prehistoric and All Hallows Eve Playdate | Digital Scrapbooking Inspiration

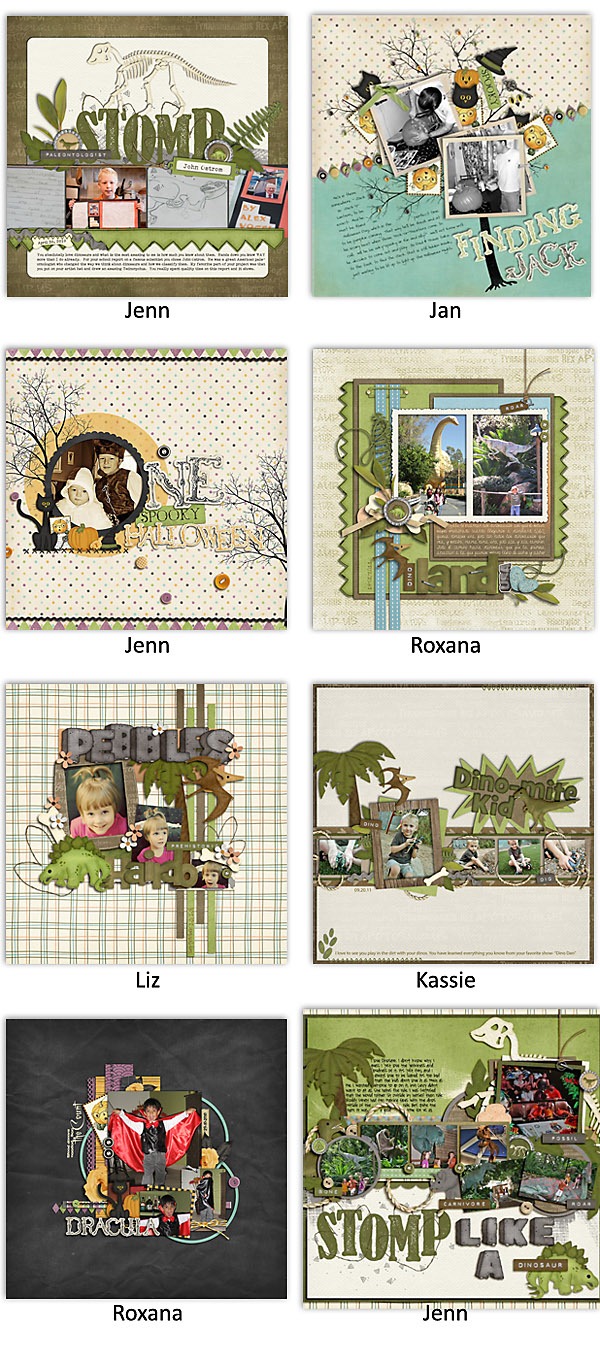
Dinos have invaded!  Ack!  Chelle has a brand new collection, Prehistoric!  It includes a fabulous kit, wordart, and stacks plus a bundle.  Great for dino and museum pics or just for that dino-mite person in your life! And don’t forget the bedrock alpha is FREE with the purchase of the bundle through 9/28. image image And also being re-released this week is Chelle’s Halloween kit, All Hallow’s Eve.  A great kit with a retro feel.  There is a kit and some fun stacks!  The stacks are FREE with purchase of the kit through 9/28.image image There are also two sets of CU flowers.  Bloomers and fancy flowers!image image And here is some CT inspiration:Untitled-1 And finally, there are two freebies to coordinate with the kits:image

image

Use a blog post | Digital Scrapbooking Words on Wednesday

Use a blog post | Digital Scrapbooking Words on Wednesday

I love it when the story is already written. How about your blog? Here’s one of my favorites from my sister:
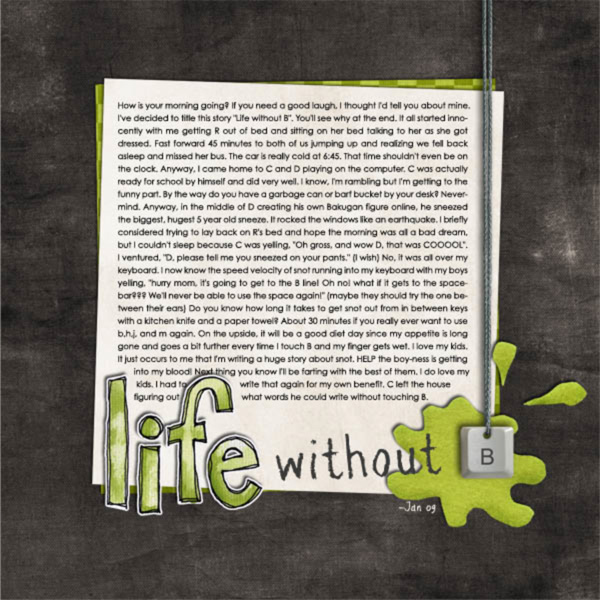
I’ve decided to title this story “Life without B”. You’ll see why at the end. It all started innocently with me getting R out of bed and sitting on her bed talking to her as she got dressed. Fast forward 45 minutes to both of us jumping up and realizing we fell back asleep and missed her bus. The car is really cold at 6:45. That time shouldn’t even be on the clock. Anyway, I came home to C and D playing on the computer. C was actually ready for school by himself and did very well. I know, I’m rambling but I’m getting to the funny part. By the way do you have a garbage can or barf bucket by your desk? Nevermind. Anyway, in the middle of D creating his own Bakugan figure online, he sneezed the biggest, hugest 5 year old sneeze. It rocked the windows like an earthquake. I briefly considered trying to lay back on R’s bed and hope the morning was all a bad dream, but I couldn’t sleep because C was yelling, “Oh gross, and wow D, that was COOOOL”. I ventured, “D, please tell me you sneezed on your pants.” (I wish) No, it was all over my keyboard. I now know the speed velocity of snot running into my keyboard with my boys yelling, “hurry mom, it’s going to get to the B line! Oh no! what if it gets to the spacebar??? We’ll never be able to use the space again!” (maybe they should try the one between their ears) Do you know how long it takes to get snot out from in between keys with a kitchen knife and a paper towel? About 30 minutes if you really ever want to use b,h,j, and m again. On the upside, it will be a good diet day since my appetite is long gone and goes a bit further every time I touch B and my finger gets wet. I love my kids. It just occurs to me that I’m writing a huge story about snot. HELP the boy-ness is getting into my blood! Next thing you know I’ll be farting with the best of them. I do love my kids. I had to write that again for my own benefit. C left the house figuring out what words he could write without touching B.
And here’s the finished layout:

Take a look at your blog. Do you have stories already written?

Sneaky Peek & enter to WIN!

Sneaky Peek & enter to WIN!

I know…you can’t comment. I had over 3000 spam comments in the last 2 weeks, so I shut off comments. I must’ve messed up something, because it’s not turning back on. ACK! I’m working on it. :(

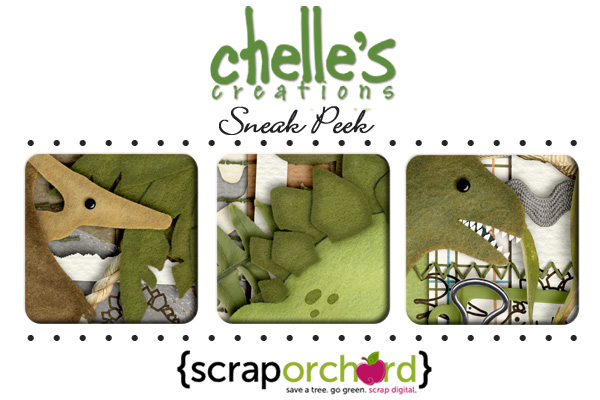
I’ve got another fun kit coming this week. Would you like to win the bundle? There are lots of ways to enter and increase your chances…see them below. But first, here’s a sneaky peek:

Now…about that contest. There are 4 ways you can enter:
1. Comment on this blog post.
2. Comment on this facebook post to help spread the word about the giveaway, then come back to this blog and leave another comment confirming your facebook post.
3. Tweet about the giveaway (with a link to this post) then come back to this blog and leave another comment confirming your tweet.
4. Sign-up for the newsletter and come back and leave an additional comment to this blog post to confirm you signed up to the Newsletter. (New subscribers only)
The contest will end on Friday 9.23 at 8am EST. Now spread the word and increase your chances of winning Happily Ever After!

Gallery Standouts | DIgital Scrapbooking Inspiration

Gallery Standouts | DIgital Scrapbooking Inspiration

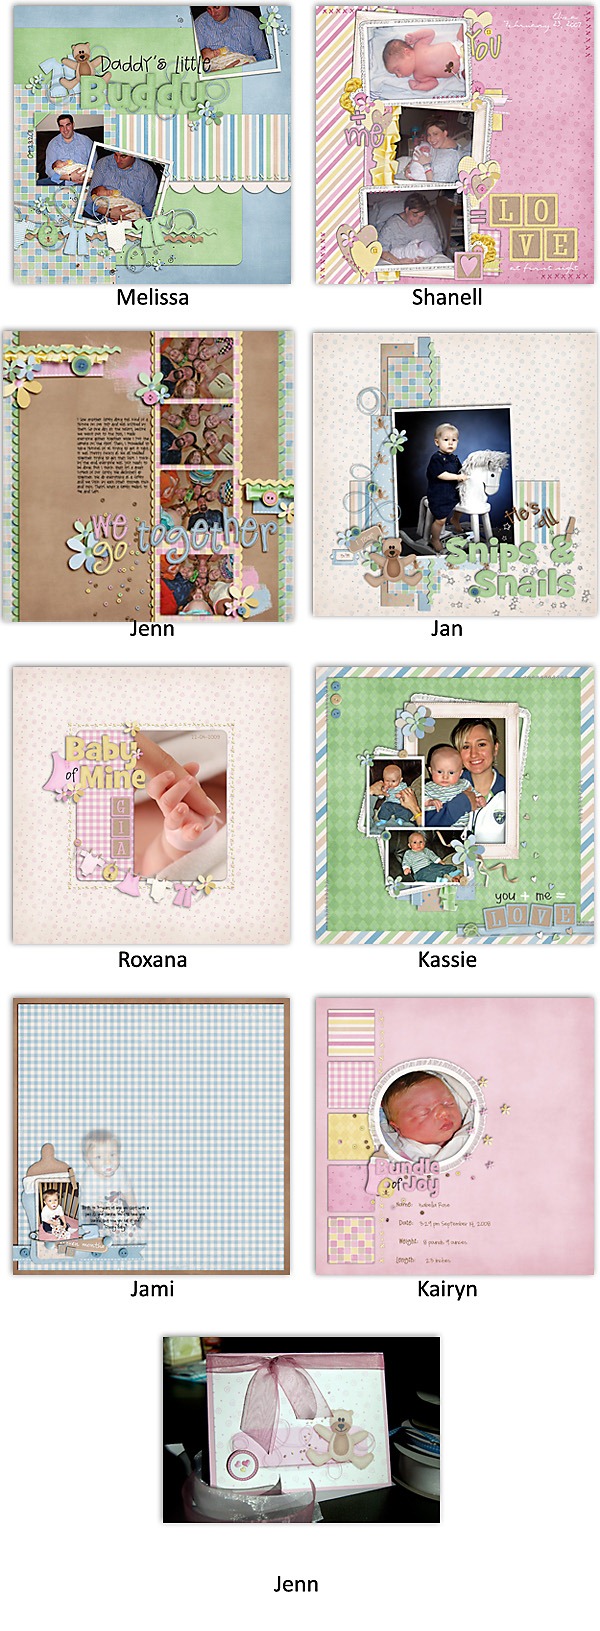
Hello! Roxana here with the Gallery Standouts this week. It was very difficult for me to pick just three layouts as Chelle’s gallery was full of awesomeness this week! Hope you agree with my choices!

First this layout,  “Supermarket Princess” by Newfiemountiewife, the negative space is an eye catcher here and I love her clustering, as well as the shadowing that is perfect! A very neat title and a short journaling the final touches for a beautiful page!

Next  “Gout” by  Lynnirene. I love that she put everything in the middle of the page and balanced the layout with that amazing vertical journaling! Great clustering and the splat on the background is fabulous!

And last but not least this great layout by Mrsburgess, “Why…me”. The blended pic on the background is fantastic and her clustering and layering are just awesome. I loved the stitched title as well! Fabulous layout!

All images are linked so you can leave some love. Don’t forget to upload your pages to Chelle’s gallery, you could be one of the Standouts next week!

Have a great day!

9.16 Tutoriial: EZ Black and White Photos

Hey Everyone!  It’s Friday!  Yay!  It’s Jenn, aka jk703, here to bring you today’s post.  I hope that you are ready for the weekend!  Today, I decided to make my post about a quick How-To for Black and White Photos.  The weekend will be a perfect time to try out this technique. It’s not too difficult and can really make your otherwise dull black and white photos pop!

Black and White, otherwise B&W, can be a way to create a striking photo and bring a lot of contrast to your digital scrapbooking layouts.  Here is my starting photo – a pretty flower I snapped while on vacation this summer. It is a very bright photo and I love the perspective.
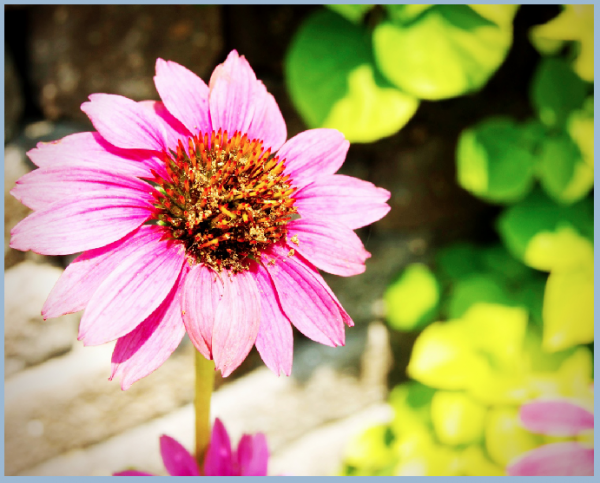
Let’s say that I am making a layout also with bright colors in the papers and elements, but I really want to use this photo.  Instead of a too busy or too colorful page, I want to create a focal point on my layout.  To make the photo pop, I am going to make the photo B&W.

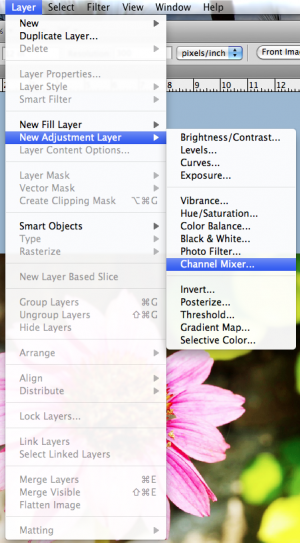
First, remember to save your image before completing your edits so you will always have the original photo if you ever needed it. Next, with the photo selected,  in the Menu Bar, click on Layer. Scroll down to New Layer Adjustment, and choose Channel Mixer.
The Adjustment Palette will pop up (mine is within my Layers Palette, just another tab).  You will see a few slidebars, and a small box that is for  Monochrome.  Click this box and make sure there is a check mark ticked.
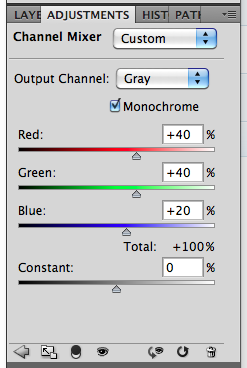
Your photo will turn to an instant Black and White.  But wait… there’s more… Again, in the Menu Bar, click on Layer > New Adjustment Layer . Brighness/Contrast.  Here are the options available to you in this particular adjustment.
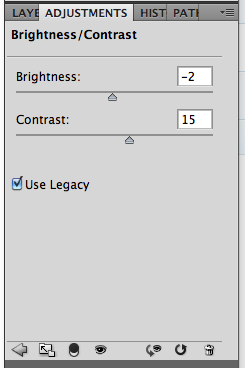
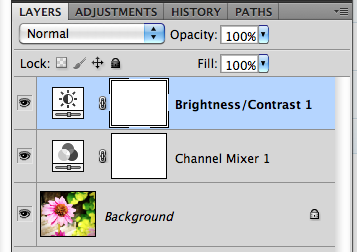
When you look at the Layers Palette, you will now see another new adjustment layer. By tweaking the contrast, your photo can become a little more sharper and really jump off the page.  Here is my after picture below.  See how the center of the flower is a little more focused and the edges of the shadows are just a tad deeper.
Here is my final Black and White Photo.

There you have it – an easy way to make a photo black and white!  Plus, the know-how to tweak the brightness and contrast to your own liking!  Enjoy your pictures and make them pop off the page!

Have a great weekend, and thank you for stopping by.  Come back soon!


Beary Cute Baby & Sporty Quickies Playdate | Digital Scrapbooking Inspiration

Another great week for Chelle!  She is re-releasing her Beary Cute Baby collection.  With cute elements for boy and girl alike, it is a must have!image image Pieces are available individually as well!  Also Chelle has taken some of the sport kits and made some fun clusters!image

image And there is also some fun CU leaves and paper textures!image image \And here is what the CT did:Untitled-1 And last but not least and fun freebie that coordinates with the Beary Cute Baby Collection:image

Use a letter |Digital Scrapbooking Words on Wednesday

Use a letter |Digital Scrapbooking Words on Wednesday

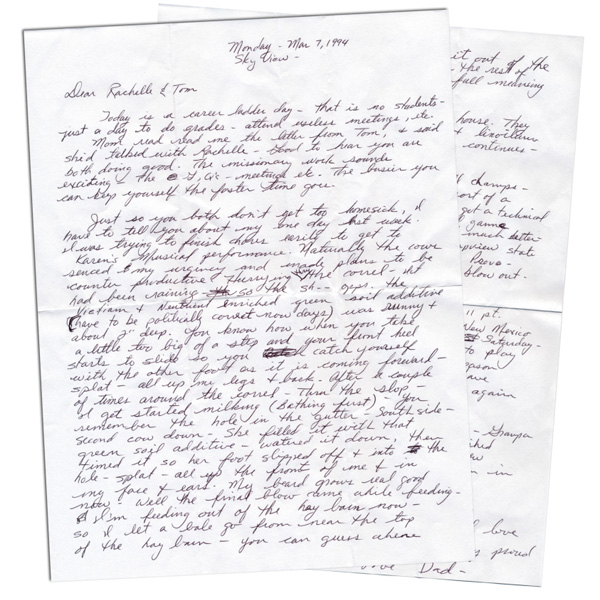
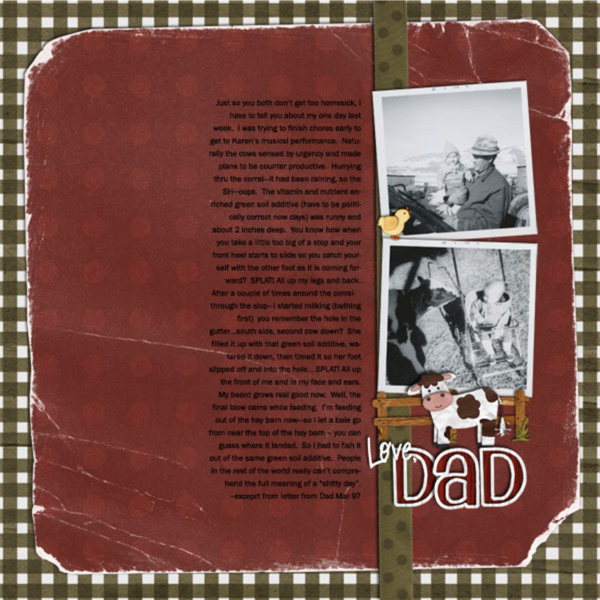
Consider using a letter you’ve received as your journaling. The entire letter or just a part. (Emails count as letters, right?)
Here’s a letter my father sent me in ’94.

I didn’t use the whole letter, just an excerpt about how his day had gone. It was perfect for photos of a very young me with him on the farm.