


Hi Everyone! I’m Jenn, aka jk703, here to bring you a quick and easy tutorial for blended masks. For this tutorial, you will use the Eraser Tool. Something a little different – but so easy! Let’s get started!
For my Example, I used Chelle’s Traveler Kit. This is a kit that can be very versatile for Men, Traveling, and Everyday Memories. Lot’s to work with and works with all types of pictures.
Step 1: Open the image and save it to a new file, allowing the original image available if needed. You don’t want to ruin your only copy of a picture. This is a good habit for anything that you open and plan on changing.
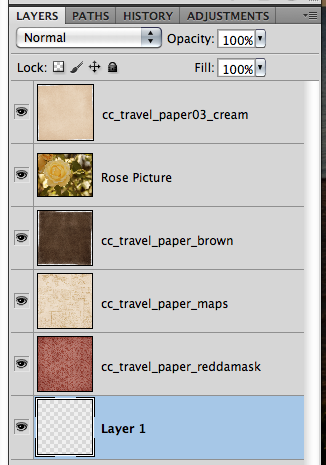
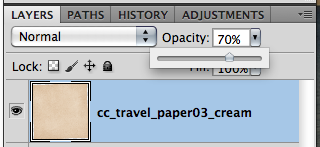
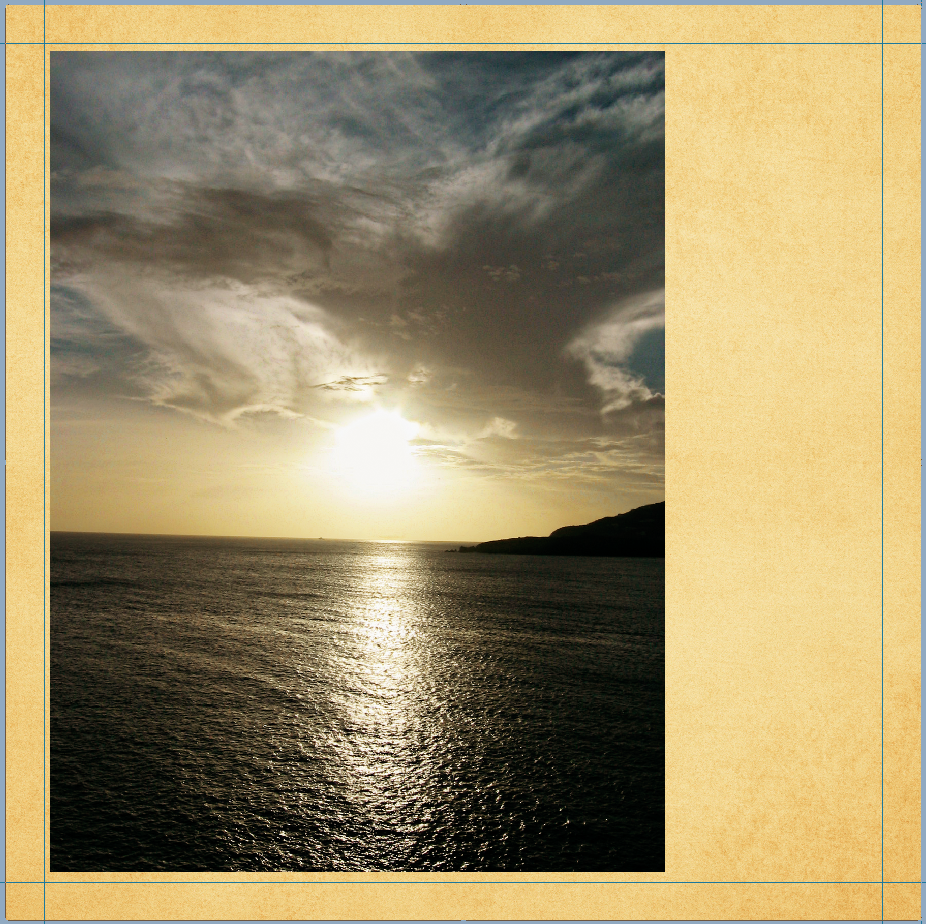
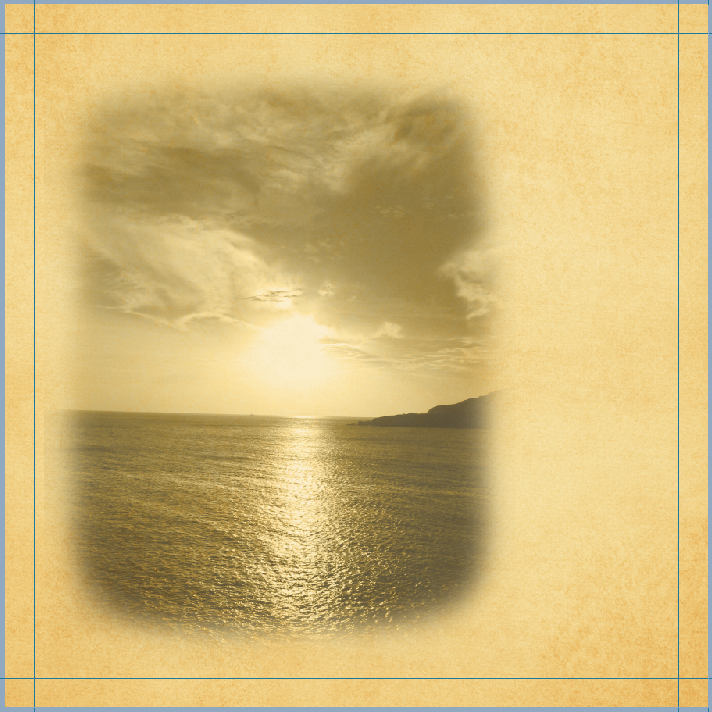
Step 2: Import the paper that you want to have the Brushed Mask on, and make sure it is the layer above the photo. Change the opacity to 70% or so. Save your file, so that this is a working copy of your layout. This way the original paper is still available to use for later.
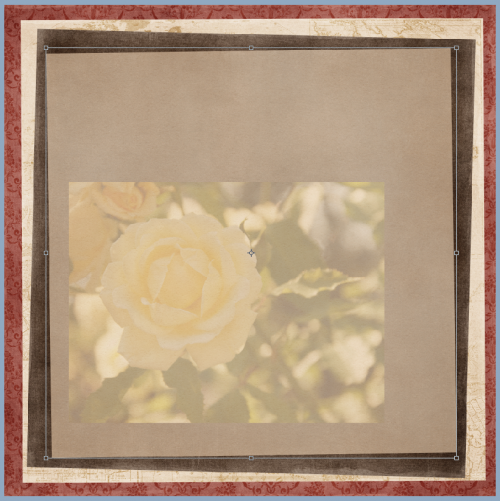
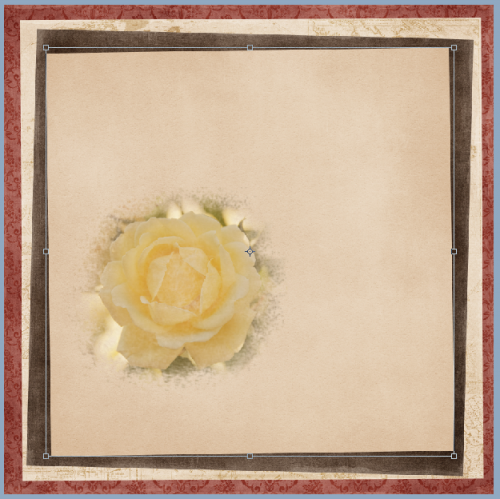
Here is what the papers look like with the photo and Opacity lowered to 70%:
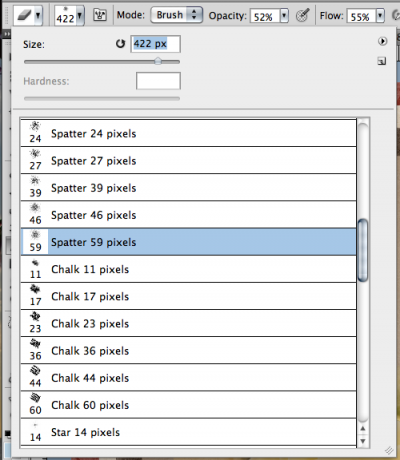
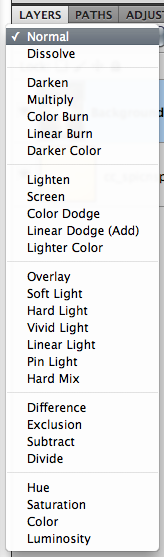
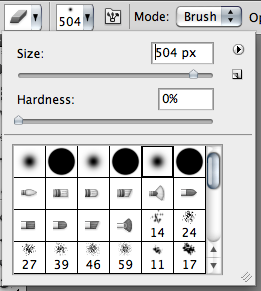
Step 3: Choose the Eraser tool, and click on the small arrow next tot he number in the brush tool menu. Choose a brush you like, and make the size somewhere around 100 to 500. For my Example I used a Watercolor Wet Flat Brush, with an Opacity of 20%, and I actually turned the flow down to 60%. My brush was on the larger side at 432 pixels. Remember, you can use multiple brushes to change the end result.
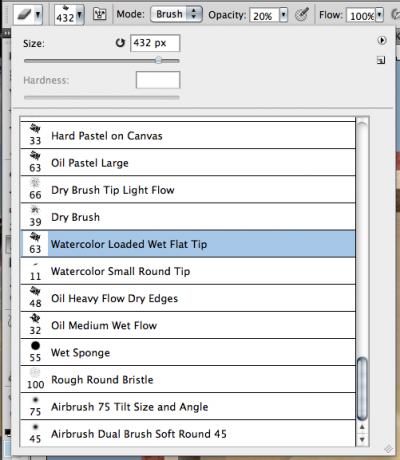
I decided to use another brush on top of this one. A splatter brush, 55% opacity, 422 pixels, and 55% flow.
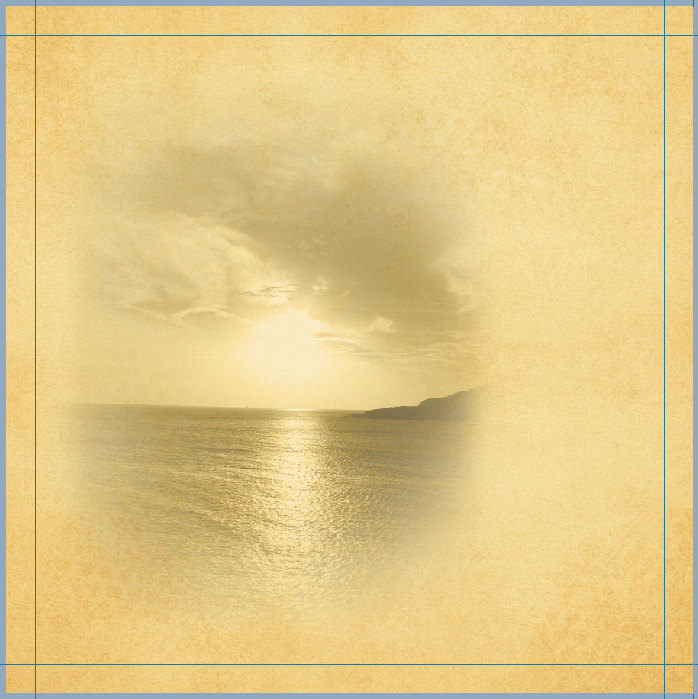
Step 4: Make sure you have the paper layer chosen in the layers palette. Brush on the layer and slowly show the image through the paper. Continue to brush the layer until your photo appears to your liking. Try out different types of brushes, sizes and opacities.
Step 5: After your have completed the brushwork, change the opacity of the paper layer back to 100%. Your image now looks painted on that layer.
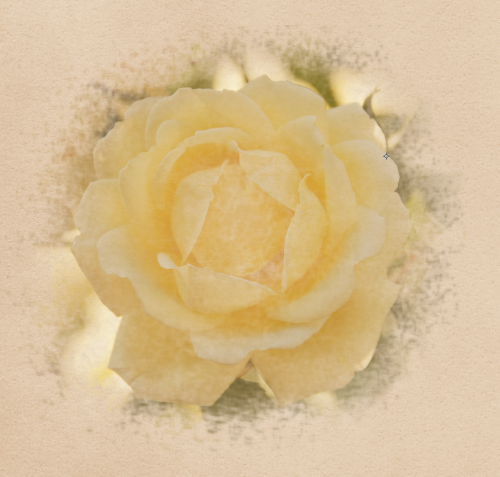
Close Up of the rose:
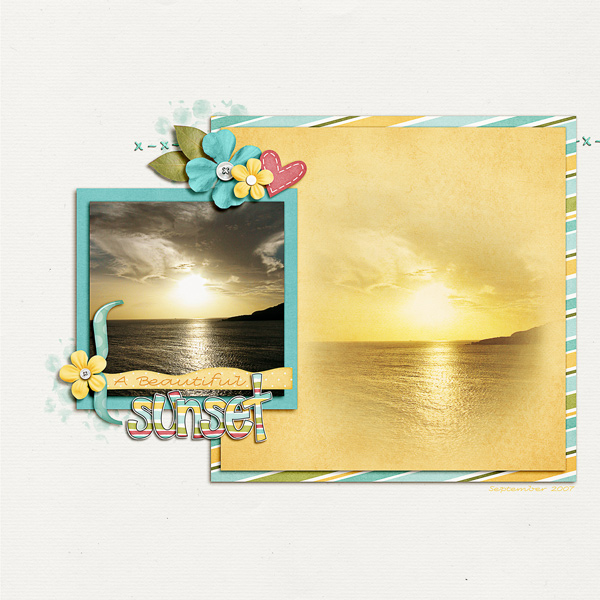
Super Easy technique there, and each brush will give you a different look on your paper and photo. Play with them and try it out! Some of the girls on the CT give it a try! Check out their layouts:
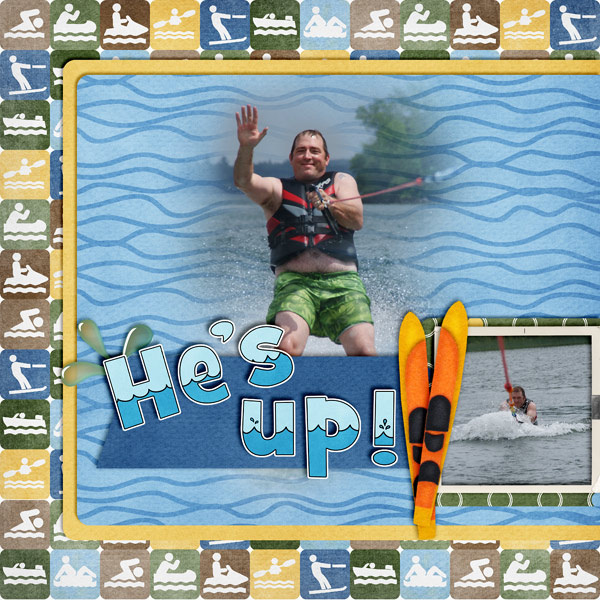
From Jenn:
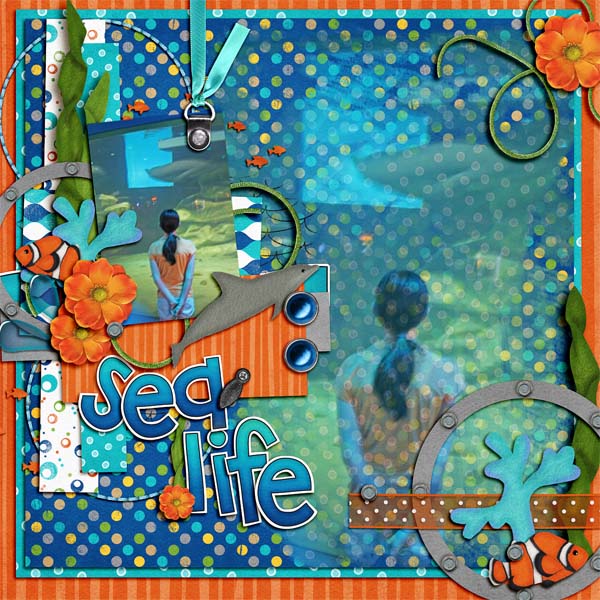
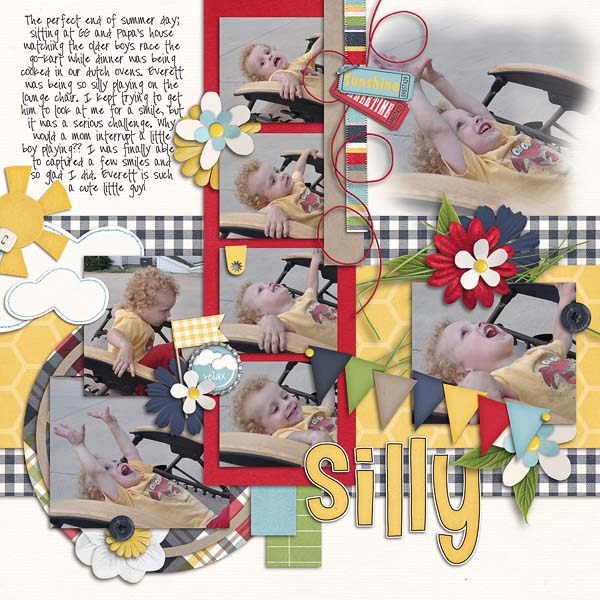
From Jennifer:
From Erica:
We would love to see what you create! Please let me know if there are any questions.
Thanks for visiting and I hope you come back soon!


 Hi! I'm Chelle: a 40 something mom of 7. My husband & I live in a rural community in the rocky mountains with our 4 children still at home. In the winters we enjoy sledding & snuggling by the fire. I the cool fall evenings we love relaxing around the campfire & meeting friends at the county fair. Admiring the stars


