01.15 Video Tutorial: Text on a Busy Background

Welcome to the new year and another video tutorial by Chelle of Chelle’s Creations. Today she is going to give you a few pointers to ensure that you journaling doesn’t get lost on busy background papers or photos.

A couple of Chelle’s talented creative team members provided layouts using the techniques they learned while watching the video.

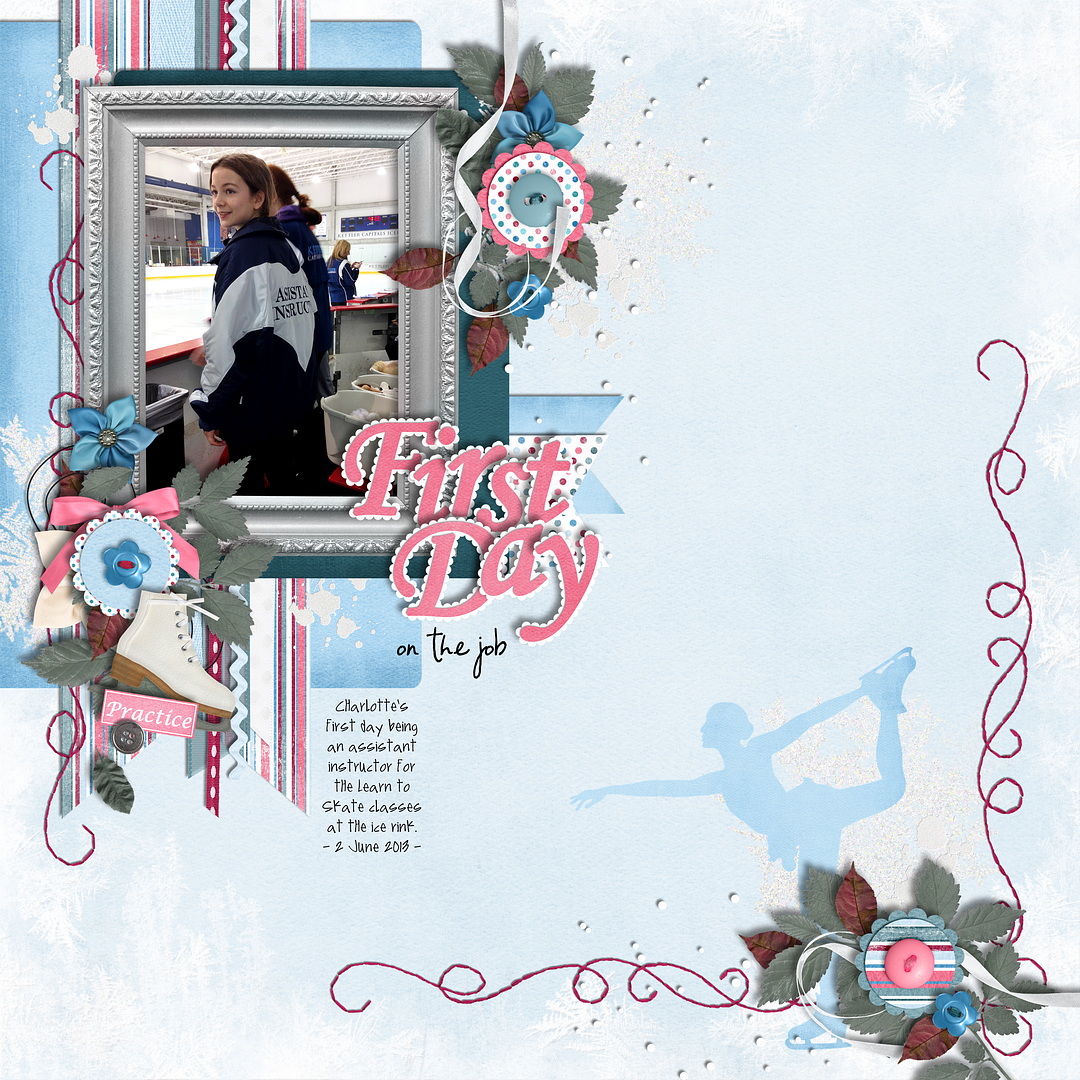
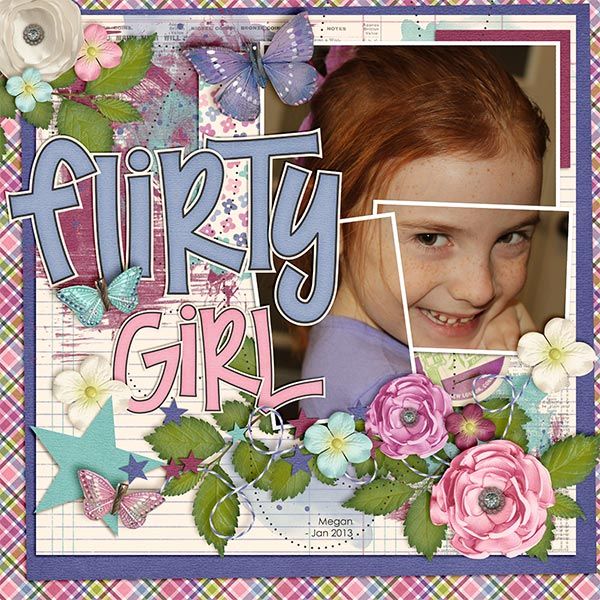
Lisa (kelseyll) used the outer glow method by casting a blue hue around all the text. Since the date was on a really busy part of her layout she also added a slight shadow to help it to be seen. For this cute layout Lisa used the parts of Loom Love (Sampler, Solids, and Alpha).

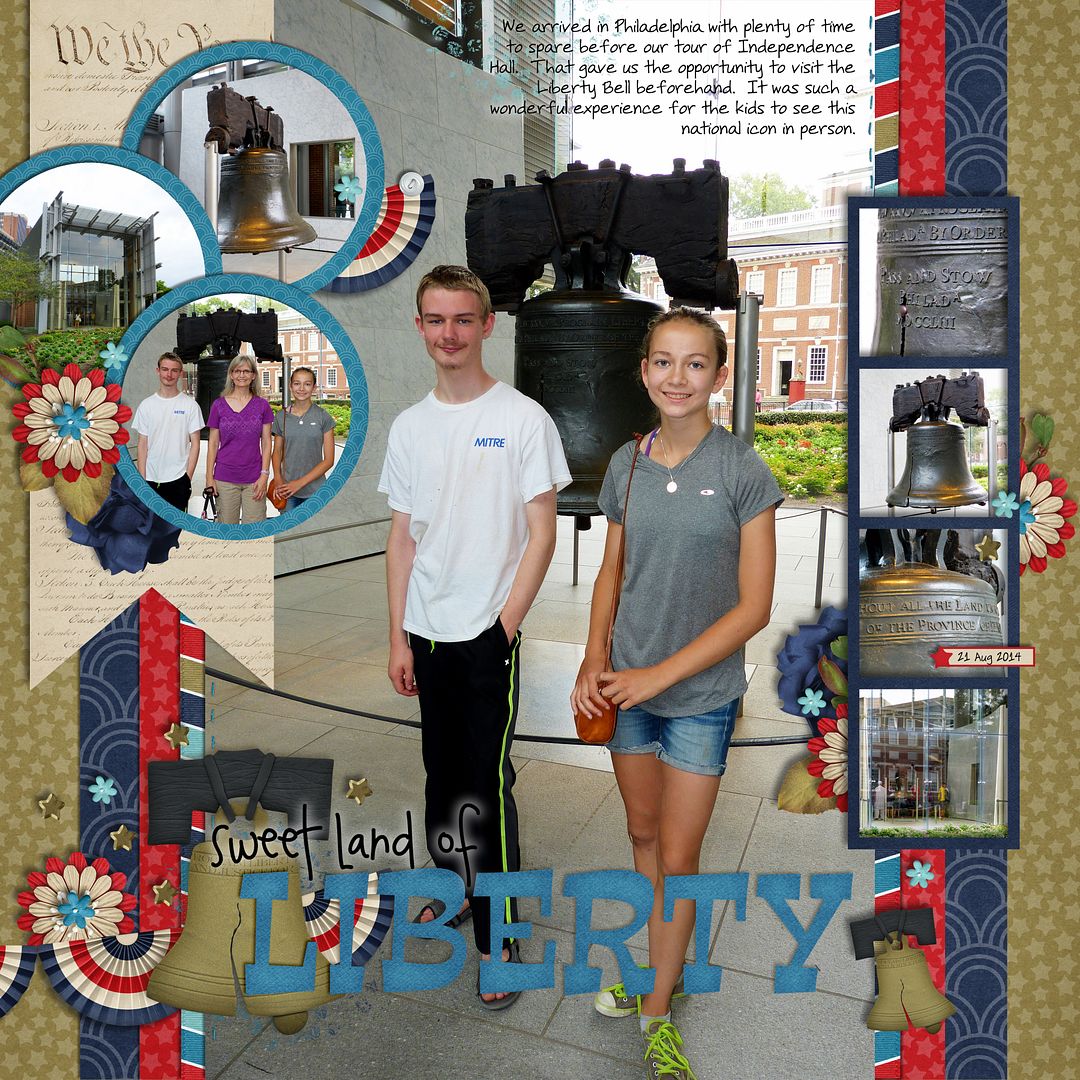
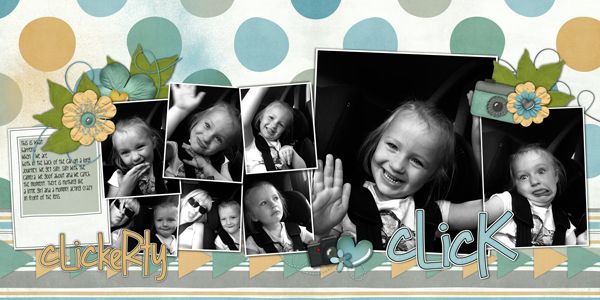
The outer glow method doesn’t work just on text, but it also works on word art as Jan (QuiltyMom) demonstrates with her layout. To make the black letters stand out and not fade into the black of the Liberty bell the outer glow creates the perfect contrast. She also used the outer glow method on her journaling to ensure the words didn’t blend in with the photo. For this fabulous layout Jan combined Liberty and Liberty (word art) with a template by Cluster Queen Creations.

This video features Chelle’s Creations Falling 4 U kit. Visit Chelle’s Creations store here to see this kit and her other fabulous creations.

You don’t want your journaling to get lost on the page. You placed it there to remind yourself and tell others about the experiences you had. The next time you are finding it hard to read what you wrote try one of Chelle’s tricks.

12.02 Video Tutorial: Stretch Your Stash – Stitches

November got away from me for some reason and I missed posting a video tutorial for you. I am back this month with another great video to share with you. Stitches are the perfect element to anchor paper and photos to the page but can also be used to add a handmade look to your digital creations. This video tutorial by Chelle’s Creations show you how different techniques to add her CU Stitch Toolkit to your designs.

Jan (QuiltyMom) combined the swirly stitches to create longer stitches for the back layer of both her fancy corner and border. Don’t the stitches just help make her lovely clusters really pop. Jan combined Toe Picks & Figure Eights, blog freebie from the kit, Zoo Crew (Arctic), and Penalty Box. She also used a template by Cluster Queen Creations.

Recoloring stitches to match the colors of your kit is another way you can use the stitches. Jen (supergirljennie) uses this technique along with combining the stitches to create longer lengths to create you adorable page. Aren’t those cookies the cutest? To create this page Jen used the Mickey Mouse Club March {Sampler} and the Mickey Mouse Club March {Alpha}.

Both of these layouts used Chelle’s Creations CU Stitch Toolkit as well. Hurry over to Chelle’s Creations store to pick them up.

Like Chelle’s Creations CU products head over here to learn more about Chelle’s Creations Designer Club.

10.20 Video Tutorial: Painting with CU Watercolor Florals

Did you know that CU products aren’t just for designers? CU or commercial use products are the perfect addition to you everyday scrapbooking stash. They allow you to add elements to the kits you have easily or they can help enhance the look of the kit. This video tutorial by Chelle’s Creations shows you how to add her CU Watercolor Floral brushes to your designs.

Even though Chelle’s video demonstrates how to make a element for a kit let’s she how Chelle’s creative team used what they learned from this video to enhance their pages.

Kimberly (enjoyyourpix) added three watercolor flowers to add a nice balance between the other flowers on the page. For this page she used Boho Summer.

I love the watercolor assortment of flowers clustered behind Karen’s (zippyoh) photo and paper mats. Karen combined a Fiddle-Dee-Dee Designs templates with Chelle’s Fleur de Violette.

Hurry over to Chelle’s Creations store to pick up her CU Watercolor Florals.

While you are there check out the other CU Watercolor flowers she has available such as: CU Watercolor Florals {Poppies}, CU Watercolor Florals {Daisies}, and CU Watercolor Florals {Roses}.

Like Chelle’s Creations CU products head over here to learn more about Chelle’s Creations Designer Club.

10.6 Video Tutorial: Mixed Cases Title Tip

Are you looking for a new way to make your title stand out on your layout? Chelle of Chelle’s Creations has a video tutorial that shows you have mixing upper case and lower case alphas can help you create a fun whimsical title.

Now that we have seen Chelle does it, let’s check out how some of her creative team used this fun technique on their own pages.

Kayla (keepscrappin) used the Fleur De Violette with a template by Fiddle-Dee-Dee Designs to create this cute page. I really like how the title just adds a bit of fun to the feel of the page.

The tile on this page compliments the silliness of the photos. Helen (winipeg1) used Oh Snap! and a freebie template by Chelle’s Creations found on the Scrap Orchard blog.

Lisa (kelseyll) combined Berry Berry Blue {alpha} and a few elements from the Berry Berry Blue kit with Midnight Crow {reloaded} to create her seasonal layout.

Head on over the Chelle’s Creations store to find a new alpha to try this technique with.

8.18 Video Tutorial: Sticker-ize Elements

As a kid I loved to place stickers everywhere. Did you know you can get your elements to have a sticker look to them. Chelle’s Creations has this video tutorial to show you just how easy it is. Chelle uses elements from her kit Play & Grow for this video.

Here is some creative team inspiration using what they learned from the video.

Jen (supergirljennie) adds the sticker look to different elements from the See Clearly Now kit. I love how she combines a font with the See Clearly Now {alpha} to create the title on the page. She used a template by Scrapping with Liz.

This technique does not have to be used with just elements. Melissa (prettypeaches) sticker-ized the Hard Hat Required {alpha} on her layout. I love the split design of the Little Green Frog template she used. Isn’t that cluster on the bottom of the page too cute? She used the Hard Hat Required kit for this adorable page.

Love the kit Chelle used in her video? You can pick Grow & Play up in here store.

I can’t wait to see what you decided to sticker-ize!

7.7 Video Tutorial: Using Watercolor Brushes

The watercolor look is an awesome effect to dress up any type of layout you create. Today I’m going to share a video tutorial in which Chelle show you several different ways to use her CU Watercolor Brushes on a layout. You don’t need to be a designer to get a lot of use out of these fun brushes.

Ready to see a couple of examples to get your creative juices flowing?

First up Donna (djp332) used the brushes to add a festive look to her Easter page. The multi-color brush spots remind me of dyed Easter eggs. Donna had the same thought because she had tried this page multiple times before creating this gorgeous page. She used Hippity Hop Hop, the Hippity Hop Hop Alpha and a template by Connie Prince to create this page.

Next up I (Sagediva2) created a page. After seeing how Chelle cut out letters in the brushes I knew the page I wanted to create. I love how the brushes remind me splattered sauce. I used Pasta La Feasta for this page. If you like this kit check out the coordinating Pizza Amore kit and word art.

This tutorial features the CU Watercolor Brushes.

The kits used in sample layouts in the video are:

While your in Chelle’s Creations store be sure to check out the other watercolor items she has.