


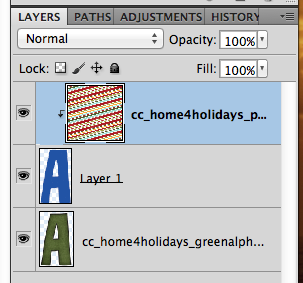
Hi Everyone! I’m Jenn, my user name around Scrap Orchard is jk703. Hope you are having a great week – yay for Thursday! Today, I’m going to share some Tips for Changing Up Alphas. Chelle has awesome alphas in her kits – always a go to when I’m titling my layout – there are usually a couple to choose from in color, pattern or kind! She makes it super easy to use them. BUT, what happens if you want your alpha just to be a little different from everyone else’s? Well… you change them a smidge all by yourself! Here are three tips to Changing Up an Alpha! Oh… I am using the versatile Home for the Holidays for my example images. 
First, changing the color or pattern.
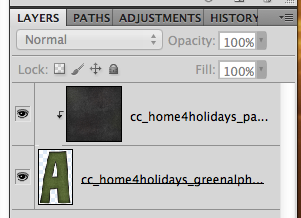
I have letter selected from the Layers Palette. We are going to make this green letter a striped pattern! (So simple/easy!)
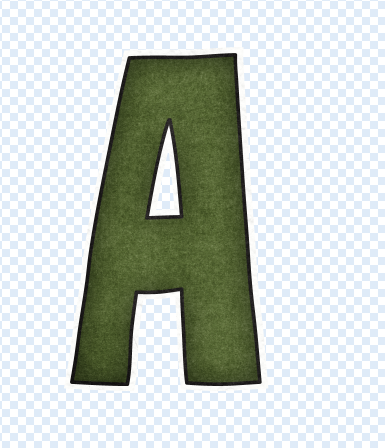
I click on the Magic Wand tool from the Tool Palette, and click on the inner dark green color. If there are any spots that weren’t included, just click near them, and it should then add them to the selection.
![]()
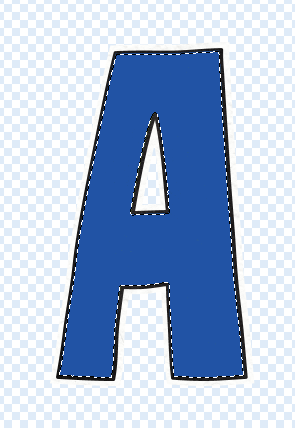
You will see marching ants at this point. Add a new layer ABOVE your letter – click on the little square with a folded corner (like a sticky note!) on the bottom of the Layers Palette. Make sure you have this filled layer selected in the Layers Palette after you create it. Now, press Command > Delete. Your marching ants will fill in with the background color.
Now, just bring your paper in, position it, and clip it to the filled layer. To clip, just right click on the paper, and choose to Create Clipping Mask.
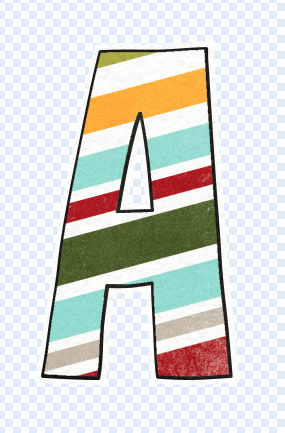
You can merge the three layers if you like, but otherwise you are done!
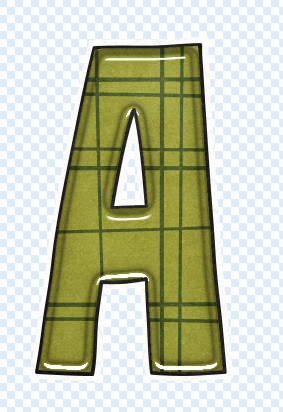
OK. Next up is making a simple but fun edge. I have an “A” with a new pattern all ready to go. So, just like above, follow the steps to add a different pattern or colored paper, and we will add a bevel-ish shiny style. lol! Here is my alpha final.
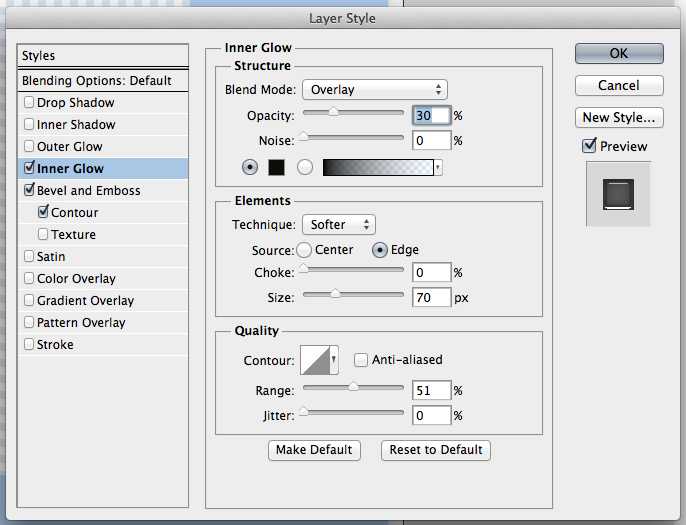
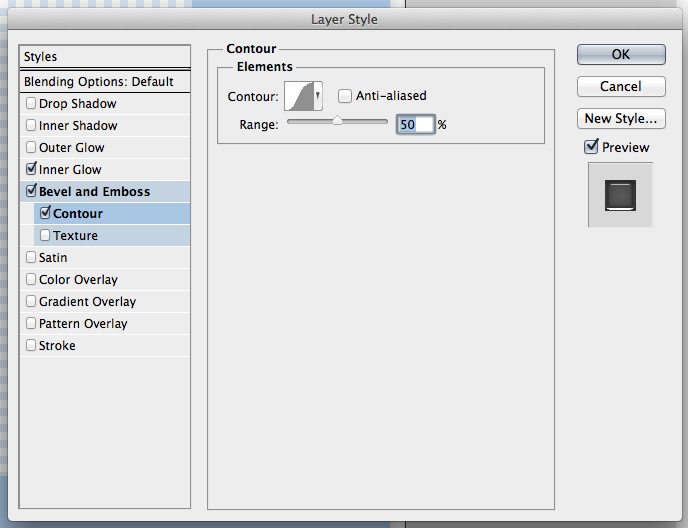
Here are the three menus, and all the little parts for you to try out. It was easier to post pictures of my screens than try to write it down. This way you can get an exact lookalike!
Inner Glow:
Bevel and Emboss:

Contour:
Once you change up your settings, your alpha will look similar to mine! Super easy!
Lastly, by far the easiest way to easily change up your alpha. Just clip a paper to the whole letter. Here is my green A changed to a clack A. All you have to do is right click on the paper, and choose Create Clipping Mask.

Pretty easy?! Now, your stash of kits, alphas can all be made into new goodies! Here is what the CT did (awesome layouts!)
Melissa (pretty peaches) created a wonderfully cute double – look at that smile/smirk!! She clipped a paper from Prehistoric to the alpha.
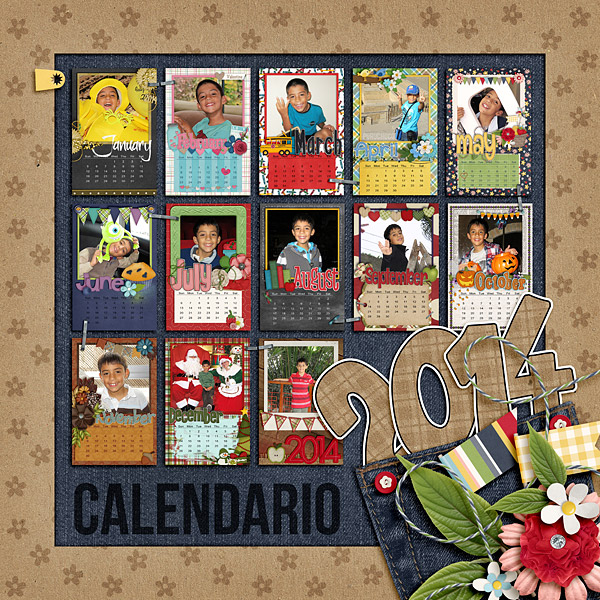
Roxana (roxanamdm) created her page using – Summer Lovin. For the Alpha, she clipped a Kraftabulous paper and duplicated each letter, added a thin black stroke to one layer and a white thicker to the other then merged both layers for each letter. She is also showing off (and keeping a copy) of her calendars – Chelle’s 2014 Calendars 4×6.
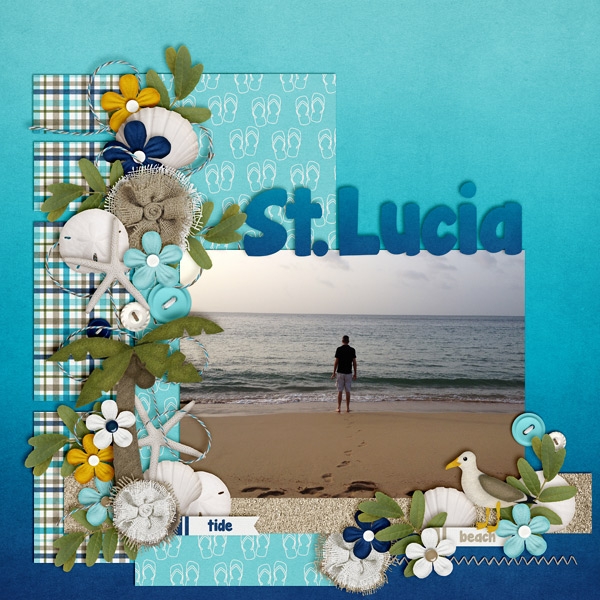
Jenny (jenn18) created her page using At The Beach, and changed the Alpha by clipping one of the papers to it.
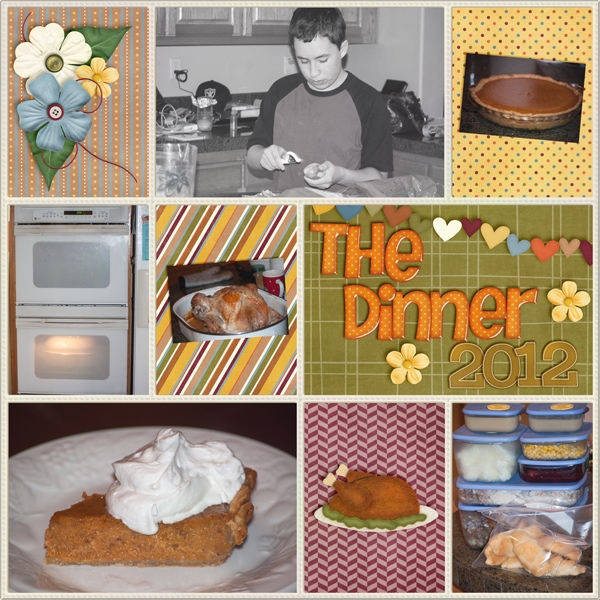
Kimberly (enjoyyourpix) created this page using Taste of Home, In the Pocket {small}, Rainbow Gold alpha (not changed) and Wish You Merry Alpha (color changed). She said she clipped a hue/saturation layer over the top and made the color more fall-ish
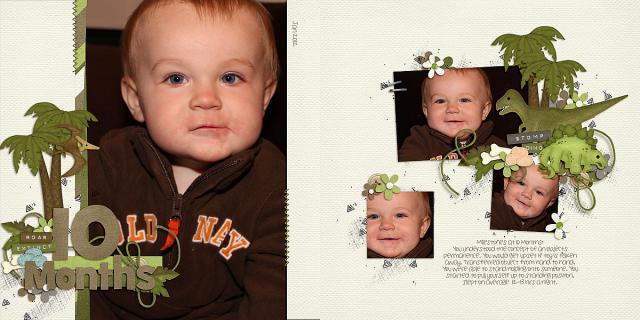
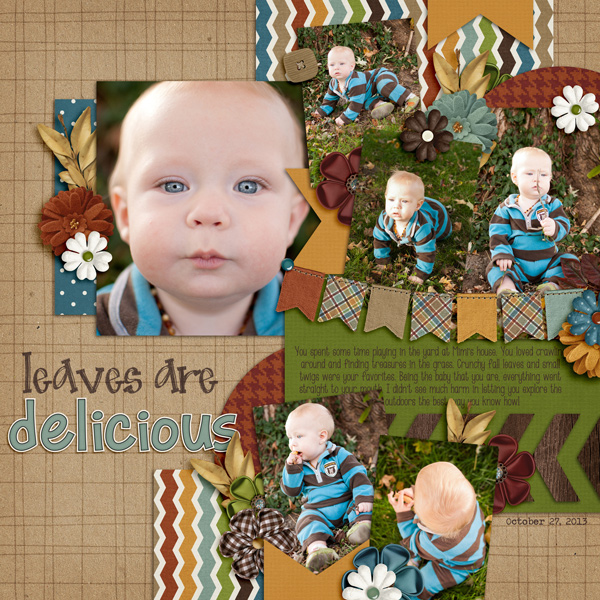
Jen (supergirljennie) created this cute layout (look at his eyes!) using Kraftabulous, Give Thanks and Marker Alpha. She changed the first part of her title (leaves are) by merging all the individual letters together, and then clipped a solid brown color to the phrase, and then using the blend mode overlay. Jenny also said she overlaid the phrase to the paper and reduced opacity by 20% so it looked more like it was written on the page and less like it was floating.
There you go… some really easy to do ways to Change Up your Alpha! Make the most of your stash! Have fun, I’d love to see the pages you create in the gallery! Thanks for visiting.


 Hi! I'm Chelle: a 40 something mom of 7. My husband & I live in a rural community in the rocky mountains with our 4 children still at home. In the winters we enjoy sledding & snuggling by the fire. I the cool fall evenings we love relaxing around the campfire & meeting friends at the county fair. Admiring the stars


Great tutorial. I really like it when you give screen shots of your settings. Thanks.