


Hi Everyone!!! How are you?! I’m hoping you are doing well. This is Jenn, aka jk703, here to share a fun and easy way to stretch your paper stash! All you have to do it use a gradient to blend papers, and the possibilities are endless! Let’s get right to it! For my example screen shots and layout, I used the Norlandia Kit that recently debuted over Farmer’s Market!
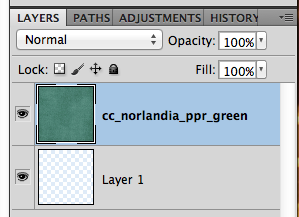
To start, open a new document and add a Paper Layer:
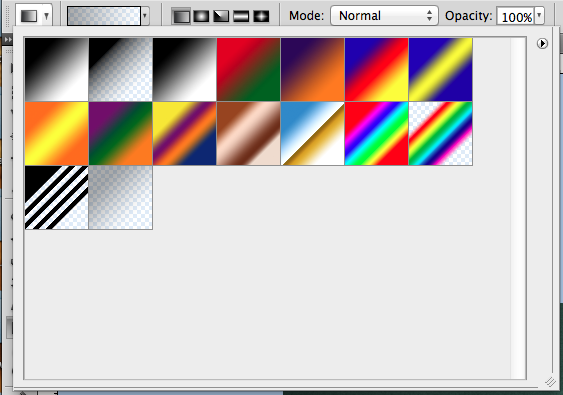
Once you have your paper imported in, choose the Gradient Tool:
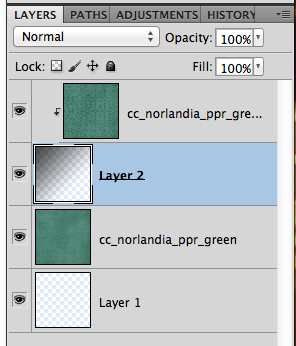
Now, you will add a new layer ABOVE the 1st Paper Layer. To do this click on the little icon on the bottom of the Layers Palette that looks like a square with a folded corner. Move this layer above the paper layer, in case it isn’t already there. Have this new layer selected.
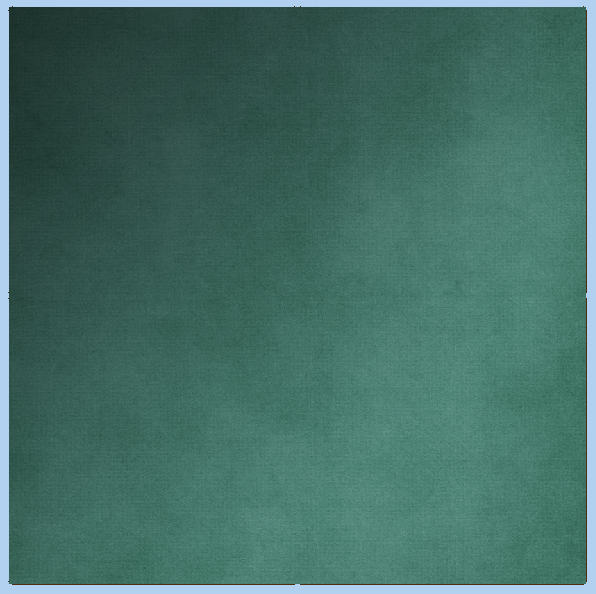
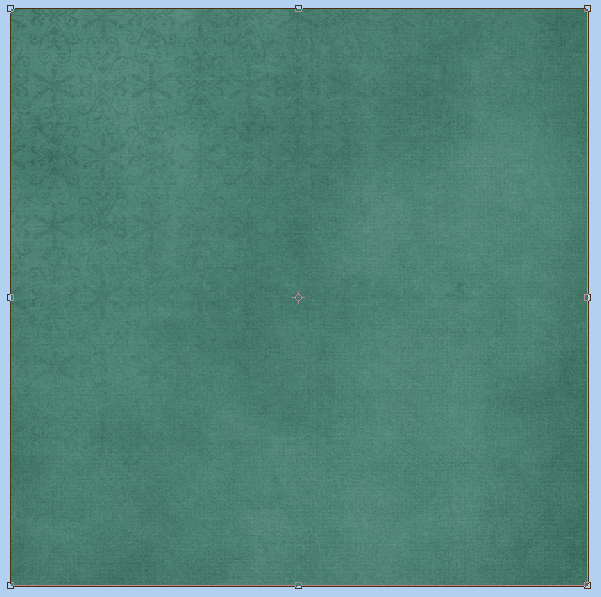
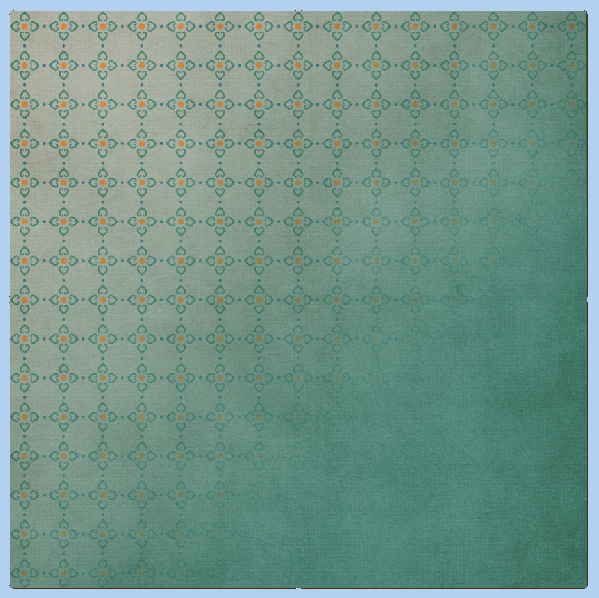
From choosing the Gradient Tool, you will have a little “plus” cursor. Click on the top left corner of your paper and drag to the opposite corner. Let go when you are about ¾ way to the other side. This is what the paper will look like:
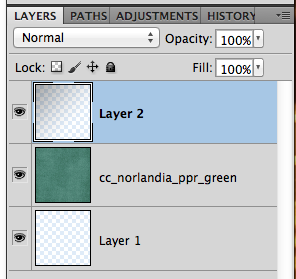
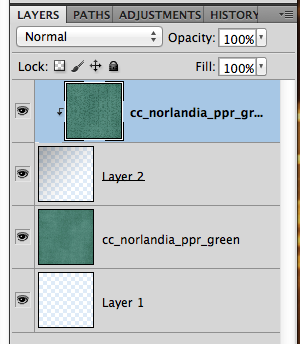
And the Layers Palette:
Up at the top menu bar there are some of the Gradient Tool menu options. You can change the type of gradient, where it comes from, reverse it, the color, and even the blend mode. Fun to play with to get different effects on your paper!
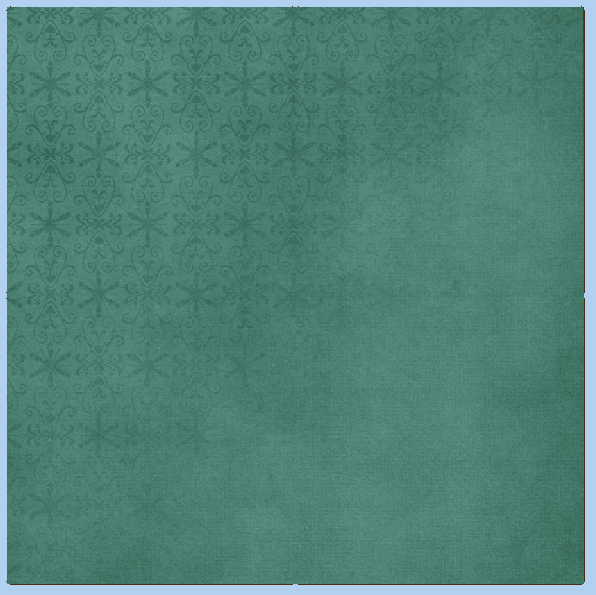
Above the Gradient Layer, bring in a new paper layer. I found that something with a faint pattern or even a coordinating colorful pattern works great. Make sure the colors work well together! Though don’t worry if they don’t – there’s always Control Z! Now, clip the new paper to the Gradient Layer by right clicking on that layer, and choosing Create Clipping Mask.
Here is my first version.
 To change your blend, you can also click on the Gradient Tool again, and choose the Gradient Layer in the Layers Palette. Click and drag again like you did earlier, and the mask will get darker to allow more paper to show through. Here is a darker mask and the layers that I have now.
And another version with a different colored pattern paper:
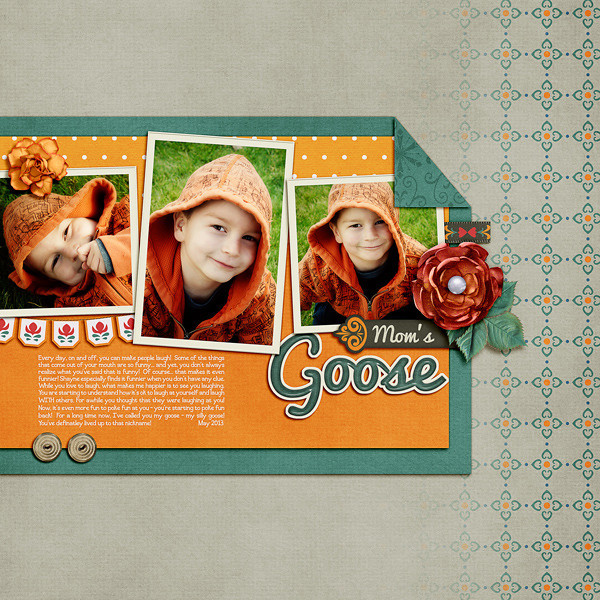
Here is my final layout – which, by the way, I changed the gradient and one of the papers above! LOL! 
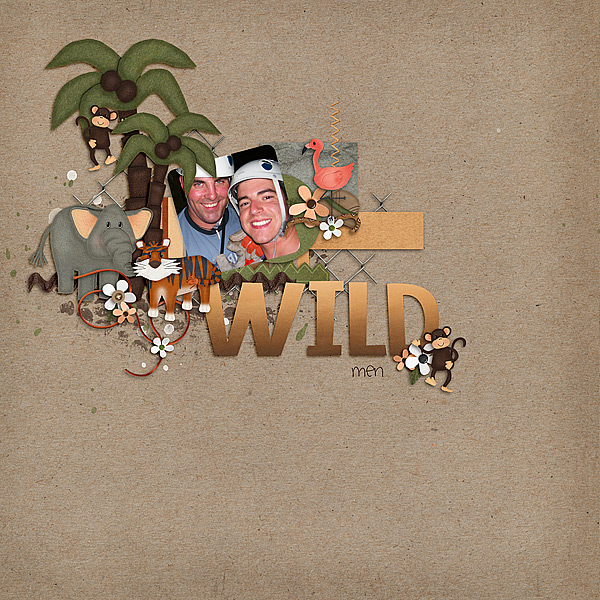
Here is what the CT made! Super awesome pages if you ask me! We have some pretty talented scrappers on this team! Melissa (prettypeaches) created this double layout, but she also said she “cheated!” She said that she just clipped an already created Gradient paper to her alpha to make a new one! Pretty clever, and awesome if the paper is already included in the kit! Melissa used Zoopendous!
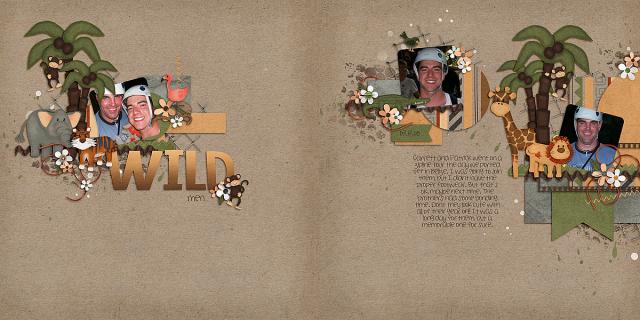
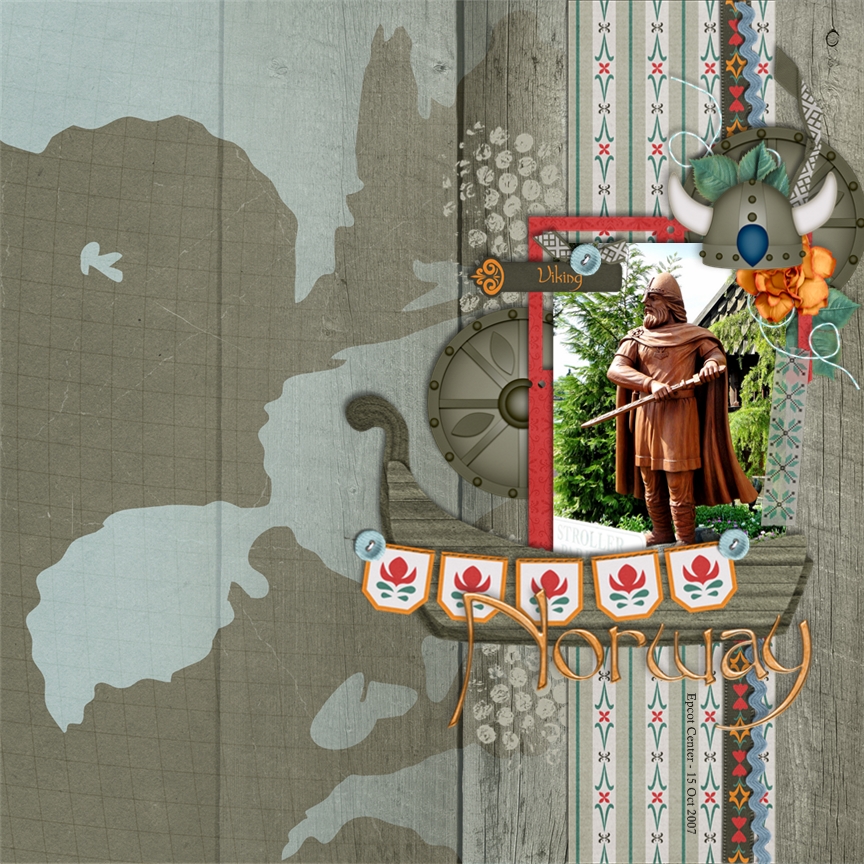
Next, Jan created this stunner. For all of you who use the PSP program, Jan shared this tip: “I made the gradient by going to the >Cut and Fill, >Straight Line and >Blended Edge. I enlarged the blended area to make the gradient fill the page, then chose the >Keep the Unshaded Section for the cut.” Jan used Norlandia and Road Maps No. 4 by Down This Road Designs.
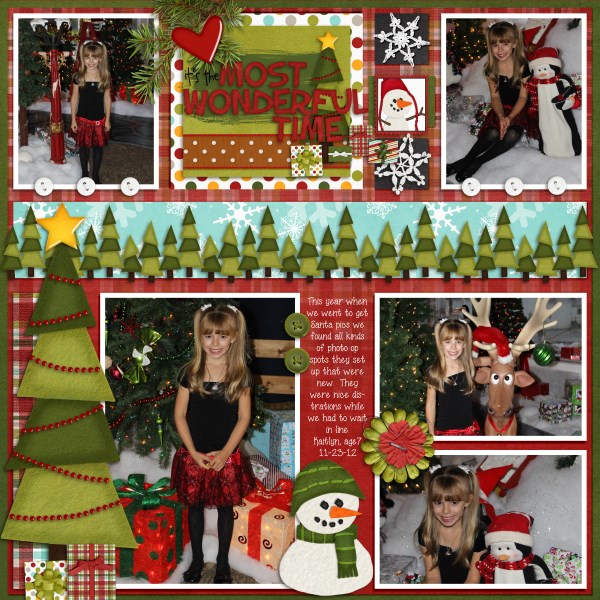
Lisa (kelseyll) created this fun holiday page – I just love the blocking – check out the blended plaid to solid gradient! Lisa used Home for the Holidays for this layout.
There you have it – a super easy way to stretch that paper stash! Thanks for visiting, and I hope to see some Gradient Paper Blends in the gallery!


 Hi! I'm Chelle: a 40 something mom of 7. My husband & I live in a rural community in the rocky mountains with our 4 children still at home. In the winters we enjoy sledding & snuggling by the fire. I the cool fall evenings we love relaxing around the campfire & meeting friends at the county fair. Admiring the stars


This is a really helpful and useful tutorial! You are invited to share it in the tutorials forum at DigiScrapAddicts (it’s free!!) — http://digiscrapaddicts.com/forum/forumdisplay.php?92-Tutorials