12.02 Video Tutorial: Stretch Your Stash – Stitches

November got away from me for some reason and I missed posting a video tutorial for you. I am back this month with another great video to share with you. Stitches are the perfect element to anchor paper and photos to the page but can also be used to add a handmade look to your digital creations. This video tutorial by Chelle’s Creations show you how different techniques to add her CU Stitch Toolkit to your designs.

Jan (QuiltyMom) combined the swirly stitches to create longer stitches for the back layer of both her fancy corner and border. Don’t the stitches just help make her lovely clusters really pop. Jan combined Toe Picks & Figure Eights, blog freebie from the kit, Zoo Crew (Arctic), and Penalty Box. She also used a template by Cluster Queen Creations.

Recoloring stitches to match the colors of your kit is another way you can use the stitches. Jen (supergirljennie) uses this technique along with combining the stitches to create longer lengths to create you adorable page. Aren’t those cookies the cutest? To create this page Jen used the Mickey Mouse Club March {Sampler} and the Mickey Mouse Club March {Alpha}.

Both of these layouts used Chelle’s Creations CU Stitch Toolkit as well. Hurry over to Chelle’s Creations store to pick them up.

Like Chelle’s Creations CU products head over here to learn more about Chelle’s Creations Designer Club.

Tips: Dress Up That Font!

Hi Everyone…. it’s been a hectic week for me, and I noted the wrong date for my post this week! My apologies that I’m late! This is Jenn, jk703, chattering away, lol! We are going to take a look at some Tips: Dress Up That Font! By that, I mean to show you a few ways how you can change the font and add some texture, color or ideas which you can use on your layouts. There are oodles of things you can do, so these are just a few tips for you to try!

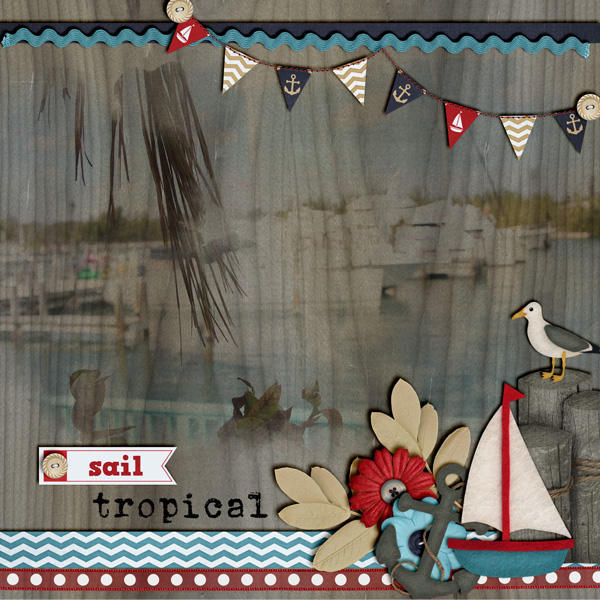
For my posts and images I’ve used the font called KG The Last Time, which is the chunky one, and KG Miss Kindergarten, which is the thin font noting information. The papers are from Chelle’s kit – At The Beach.

Note: Most of these Tips: Dress Up That Font! can be used with Alphas also. Make your stash go further!

Let’s start easy, and go from there. :)
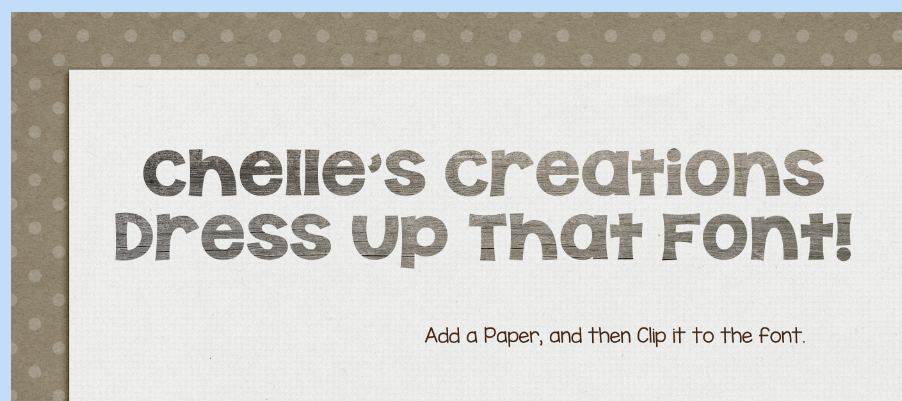
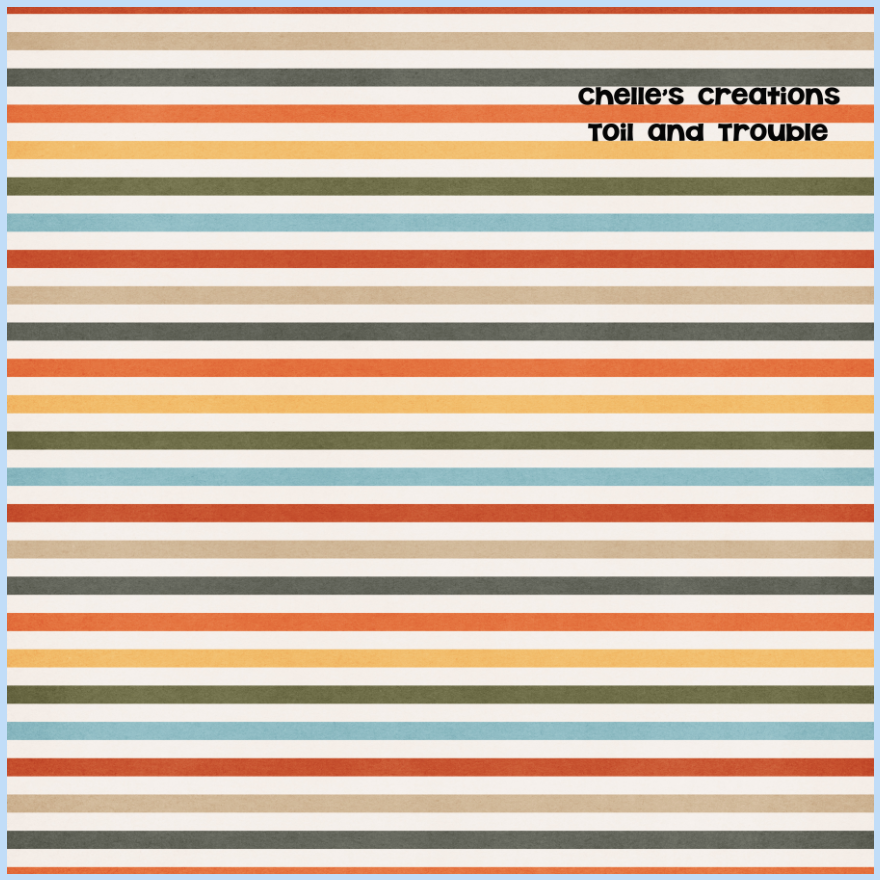
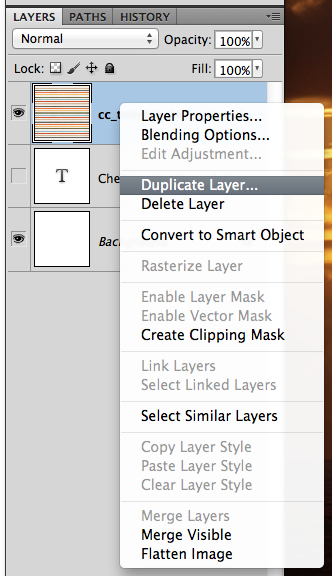
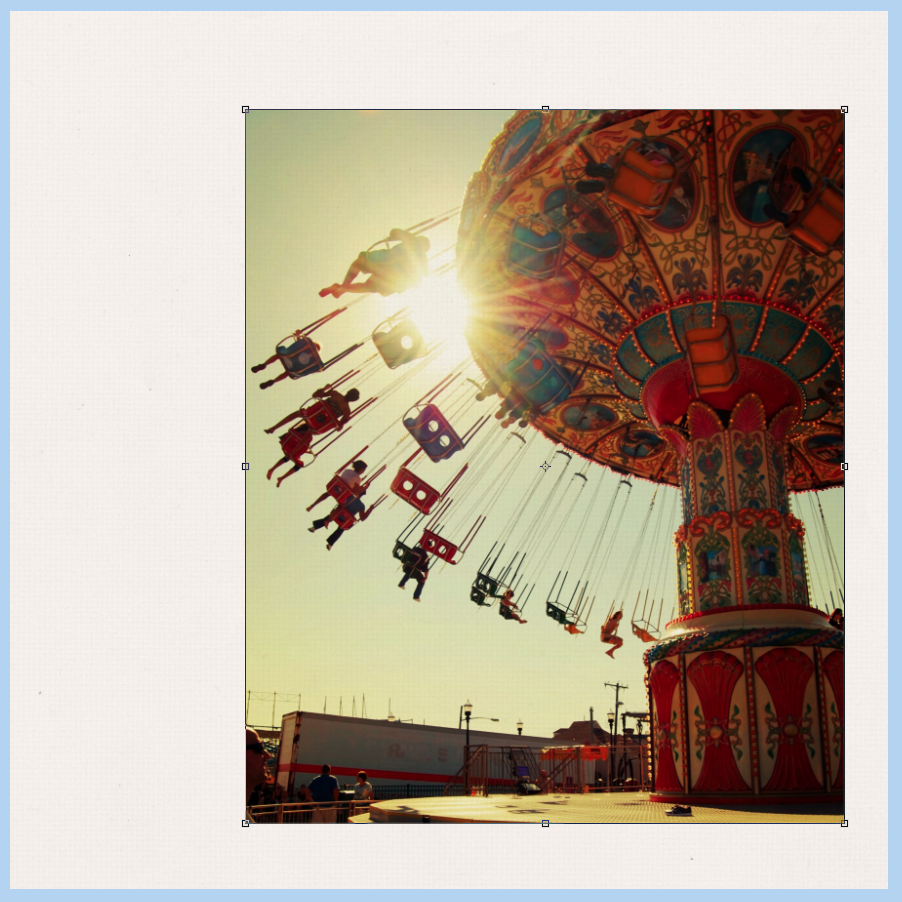
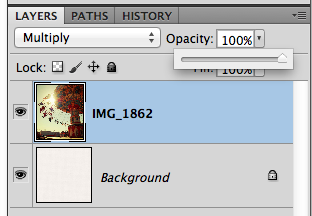
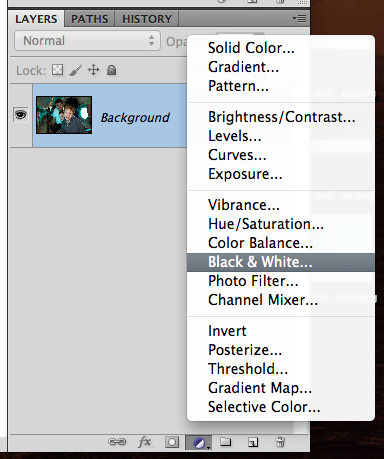
 

Clip a Paper.

Just put a paper above your font in the Layers Pallette. Then right click and choose Create Clipping Mask… and Viola! For this example, I clipped a wood grained paper.
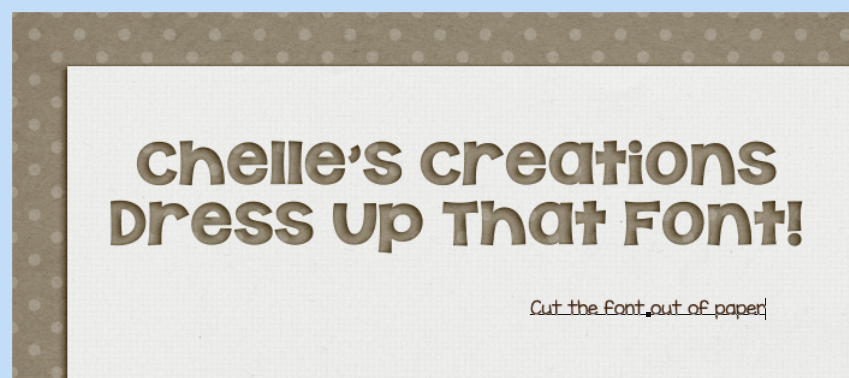
Font6

Cut It Out

For this one, Rasterize your font first. Then press the Command key, and click on the thumbnail in the Layers Palette for the words. You will get marching ants. Choose the paper in the Layers Palette that you want to cut the font out of, and then press Delete. Easy Peasy!
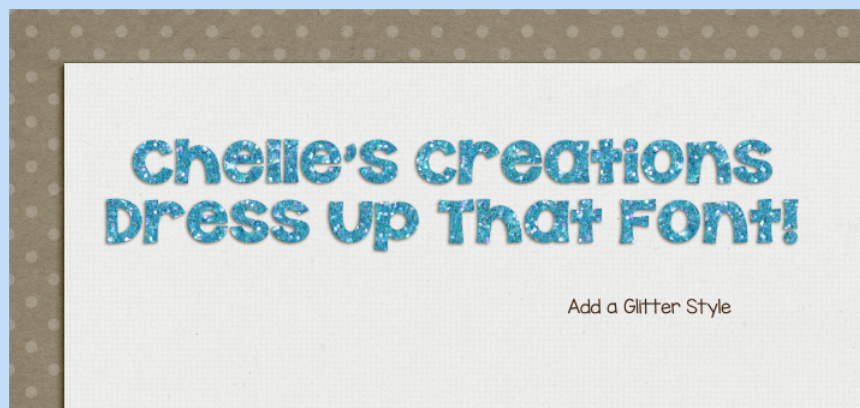
Font3

Add Some Glitter

Chelle has these cool glitter styles in the store…. CU Iridescent Glitter Styles. They are awesome, and can be added to a font just like adding a shadow or any other style. Cool, right?!
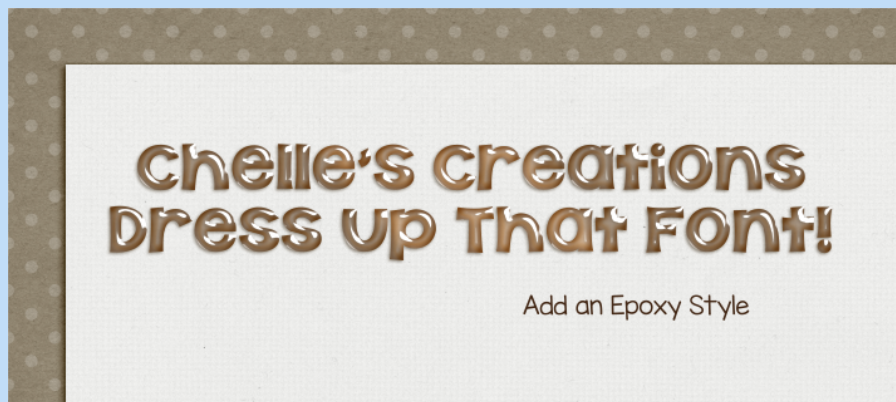
Font2

Epoxy Style

Chelle has another style that can be used with fonts.. CU Transparent Epoxy Styles {primary}. Another quick click and you’ve added some fun to that font!
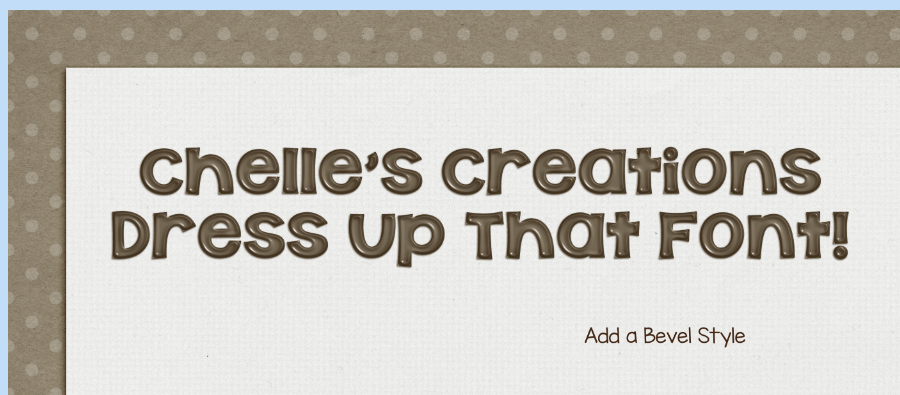
Font1

Add a Bevel Style

Bevels can be fun, and you just have to play with the Structure and Shading options to find the look that you are going for. Adding a Contour can change the shape, and how bumpy the font may look. This option can be found by double clicking on the font layer, and clicking on the Bevel and Emboss options, with a sub category of Contour and Texture. There is so much that you can play with here!

Fony7

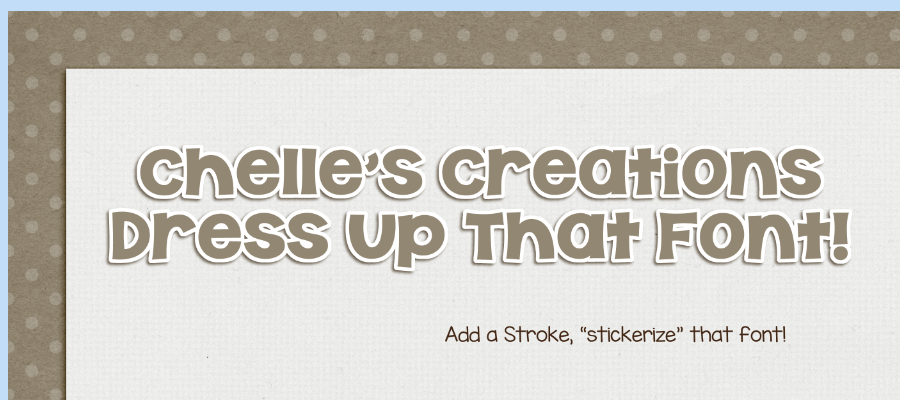
Add a Stroke, “Stickerize”

This is a simple and fun idea to add some oomph to your fonts. Press D to have your foreground and background colors revert to the default. Just have your font selected in the Layers Palette, and then rasterize it. Then press the Command key, and click on the thumbnail in the Layers Palette for the words to get the marching ants. In the Menu Bar, choose Select > Modify > Expand, and choose a thickness for the white part of your “sticker.” Create a layer below the font, and the press Command and Delete. Your new layer should have a white filled in copy of the word… and the colored part on top, so it now looks like a sticker.

Font4

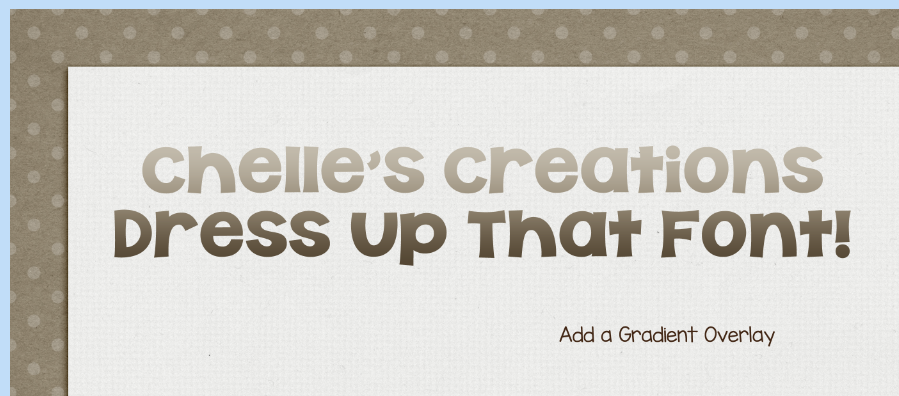
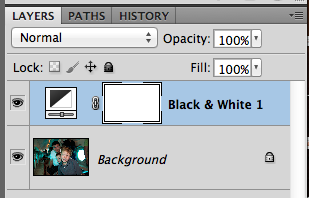
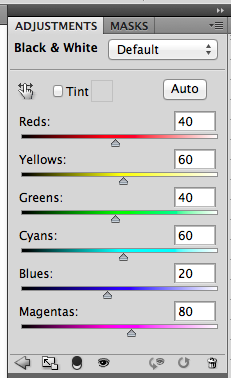
Add a Gradient Overlay

Another easy one… but with a must do step! First, rasterize your text. Then double click on the layer in the Layers Palette. Click on Gradient Overlay… and then you must try out and find a Blend Mode that looks right with your font/color. This step is important or your gradient will be the stock color that you chose first, most lily black and white.

Fon8

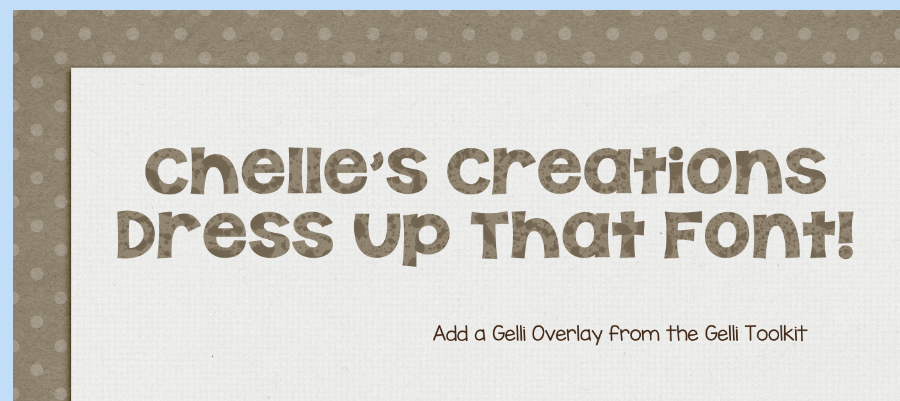
Use the Gelli Tool Kit

Chelle has these amazing and versatile tooklits in the shop – CU Gelli Toolkit!  For this, I used one of the overlays and clipped it to the font. After clipping, I changed the Blend Mode of the overlay. This one looks speckled. The toolkit has so many different patterns and you can mix and match them. So many possibilities!

Font5

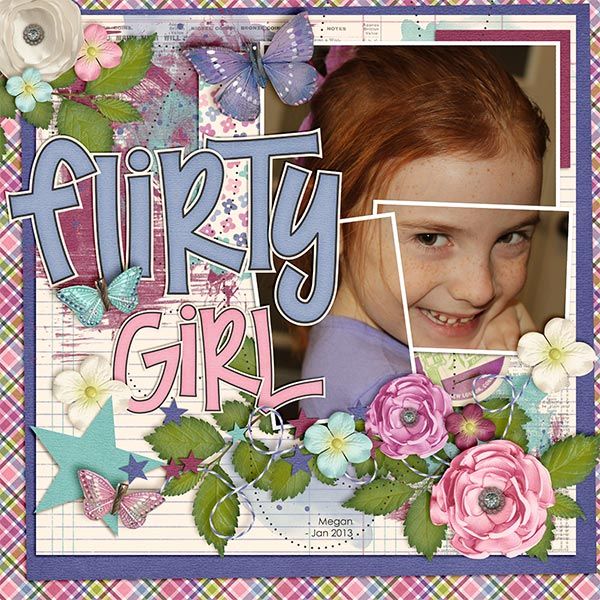
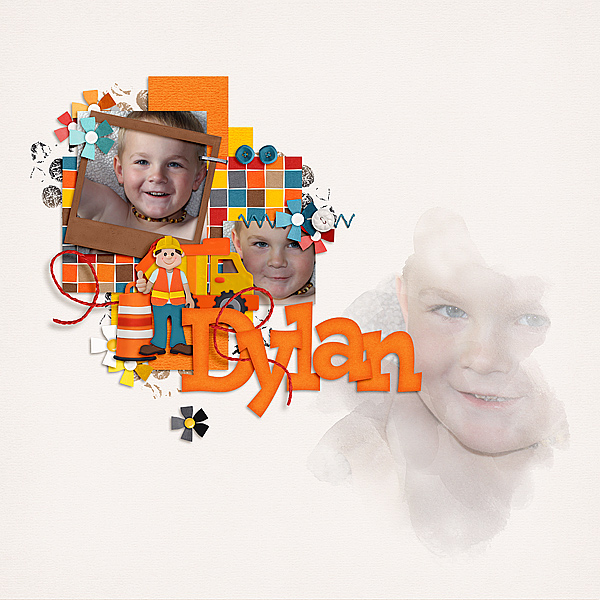
How about that for Dress Up? I love fonts, and this just gives me more reason to use them and add some fun to them for my layouts! Hope you’ve gotten some ideas for your favorite font! We’d love to see them in the ScrapPin gallery too! Here is what the CT made:

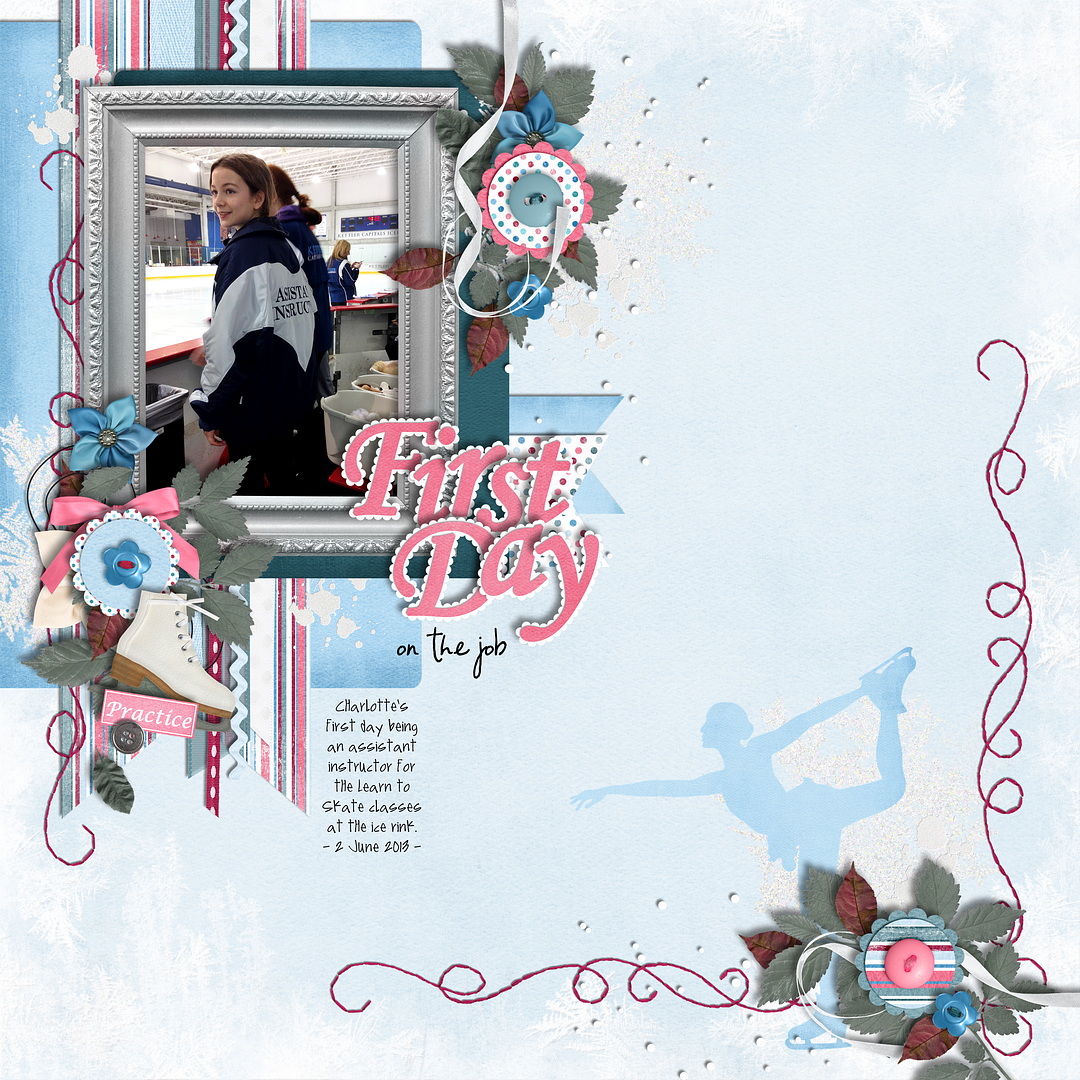
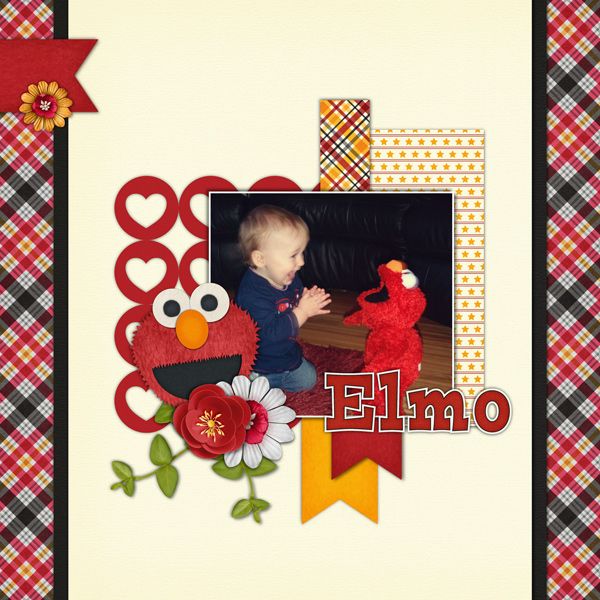
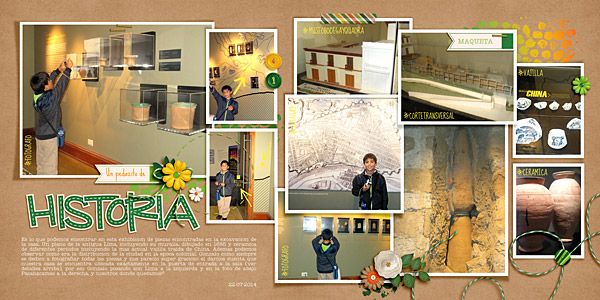
Karen, (zippoh), created this wonderful layout. She gave me directions as to how she dressed up her font in PSE 11! She said she added the title with the text tool, using WM[squared] font Wendy Fancy. She set the color of the text to brown to match the brown in the kit. After she typed the word, she right-clicked on the text layer in the layer palette and selected “simplify layer.” After that, she then went to Edit > stroke (outline) selection and my settings were as follows:

Width: 6px
Color: She picked a cream color
Location: outside
Blend Mode: normal
Opacity: 100%
Leave “preserve transparency” box unchecked.

backyardvisitors_png

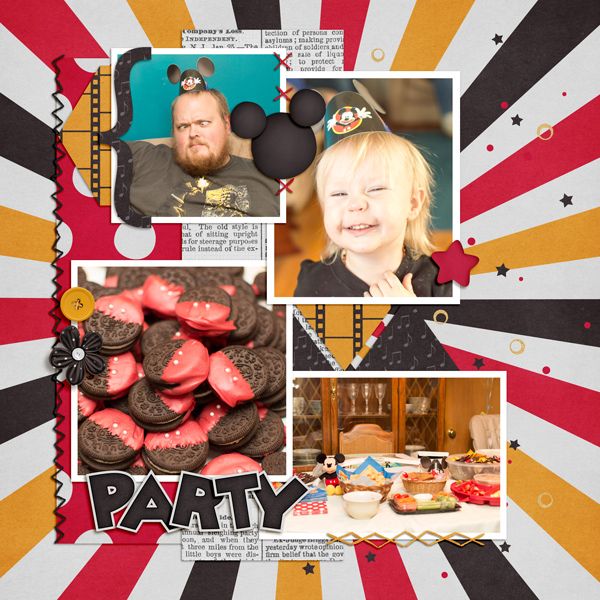
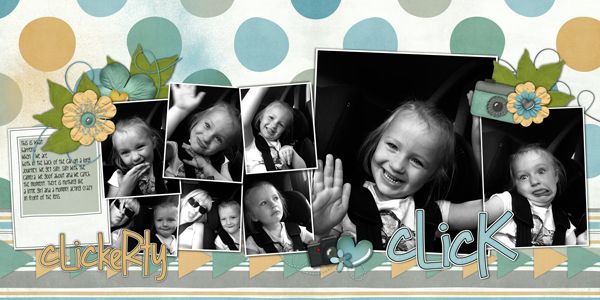
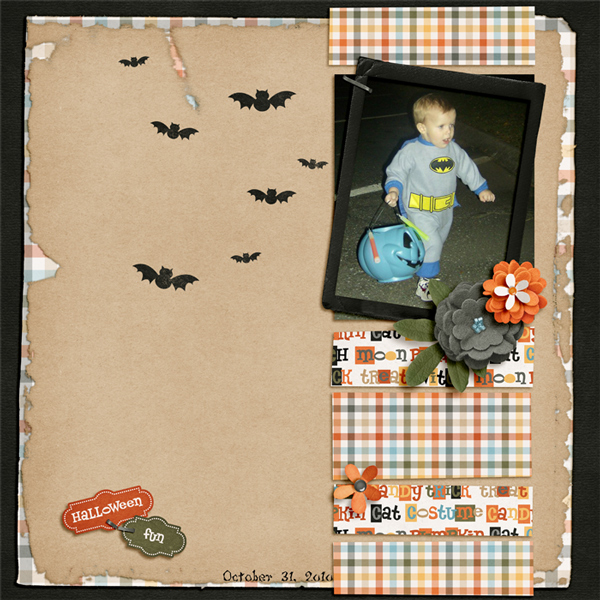
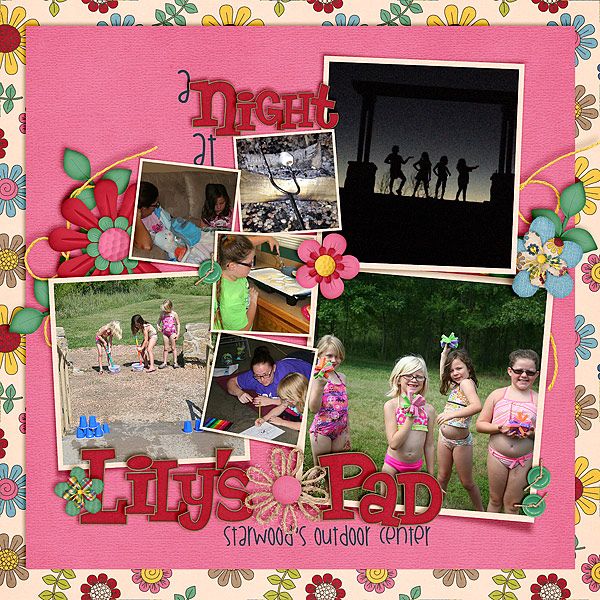
Jennifer, jmljensen, created her layouts and has a super fun title, and dressed up her font! She used Batter Up, Chunk Five font, clipped a paper to it and applied a chipboard style. Then she added the baseball to replace to letter O.

webautograph1415478369g4n8k520x520

Super easy, and fun ways to dress up your font! Hope you enjoyed the post! Have a great week and thanks for visiting.
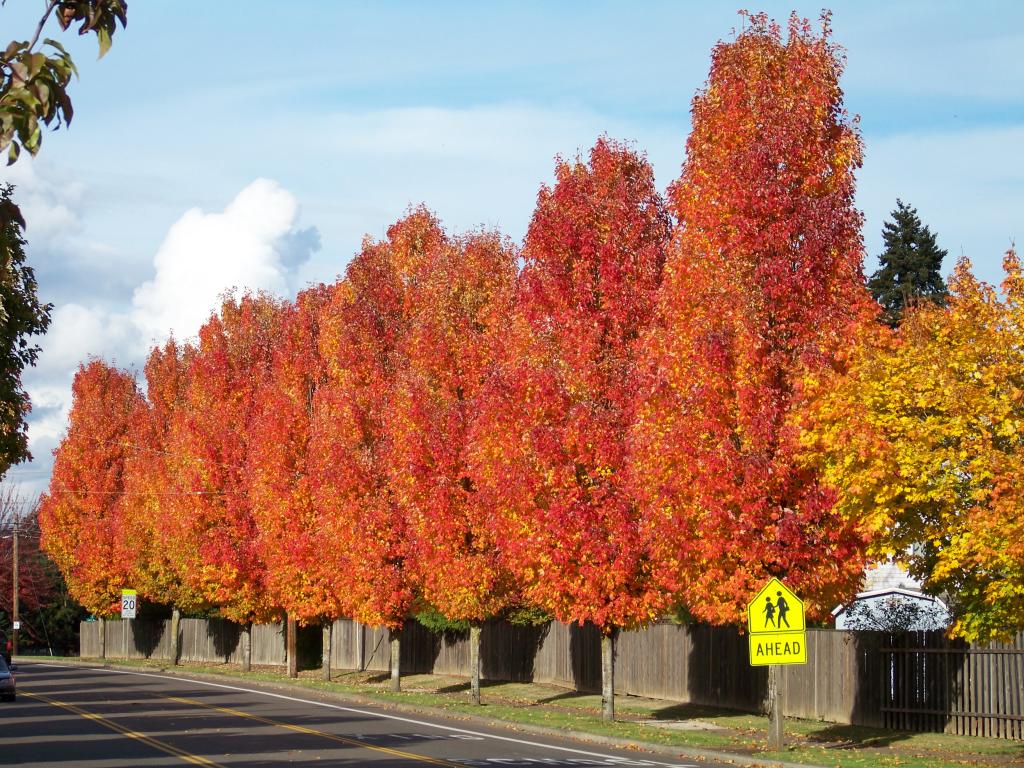
by_Jenn

10.20 Video Tutorial: Painting with CU Watercolor Florals

Did you know that CU products aren’t just for designers? CU or commercial use products are the perfect addition to you everyday scrapbooking stash. They allow you to add elements to the kits you have easily or they can help enhance the look of the kit. This video tutorial by Chelle’s Creations shows you how to add her CU Watercolor Floral brushes to your designs.

Even though Chelle’s video demonstrates how to make a element for a kit let’s she how Chelle’s creative team used what they learned from this video to enhance their pages.

Kimberly (enjoyyourpix) added three watercolor flowers to add a nice balance between the other flowers on the page. For this page she used Boho Summer.

I love the watercolor assortment of flowers clustered behind Karen’s (zippyoh) photo and paper mats. Karen combined a Fiddle-Dee-Dee Designs templates with Chelle’s Fleur de Violette.

Hurry over to Chelle’s Creations store to pick up her CU Watercolor Florals.

While you are there check out the other CU Watercolor flowers she has available such as: CU Watercolor Florals {Poppies}, CU Watercolor Florals {Daisies}, and CU Watercolor Florals {Roses}.

Like Chelle’s Creations CU products head over here to learn more about Chelle’s Creations Designer Club.

10.6 Video Tutorial: Mixed Cases Title Tip

Are you looking for a new way to make your title stand out on your layout? Chelle of Chelle’s Creations has a video tutorial that shows you have mixing upper case and lower case alphas can help you create a fun whimsical title.

Now that we have seen Chelle does it, let’s check out how some of her creative team used this fun technique on their own pages.

Kayla (keepscrappin) used the Fleur De Violette with a template by Fiddle-Dee-Dee Designs to create this cute page. I really like how the title just adds a bit of fun to the feel of the page.

The tile on this page compliments the silliness of the photos. Helen (winipeg1) used Oh Snap! and a freebie template by Chelle’s Creations found on the Scrap Orchard blog.

Lisa (kelseyll) combined Berry Berry Blue {alpha} and a few elements from the Berry Berry Blue kit with Midnight Crow {reloaded} to create her seasonal layout.

Head on over the Chelle’s Creations store to find a new alpha to try this technique with.

Stripes to Plaid in 60 Seconds

Hello, hello! Hope you are all doing well this week! It is now October, and I’m in denial that summer has ended, fall has arrived, and this year is flying by! Things go SO fast! It’s Jenn, jk703, here today to bring you another fast tutorial and east technique! You will learn how to go from Stripes to Plaid in 60 Seconds or less! 😛

Ready, Set, oh wait… I’ve grabbed a striped paper from Chelle’s Toil and Trouble Kit. Such a versatile kit, even with the strong colors!

Open a striped paper in Photoshop or Photoshop Elements.

Plaid1

Next, create a duplicate striped layer paper. Right click, choose Duplicate Layer. You can rename if you want, but that step doesn’t need to be done.

Plaid2


With the duplicate striped paper layer selected, choose Edit > Transform > Rotate 90* CW or CCW. This will turn the paper once to one of the sides, so the stripes will now go opposite the original paper.

Plaid3

Here is what my paper layers look like in the Layers Palette.

Plaid4

Now, again with the duplicate striped paper layer selected, try out all the different Blend Modes. Here is what you might see:

Plaid5

Plaid6

Plaid7

Plaid8

Now, that is like pressing the “That was easy” button. lol! Here is what the CT came up with… and their awesome pages! Christine (CarolinaScrapper) created this page using Toil and Trouble, and made the plaid paper. Looks like a lighter opacity of the Multiply Blend Mode. :)

14uj5uc

Kimberly (enjoyyourpix) created a wonderful winter wonderland page! Look at those mountains! She used Chelle’s ledger paper to make her plaid paper, as well as the Northern Magic Bundle for her page!. She blended it to the solid purple paper in the kit and rotated it 45 degrees. Cool right? You can always use any grid or ledger paper to make plaids.

2013_02_snow_zps51c9529a

Super easy to go from Stripes to Plaid in 60 Seconds! What do you think?

Thanks for stopping by!

by_Jenn

9.29 Video Tutorial: Internal Shadows

Have you every wanted to make something appear as if you cut out a section and the bottom layer was showing through? Drop shadows are great for adding realism to your page but for the cut out look, a drop shadow just wouldn’t work. Chelle of Chelle’s Creations has a video tutorial that demonstrates how to use internal shadows to achieve the cut out look without having to cut anything out.

Now let’s take a look at how Chelle’s creative team used this technique on their own pages.

Christine (Carolina Scrapper) added the internal shadows to both of the monster’s mouth as well as her title. Isn’t her page just too cute? She used Street Smarts {reloaded} and Make-a-Monster to create her page.

I love how Helen (winipeg1) combined Mickey Mouse Club March {Sampler} and Movie Night along with the Make-a-Monster pieces to create her page. The color combination of these kits are perfect for her Elmo loving little one.

Here is a page that I (Sagediva2) created. I used the Street Smarts {bundle} with a template by Fiddle-Dee-Dee Designs.

Chelle’s video tutorial uses the Make-a-Monster pieces. Head over to her store to check it out and see what other fabulous goodies she has.

Aren’t those monsters just so cute? Be sure to try this technique with them the next time you use them.

The Way Too Easy Watercolor Painting Tutorial

Hi Everyone! This is Jenn, jk703, here to make a favorite technique super duper easy for you to add to your layouts. I’ve seen watercoloring around and there are so many steps and it takes me too long. When that happens, I don’t want to add that technique to my pages, it ends up being too much work! So… I’ve found another way to watercolor – The Way Too Easy Watercolor Painting Tutorial! 😛

My layout uses the kit that Chelle created for The Daily Digi: Roller Coasters & Cotton Candy.  For the brushes, I’ve used Chelle’s CU Watercolor Brushes.  These brushes are perfect for also adding a painted spot on busy patterns for journaling. :)
First things first. Open a paper that you plan to watercolor your image onto. Then on top of that paper place a copy of a photo.

Paint1

Here is what my layers look like:

Paint2

With the photo selected, click on Layer > Layer Mask > Hide All.

Paint3

A mask will appear next to your photo in the Layers Palette. Change the Blend mode to Multiply – or whatever works well with your photo to allow a little texture of the paper to come through, and help it blend a little with the paper.

Paint4

Next, choose the brush tool from the Tools. I’ve got Chelle’s watercolor brushes loaded and I’m ready to paint. If you need to load a brush, you can click on the little circle with the arrow pointing right and choose Load Brushes. Otherwise, you can use any type of brushes that you have or that come with Photoshop.

You will want to use a few different brushes, and different sizes. All of the brushes that I used were a 0% hardness. When painting on the mask, paint with white, and I change the opacity of the brushwork as you paint. If it is too light, you can re-do, but we can also try to fix it in the end. Keep reading! :)

Paint5

After I’ve played around and brushed my mask, this is what my page looks like so far. Not bad with a few brushstrokes!

Paint6

Next, if your painted image is too light, just duplicate with image/mask layer. Then you can lower the opacity based on the look of your image.

Paint7

Here is my darkened, double photo/mask.

Paint8

That’s it. Really, only a handful of steps for a great watercolored look!

Here’s my final layout:

SO_CC_RollerCoaster_MissionScpt_PaintedRide_FunSingle_WEB

Here is what the CT came up with… some fantastic pages! Jenn (jennschultz) created a lovely waterside page. She used Anchor’s Away and Chelle’s Watercolor Brushes.

IMG_0081

sailtropical

Melissa (pretty peaches) created this cool page of her son. She used CU Watercolor Brushes and Hard Hat.

Me8_zps766f2bda

Krista also made a super beautiful fall page for this tutorial! She used Falling 4 You.

100_2440

FallFoliage_

Hoping you guys find this tutorial as easy as I did! We would love to see your pages i the ScrapPin Gallery! Thanks for stopping by!!

by_Jenn

9.15 Video Tutorial: Painted & Drawn

I think everyone enjoys learning new ways to make layouts stand out. Chelle’s Creations video tutorial shows you a few ways to add an artsy flair to you pages. Her video instructs you on how to get a photo to appear as it has been hand-drawn on the page and then painted in on certain areas. Check out the video below so you can add this technique to your next page.

The page doesn’t need many embellishments to make it complete. You want the main focus to be the artsy picture. Let’s take a look at a couple of other great examples from Chelle’s creative team.

Donna (djp332) uses a photo much like Chelle’s skyline. I love how she has the burst bordering the page. Donna used Summer Lovin’ to create this terrific page.

How cute is this page using In the Forest. I love how Heather (htew) combines the muted woodgrain paper with the adorable outdoors photo to create a perfect artsy feeling page. The little deer element just ties everything together.

Chelle’s video tutorial used the kit Oh Snap! kit. The Oh Snap! word bits have been retired. Visit her store to pick up the kit and see what other goodies you can find.

If you use this technique on a layout be sure to add it to the gallery at Scrap Orchard so we can all admire it. Happy artsy scrapping!

Easy Black and White Photos Tutorial

Hi Everyone! This is Jenn, jk703. I’ll be honest. I started this post way differently.  I had planned on showing you the tutorial and I was going to create layouts using photos from our recent day trip to the National September 11 Memorial and Museum. The photos that I was allowed to take were beautiful, sad, touching and at the same time, hard to take. While it has been 13 years, it is still a tough subject for me, so I opted to scrap about a fun family adventure. September 11 will be a day to remind me to live each day as it a gift.

Black and white photography can make photos more dramatic, enhance details, lend to a certain emotion, as well as remove the distraction that color can sometimes bring to a photo. Here we go: Easy Black and White Photo Tutorial!

My layouts use Chelle’s Toil & Trouble, and Zoo Crew {Arctic}. Template is Scrapping with Liz’s Daily Life Templates 9. Font is KG What The Teacher Wants.

Here is my beginning image. We are on a submarine, yes, a submarine, lol! We were on an excursion from our cruise, and it was nothing like we had ever done before, and not like any Caribbean beach outing that we had been on, lol! :) Colors were a little off, and they really weren’t matching well with my other photos.

BW1

With your photo selected, click to add an Adjustment Layer, and choose Black & White.

BW2

You will see a new layer populate above your photo with a mask (the white box).  Below that, is the first shot of the photo changed to black and white. Pretty easy?! Let’s go a little further.

BW3

BW4

The Adjustment Palette may also open on your screen. If not, you can find it under Window > Adjustments. It will show the sliders for all colors, and have a drop down of different features.

BW5

If you click on “Default” there are a number of different options. Play with them, and see what looks best with your photo. Once you have one chosen, then play with the sliders to change the grayscale coloring.

BW6

Here is what I ended up with. I chose the “Lighter” option, and changed the sliders on every color. I went by the photos look to determine what was best. The photo with these options is below.

BW7

My husbands face isn’t so dark, and the boys are a little paler. I also lightened up the photo a little to get more detail of everyone. The background people are blurry enough that it doesn’t bother me too much! 😛

BW8

Once I have a black and white photos, I want to crisp it up a little. Here is where the Unsharp Mask works great! Go to Filters > Sharpen > Unsharpen Mask.

BW9


Play with the pop up. Mine is set to 100%, 3.5 Radius, and Threshold is set to 6. It just adds a little sharpness, and crispness to the photo.

BW9a

Here is my layout…. I put the black and white photo on the second page toward the bottom.

Jan (QuiltyMom) also created a layout using black and white photos. It was funny that we used the same kit! She used Zoo Crew {Arctic}, Zoo Crew {Arctic} Alphas and Gimme Layers Vol 69 by Cluster Queen Creations.

clubpenguin

There it is a super easy black and white tutorial! Hope this helped you learn a new easy way! Thanks for visiting and stopping by Chelle’s blog!

by_Jenn

9.1 Video Tutorial: Laying it Out There – 3D Curled Frames

Don’t we all want our digital scrapbooking pages to look as realistic as 3D as possible? I know that really enjoy getting my pages to look as if you could reach out and feel the different layers. Chelle’s Creations video tutorial shows you how to use one of her products, Curled Frames, either by themselves or with a template.

Chelle shared several fabulous templates with you during the video tutorial and here are a few more from her talented creative team for a little more inspiration.

Roxana (roxanamdm) layers the frames across the page in one big cluster. I love that these frames give you the ability to create a stunning layout the fits your pictures perfectly. For this layout Roxana used Lucky Me, Lucky Me {alpha}, Curled Frames, and Mark My Words.

Using Boho Summer, Boho Summer {alpha}, and Curled Frames, Mel (KSCroppyChick) created this stunner. I love all the flowers on the page and just adore the silhouette photo she took.

Here is a page I created by replacing the photo slots with the curled frames on a template. I used Zoo Crew {safari}, Zoo Crew {Animal Prints}, Curled Frames and a template by Fiddle-Dee-Dee Designs.

Do you want to create you own layouts using these realistic looking frames? You can pick them up in her store.

I (Sagediva2) look forward to see the ways you arrange these frames on your layouts.